Purpose
The purpose of this Quick Reference Guide (QRG) is to provide a step-by-step explanation on how to Inactivate an Item by performing a Subinventory Transfer to a DMG subinventory in the North Carolina Financial System (NCFS).
Introduction and Overview
This QRG explains how to inactivate an item by performing a subinventory transfer to a DMG subinventory in NCFS. Once an item is moved to a DMG subinventory, it cannot be transacted with by the inventory organization.
This is an option to hold or prevent movements on certain quantities of items without deactivating the entire item. For example, 2 quantity of the 10 total on-hand should not be transacted with; by moving 2 quantity to the DMG subinventory. The on-hand quantity will show as 8 quantity after this transaction and the held 2 quantity cannot be transacted with.
Inactivate an Item by Subinventory Transfer to DMG
To inactivate an item by subinventory transfer to DMG in NCFS, please follow the steps below. There are 12 steps to complete this process.
Step 1. Log in to the NCFS portal with your credentials to access the system.
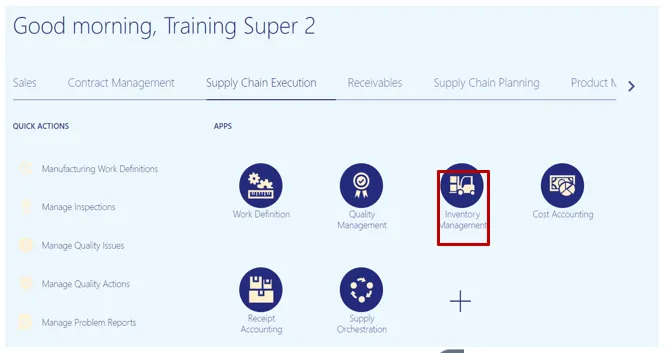
Step 2. On the Home page, under the Supply Chain Execution tab, click the Inventory Management app.
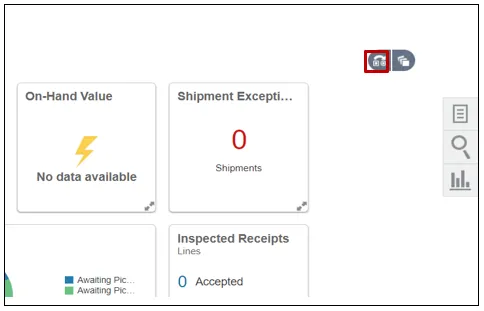
Step 3. On the Inventory Management dashboard, click the View by icon.
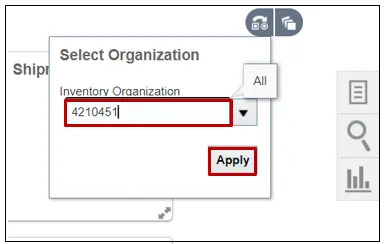
Step 4. Enter the Inventory Organization.
In this example, we chose 4210451. Then click the Apply button.
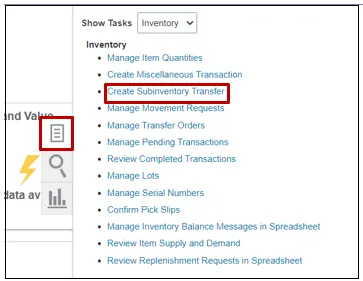
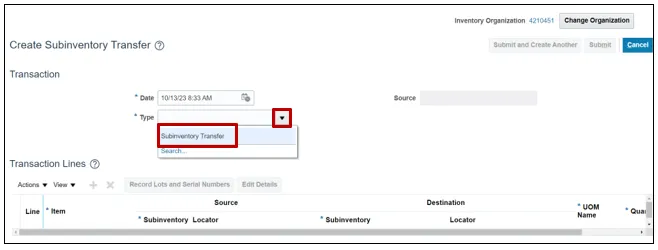
Step 5. Click the Tasks icon, and click Create Subinventory Transfer.
Step 6. On the Transaction section, click the Type drop-down list and select Subinventory Transfer.
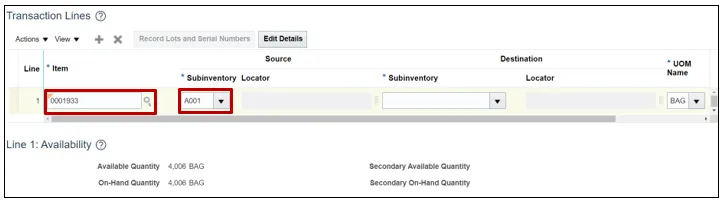
Step 7. Click the Add icon to add a transaction line.

Step 8. Enter the Item number and Source Subinventory number.
In this example, we choose item 0001933 and its subinventory of A001.
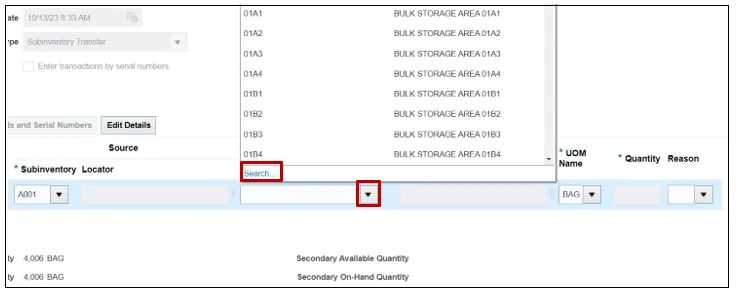
Step 9. Search for the DMG Subinventory. Open the Destination Subinventory drop-down list, and click the Search at the bottom of the list.
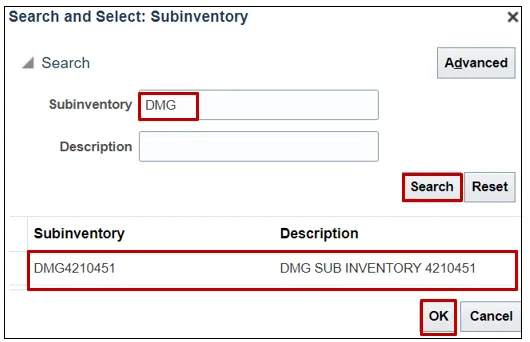
Step 10. Enter DMG into the Subinventory field, then click Search. Select the search result associated with the DMG subinventory and click OK.
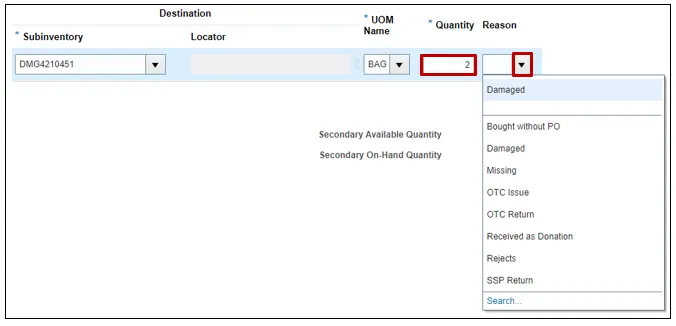
Step 11. Enter the Quantity and choose a Reason from the drop-down list if required.
In this example, 2 quantity was chosen and the reason was left blank.
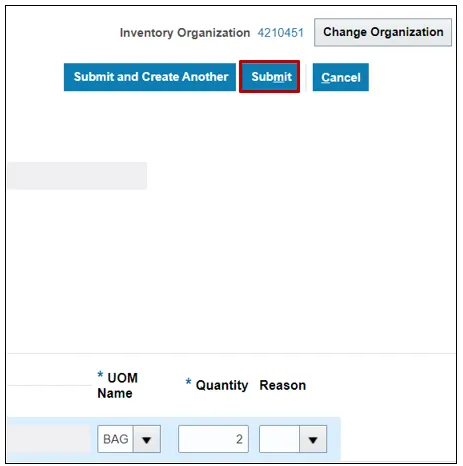
Step 12. Click Submit to place this movement to the DMG subinventory and inactivate a quantity of items from being transacted.
Wrap-Up
Inactivate an item by performing a subinventory transfer to a DMG subinventory in NCFS using the steps above.
Additional Resources
- Virtual Instructor-Led Training (vILT)