Purpose
The purpose of this Quick Reference Guide (QRG) is to provide a step-by-step guide of how to generate AR Customer Reports in the North Carolina Financial System (NCFS).
Introduction and Overview
This QRG covers the process for running AR customer reports in NCFS.
AR Customer Reports
Run an Ad Hoc Report
There are 12 steps to complete this process.
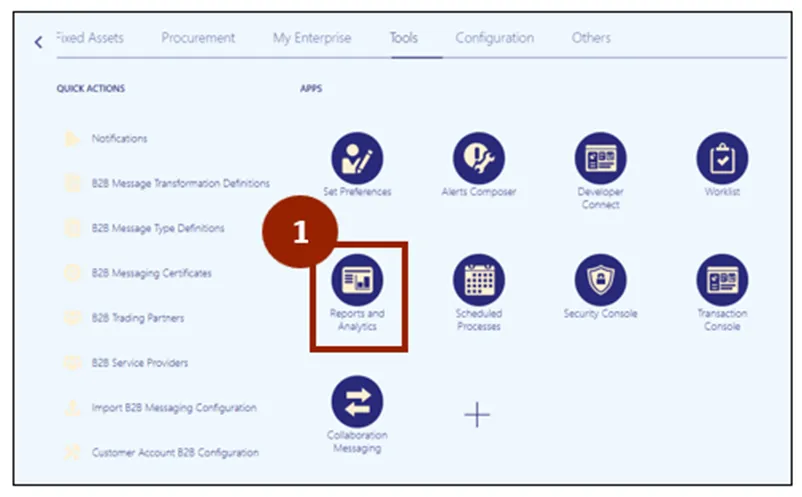
Step 1. On the Tools tab of the Home page, click on the Reports and Analytics app.
Step 2. Click Browse Catalog.

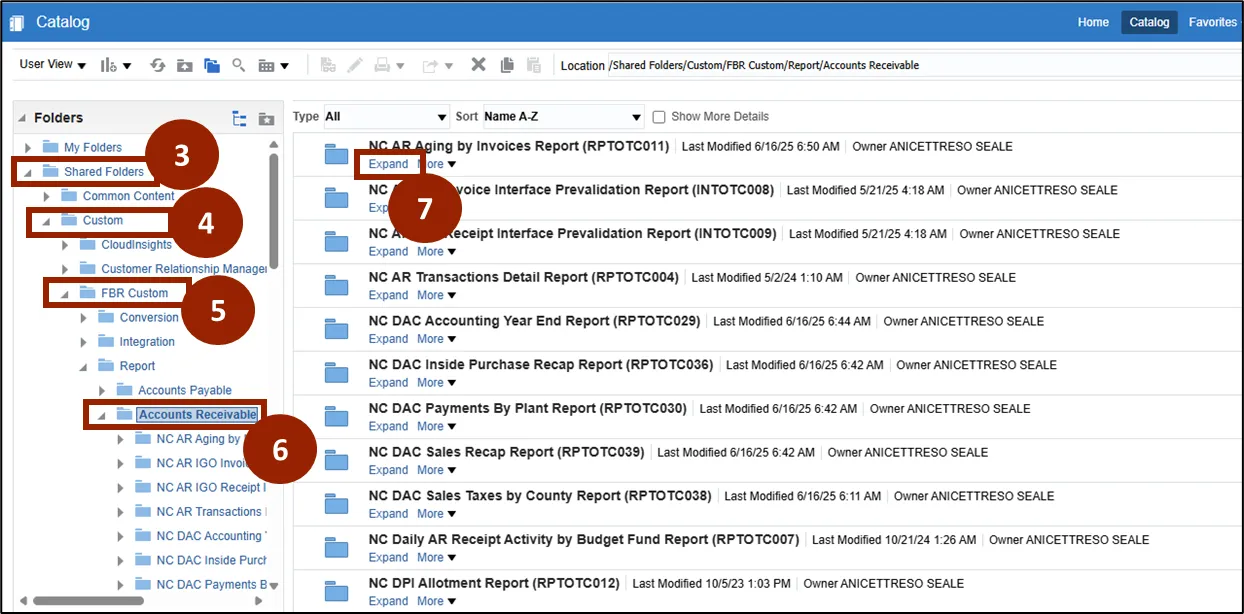
Step 3. Select Shared Folders from the left-hand side.
Step 4. Select Custom.
Step 5. Select FBR Custom.
Step 6. In the Report folder, select Accounts Receivable.
Step 7. Click Expand to expand the report to view.
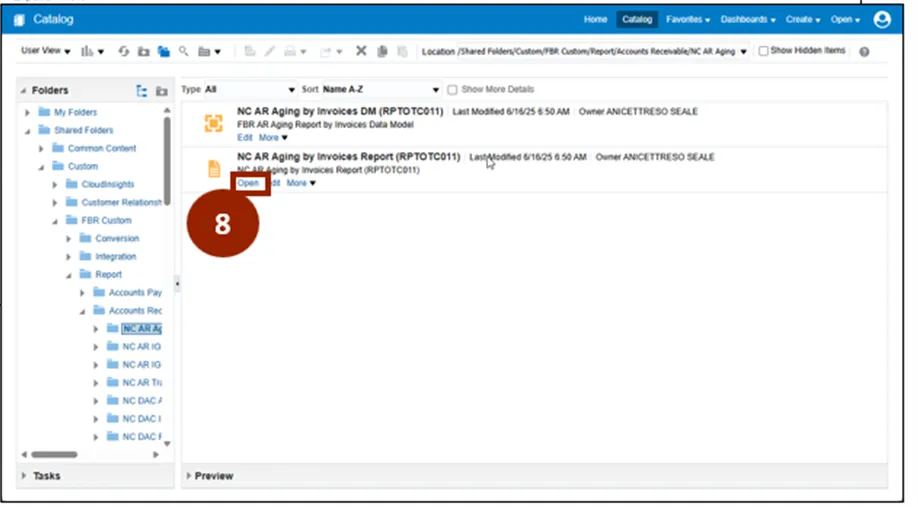
Step 8. Click Open to open the report.
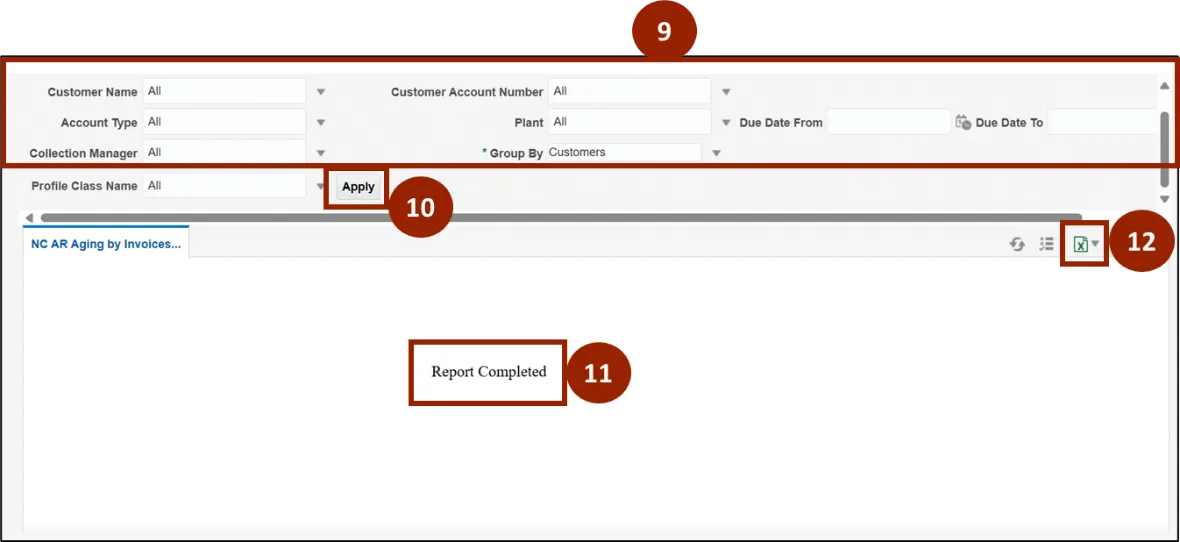
Step 9. Fill in the desired fields.
Step 10. Click Apply.
Step 11. When available, the screen will say Report Completed.
Step 12. Click the Excel drop-down to download the report.
Run a Scheduled Report
There are 13 steps to complete this process.
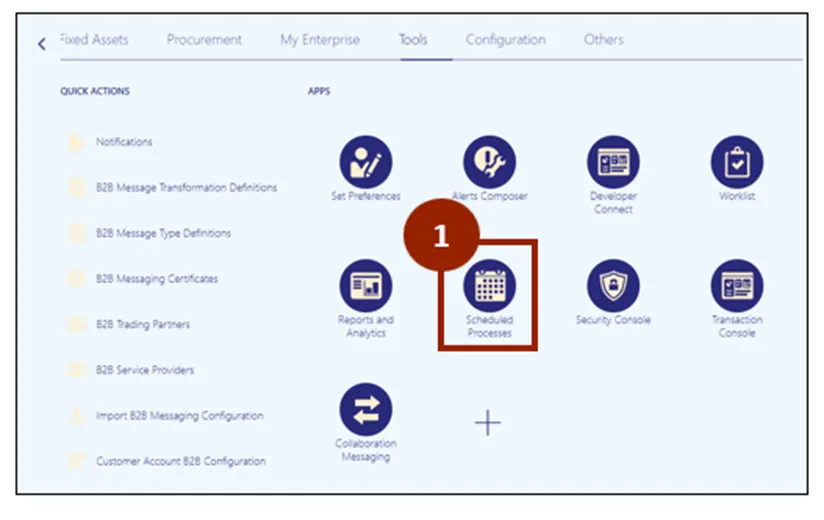
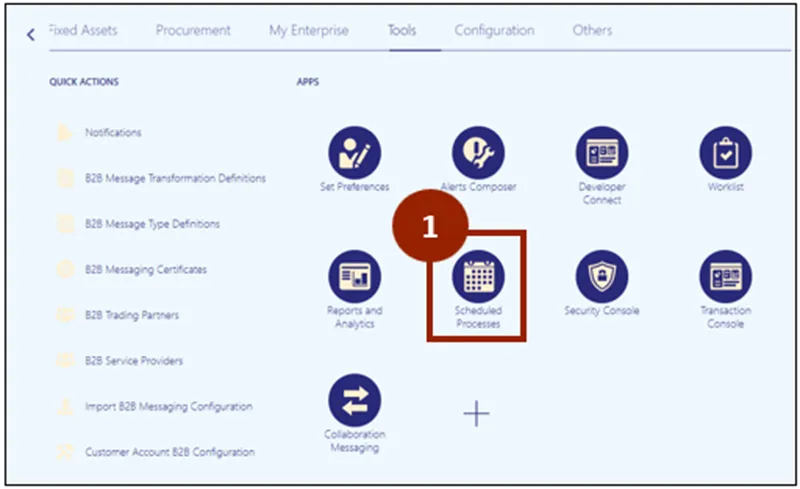
Step 1. On the Tools tab of the Home page, click on the Scheduled Processes app.
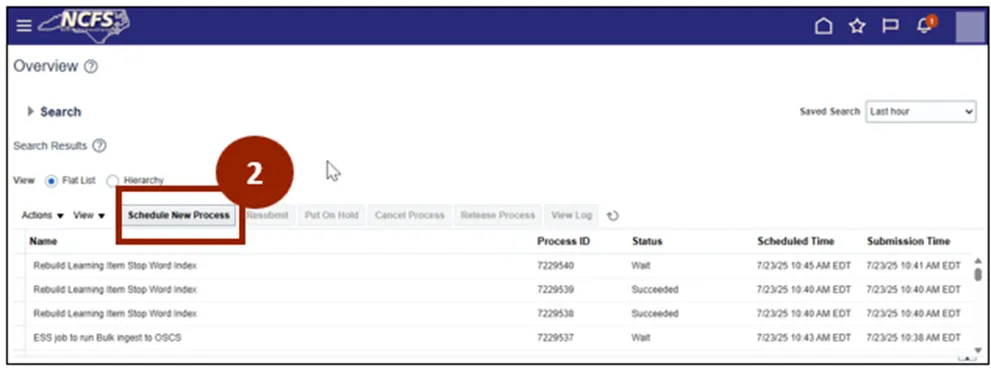
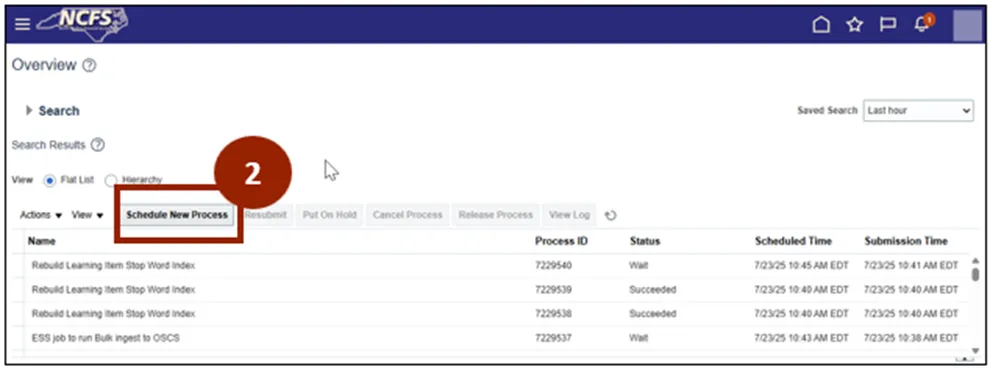
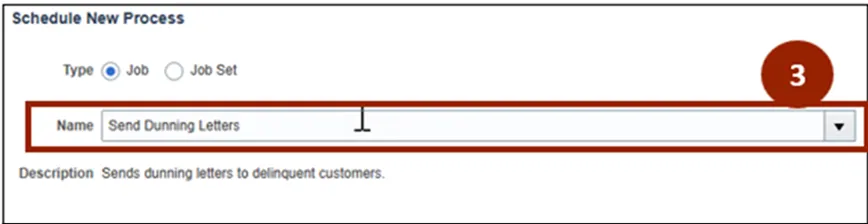
Step 2. Click Schedule New Process.
Step 3. Enter the name of the report in the Search field.

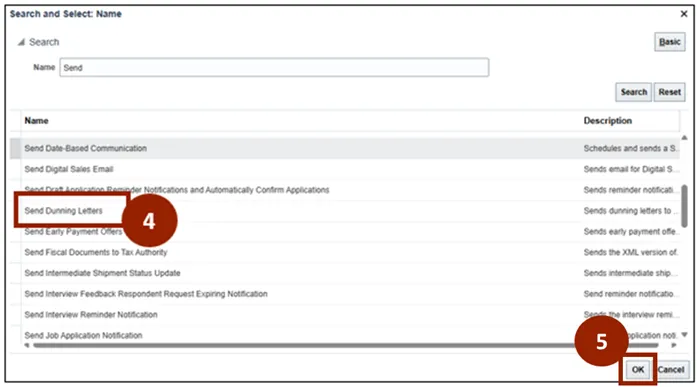
Step 4. Select the required report from the list.
Step 5. Click OK.
NOTE: In NCFS an individual report is called a Job and a set of reports are called a Job Set.

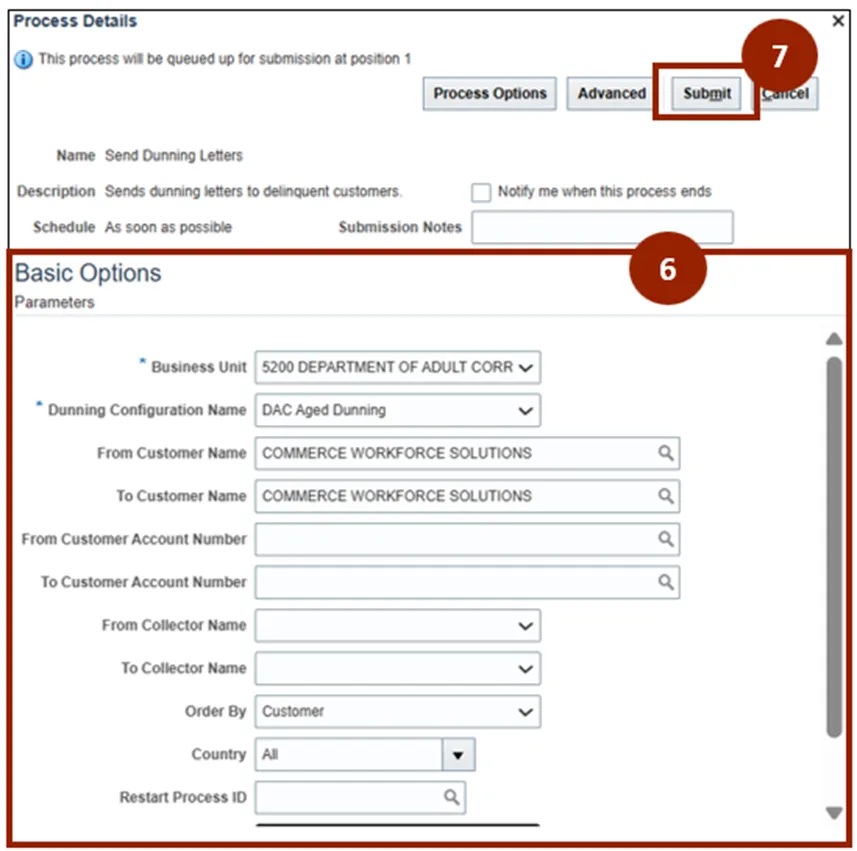
Step 6. Enter the parameters in the required fields:
- Business Unit
- Dunning Configuration Name
- From Customer Name
- To Customer Name
- Draft Mode
Step 7. Click Submit.
Note: Each report parameter will be different, and the data generated in the report will depend upon the parameters selected.
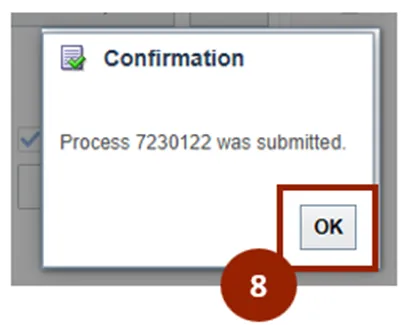
Step 8. A confirmation message will appear. Click OK.
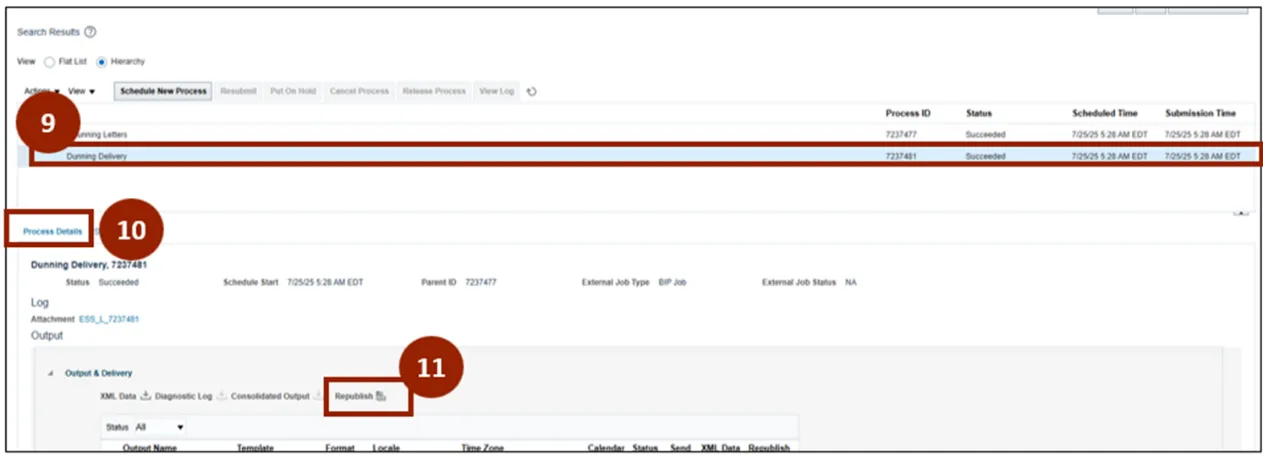
Step 9. Check the report status and refresh until the status displays as Succeeded.
Step 10. Click Process Details to view or download the report.
Step 11. Click Republish to download the report in the required format.
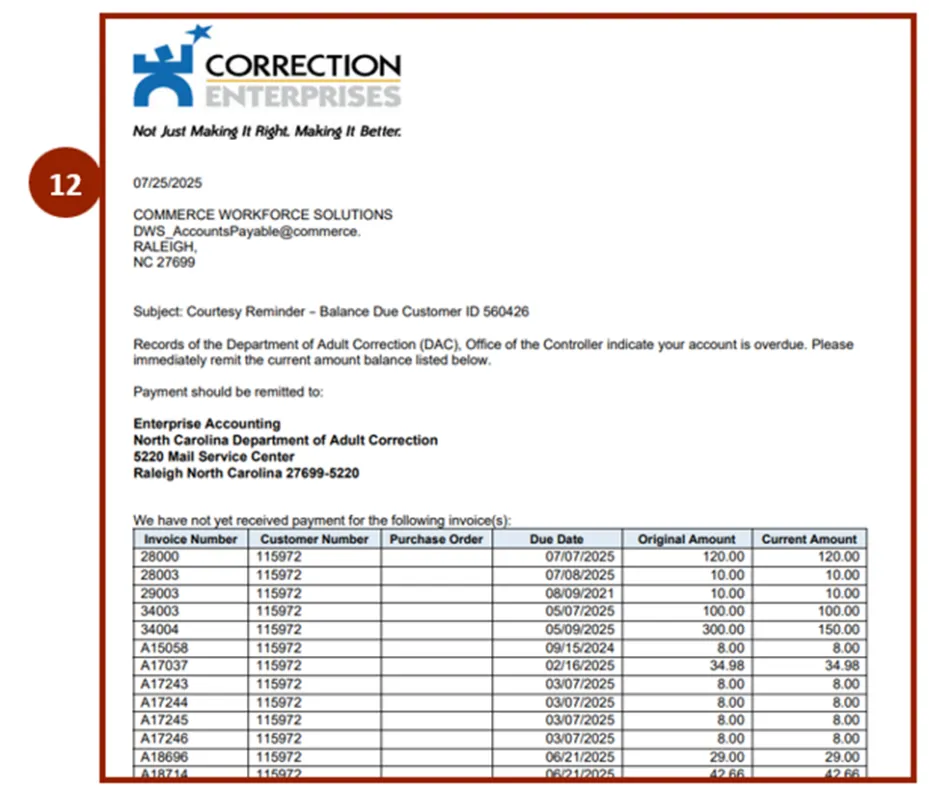
Step 12. The results are displayed in the selected format.
Create a Scheduled Report
There are 17 steps to complete this process.
Step 1. On the Tools tab of the Home page, click on the Scheduled Processes app.
Step 2. Click Schedule New Process.
Step 3. Enter the name of the report in the Search field.
Step 4. Select the required report from the list.
Step 5. Click OK.
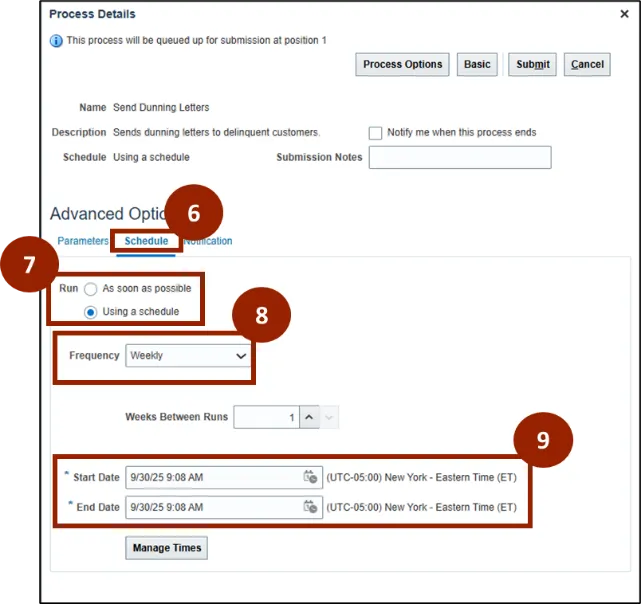
Step 6. On the Process Details page, under Advanced Options, click Schedule.
Step 7. In the Run section, click Using a Schedule.
Step 8. In the Frequency drop-down, select the desired report cadence.
Step 9. Enter the Start and End dates and times for when the report should be sent out.
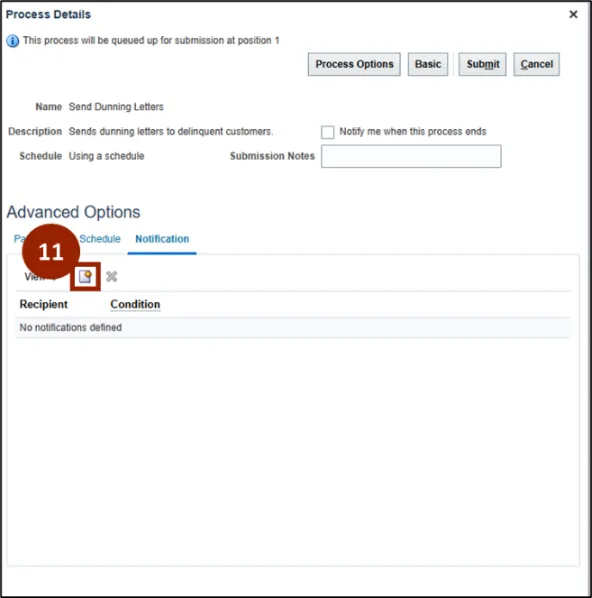
Step 10. On the Process Details page under Advanced Options, select the Notification tab.
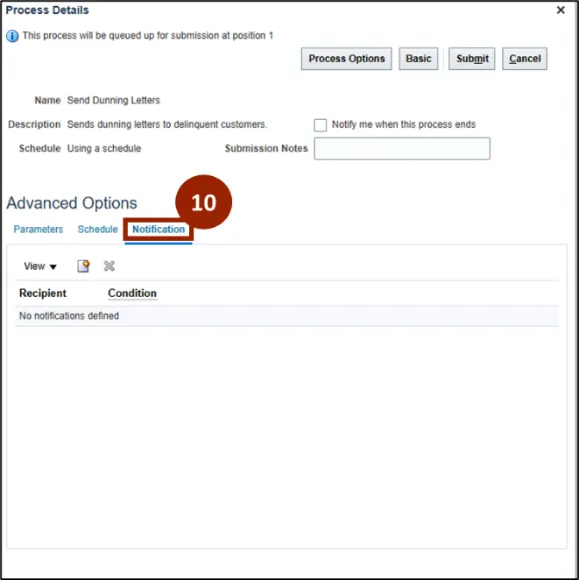
Step 11. Click the add new notification icon to add a new method of notification.
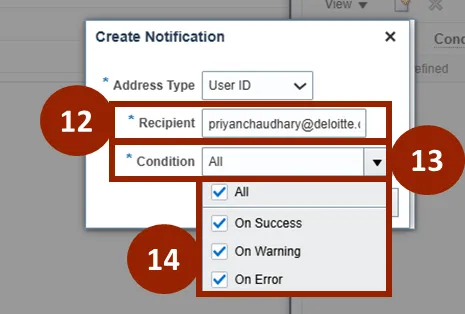
Step 12. Add the desire recipient email in the Recipient field.
Step 13. Click the Conditions drop-down menu.
Step 14. Select the required condition to receive a notification.
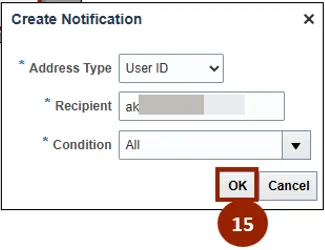
Step 15. Click OK.
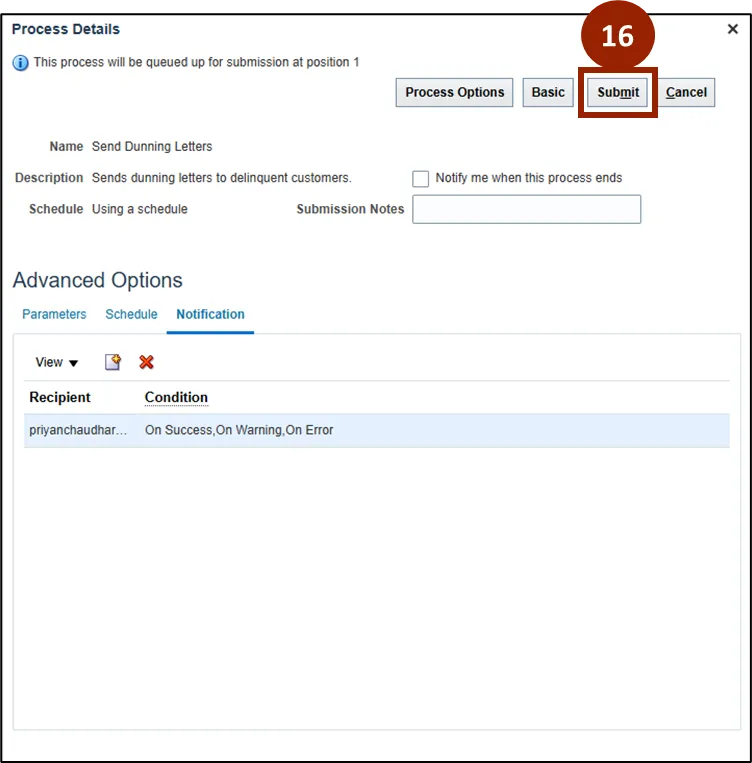
Step 16. When schedule and notification preferences are updated, click Submit.
Step 17. In the confirmation message, click OK.
Wrap-Up
NCFS users can run AR customer reports by following the steps outlined above.
Additional Resources
- Instructor Led Training (ILT)
- AR109: AR Reporting (Coming Soon)