Purpose
The purpose of this Quick Reference Guide (QRG) is to provide a step-by-step guide of how to Share a Classic Report by Email in Oracle Analytics Cloud (OAC).
Introduction and Overview
This QRG covers the process of sharing a classic report by email in OAC. By creating Agents, users can automate the delivery of important reports or alerts to themselves or others, either on a set schedule or when specific conditions are met. Notifications can be sent as dashboard alerts or directly to email, ensuring users stay informed without manual monitoring.
Share a Report via Email
In OAC, Agents can be created to automatically send important reports or alerts to users, either on a set schedule (like daily, weekly, monthly) or when specific conditions are met (such as going over a budget limit).
Notifications can be delivered through dashboard alerts or directly to your email, making it easy to stay updated without manual checks.
Follow the below steps to share a report via email. There are 17 steps to complete this process.
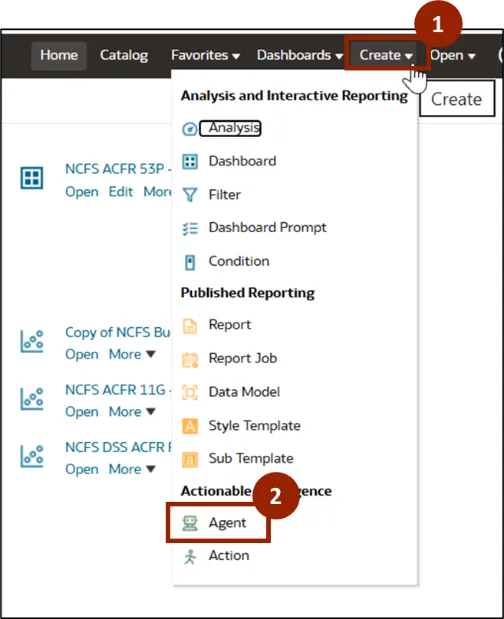
Step 1. To share a report via email, navigate to OAC Home page. Click Create.
Step 2. A pop-up menu appears. Click Agent.
Step 3. An Untitled Agent screen is displayed. In the General tab, set Priority and Run As.
Step 4. In the Schedule tab, enter the scheduling details as required.

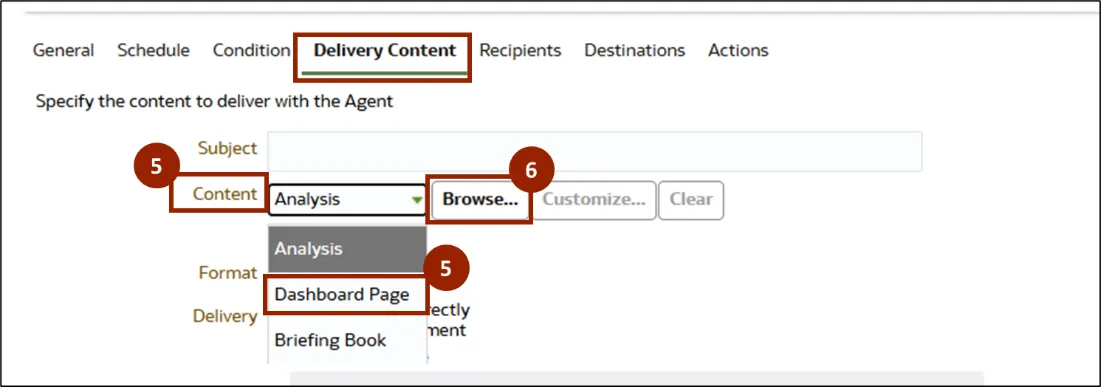
Step 5. In Delivery Content tab, select Dashboard Page from the drop-down.
Step 6. Click Browse.
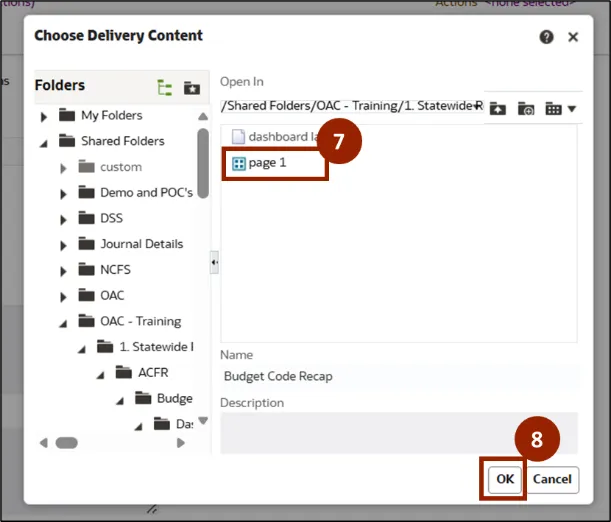
Step 7. The Choose Delivery Content pop-up window is displayed. Select the desired dashboard page from the folders.
Step 8. Click OK.
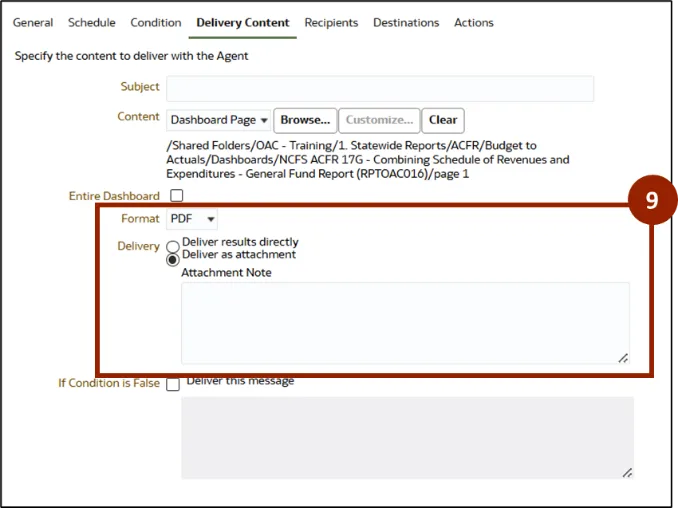
Step 9. Once the content is attached, review the other details displayed such as Format, Delivery, and Attachment Note.
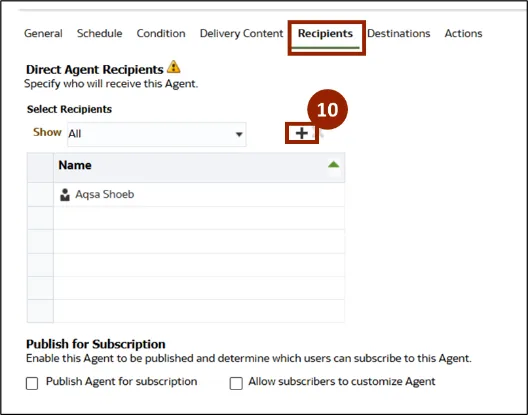
Step 10. Navigate to Recipients tab. Click the plus icon to add recipients.
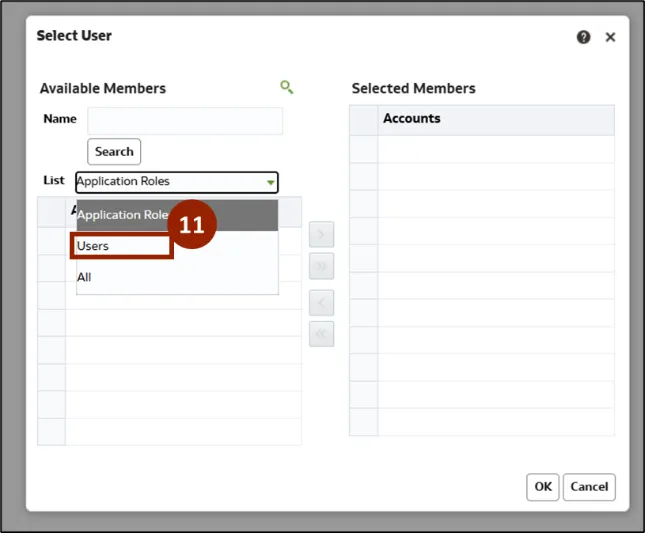
Step 11. The Select User pop-up window is displayed. Select User from the List drop-down.
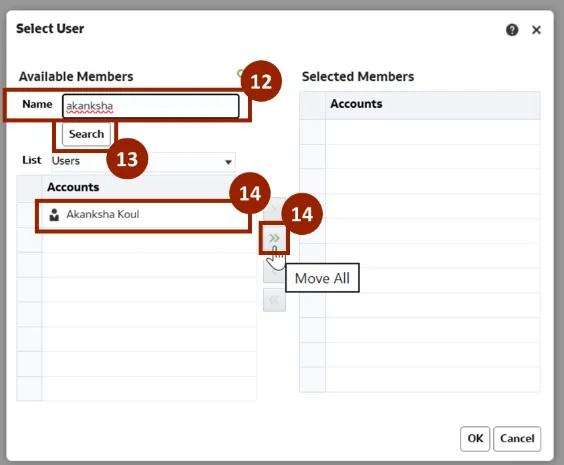
Step 12. Enter the name in the Name field.
Step 13. Click Search.
Step 14. The Accounts section shows the required name. Click the Move All icon to move the user to Selected Members section.
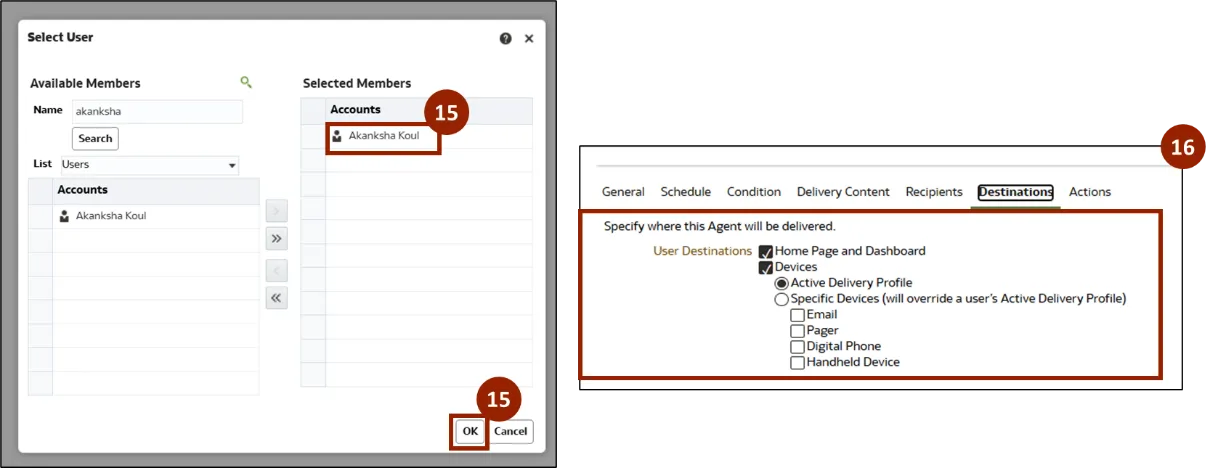
Step 15. Once the user is moved to the Selected Members section, click OK.
Step 16. In the Destination tab, specify where agents will be delivered and enter the required details.
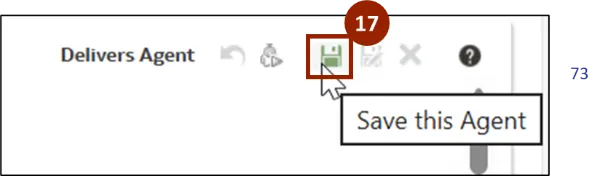
Step 17. Click Save this Agent icon to save the agent.
Wrap-Up
By following the steps above, OAC users can use Agents to automate report sharing by email or dashboard alerts, ensuring timely updates without the need for manual checks.
Additional Resources
- Virtual Instructor Led Training (vILT)