Purpose
The purpose of this Quick Reference Guide (QRG) is to provide a step-by-step guide of how to create, manage, and print invoices in the North Carolina Financial System (NCFS).
Introduction and Overview
This QRG offers a comprehensive overview of key invoice processes in NCFS Accounts Receivable (AR). It explains how to create invoices either manually or from a sales order, manage invoices (including duplicating and reviewing), and print invoices for distribution or record-keeping. Following these steps helps ensure accurate billing, organized receivables records, and a streamlined invoicing workflow.
Create Manual Invoice Transaction
Complete the following steps to log in to NCFS. There are 24 steps to complete this process.
Step 1. Click the Company Single Sign-On (SSO) button.
Step 2. Enter your @dac.nc.gov email address.
Step 3. Click Next, then enter your password.
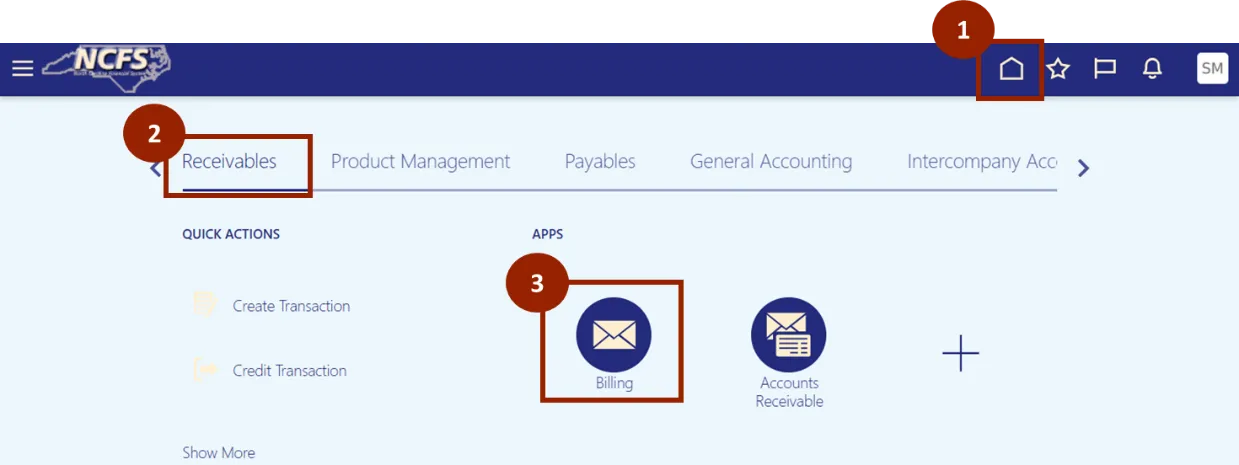
Step 4. Navigate to the Home page.
Step 5. While on the Home screen, click the Receivables tab.
Step 6. In the Receivables tab, select Billing.

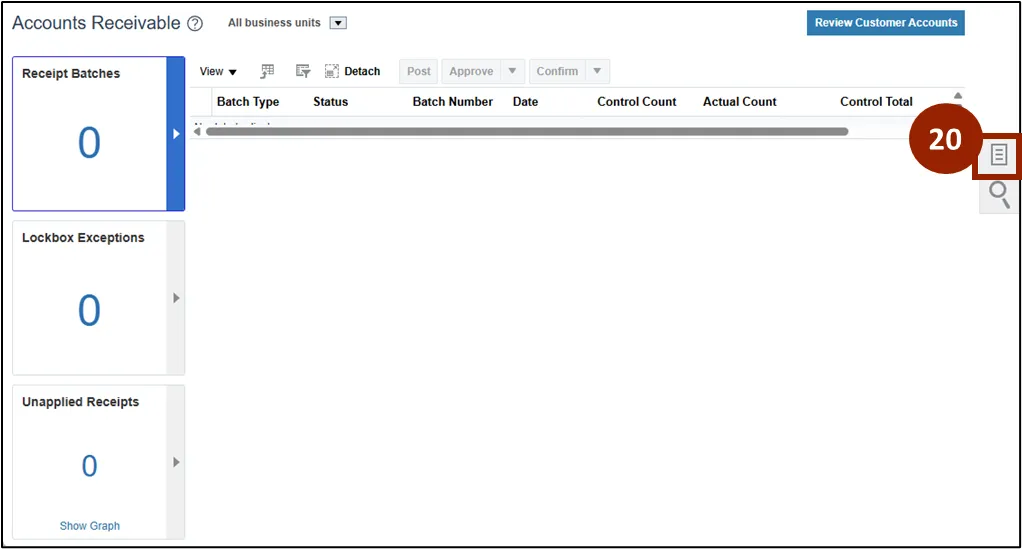
Step 7. On the Billing page, click the Task icon.
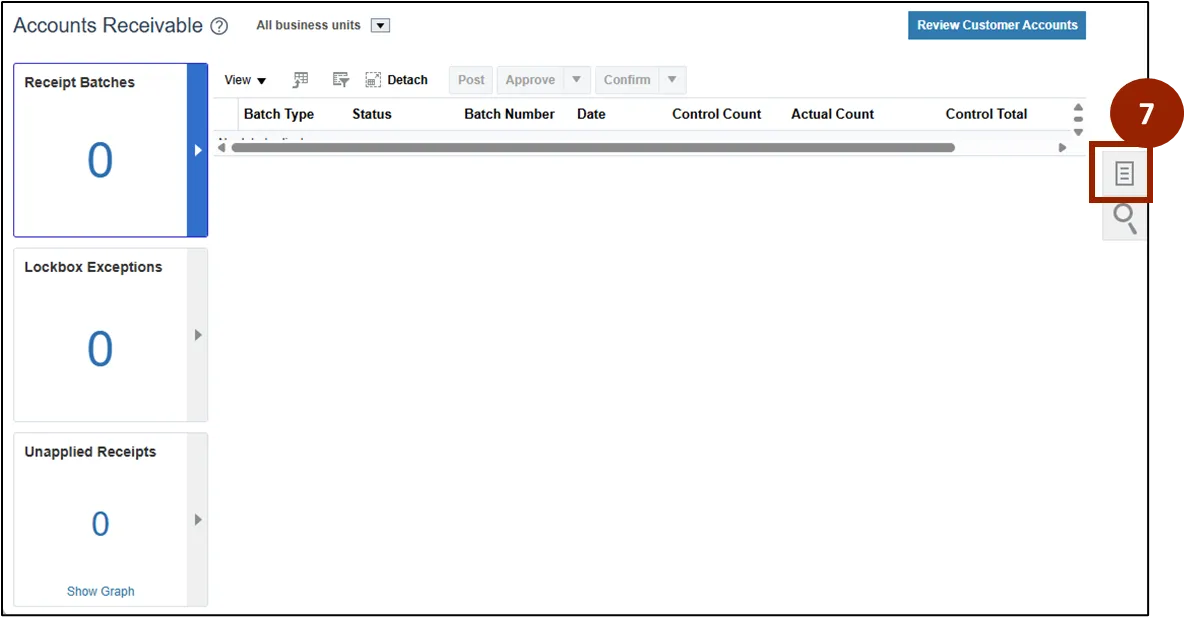
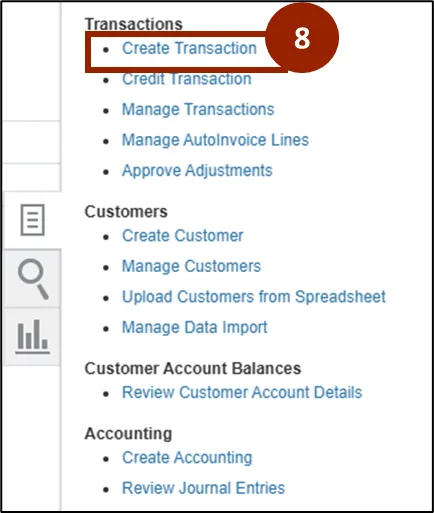
Step 8. Select Create Transaction.
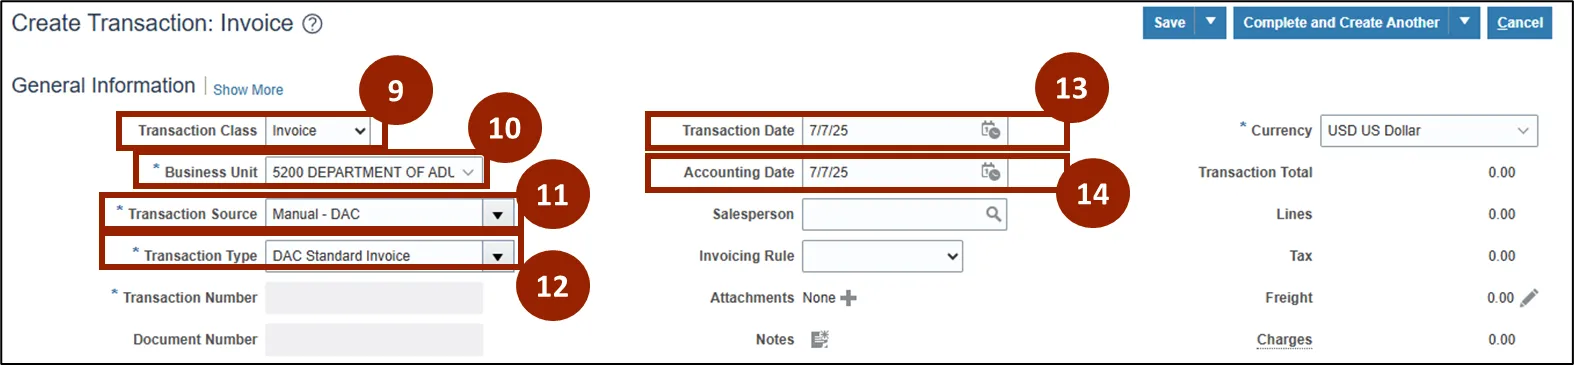
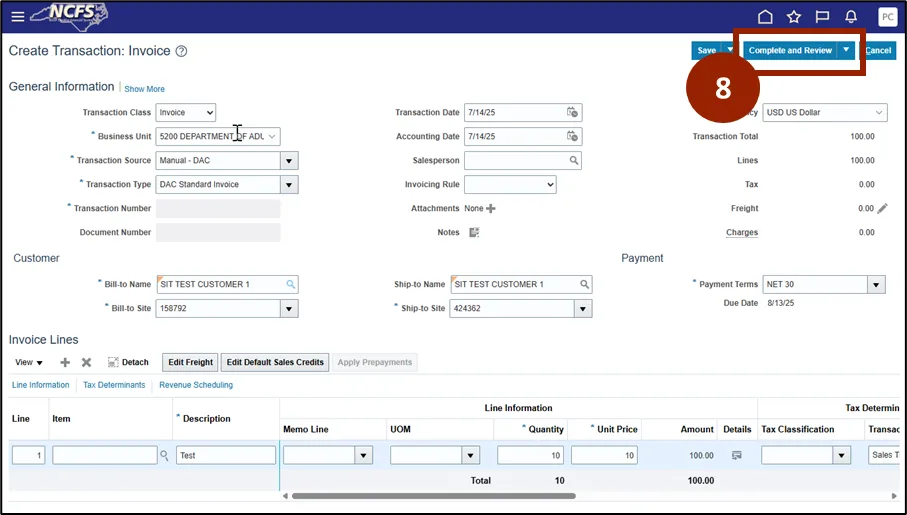
Step 9. In the Transaction Class field, select Invoice.
Step 10. In the Business Unit field, choose 5200 Department of Adult Correction.
Step 11. From the Transaction Source dropdown, select Manual – DAC.
Step 12. The Transaction Type field will automatically populate with DAC Standard Invoice once the Transaction Source is selected.
Step 13. Enter the Transaction Date (this can be backdated if necessary).
Step 14. Specify the Accounting Date.
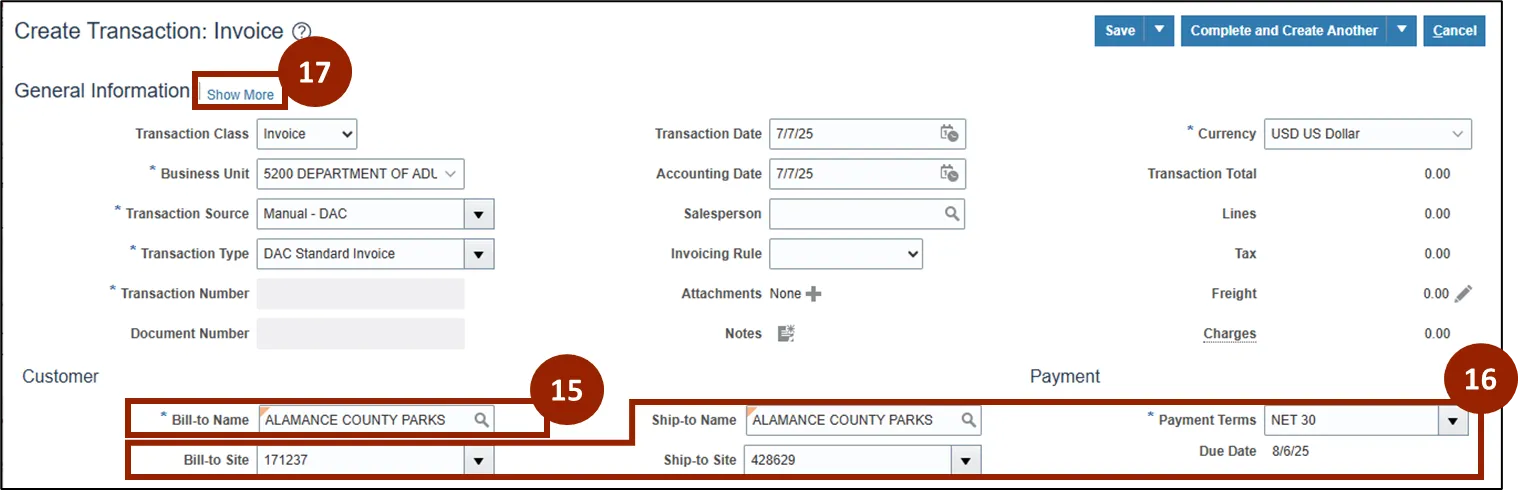
Step 15. Enter the relevant customer in the Bill-to Name field.
Step 16. After entering the Bill-to Name, the remaining fields in the Customer section will automatically populate. Payment Terms will default to NET30 (payment due within 30 days).
Step 17. Click the Show More link to view additional customer details.
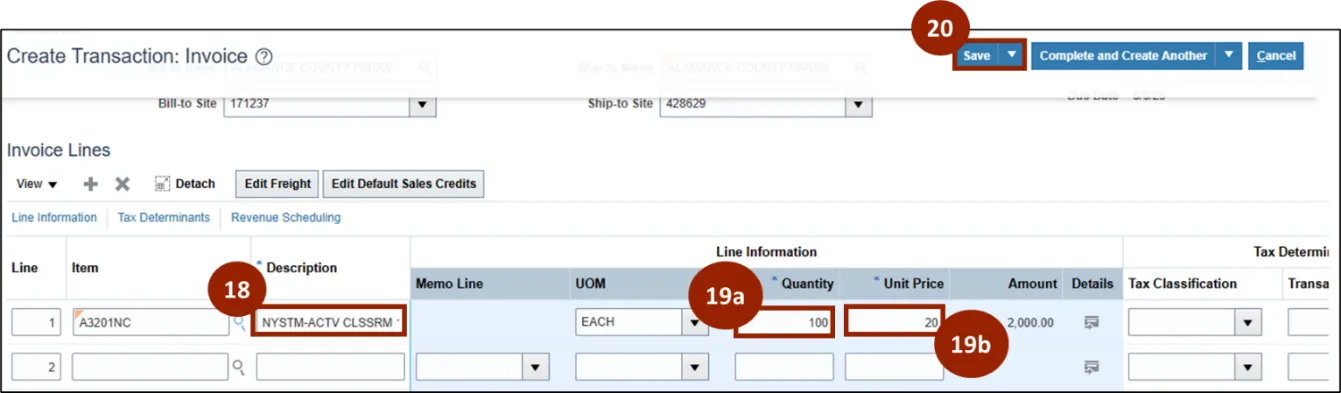
Step 18. Enter a value in the Description field (for non-physical products).
Step 19. Specify the Quantity (19a) and Unit Price (19b).
Step 20. Click Save to update the header information.
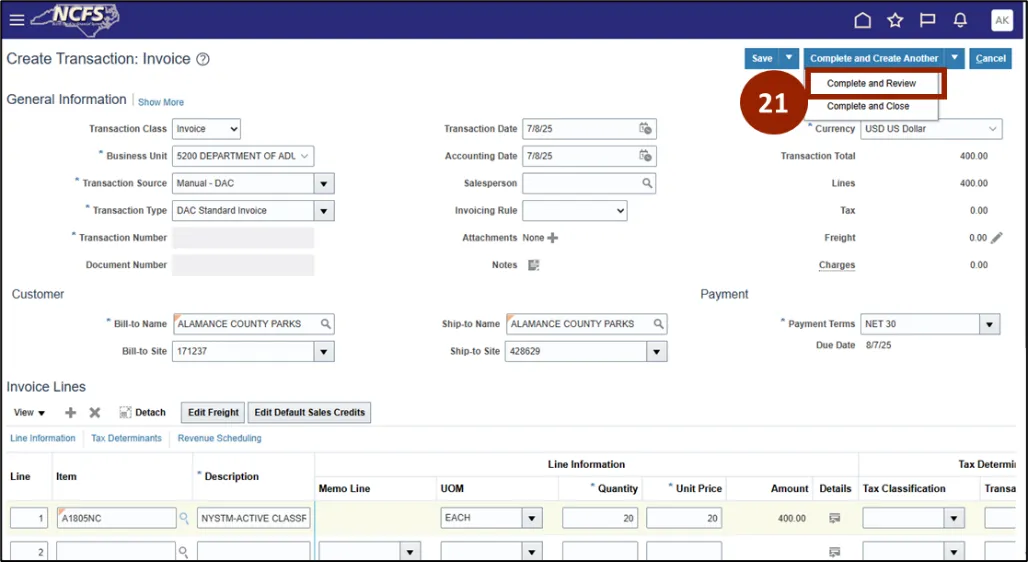
Step 21. When all necessary information is provided, select Complete and Review.
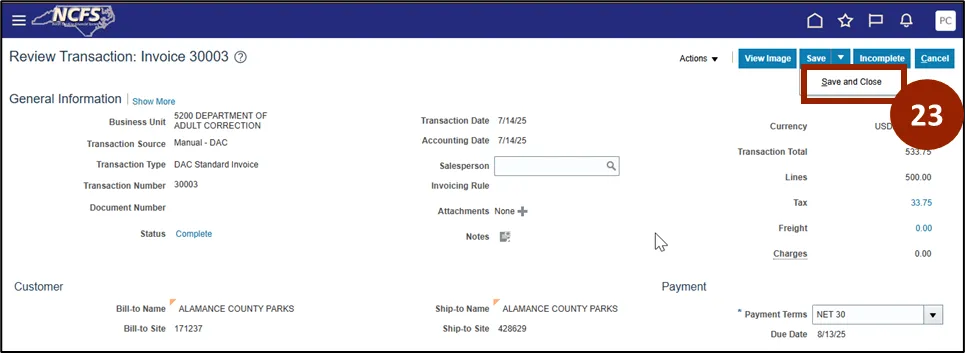
Step 22. Thoroughly review the invoice – to be valid, the status must say Complete.

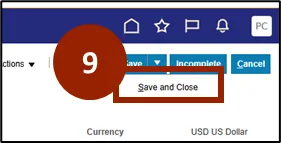
Step 23. Click Save and Close.
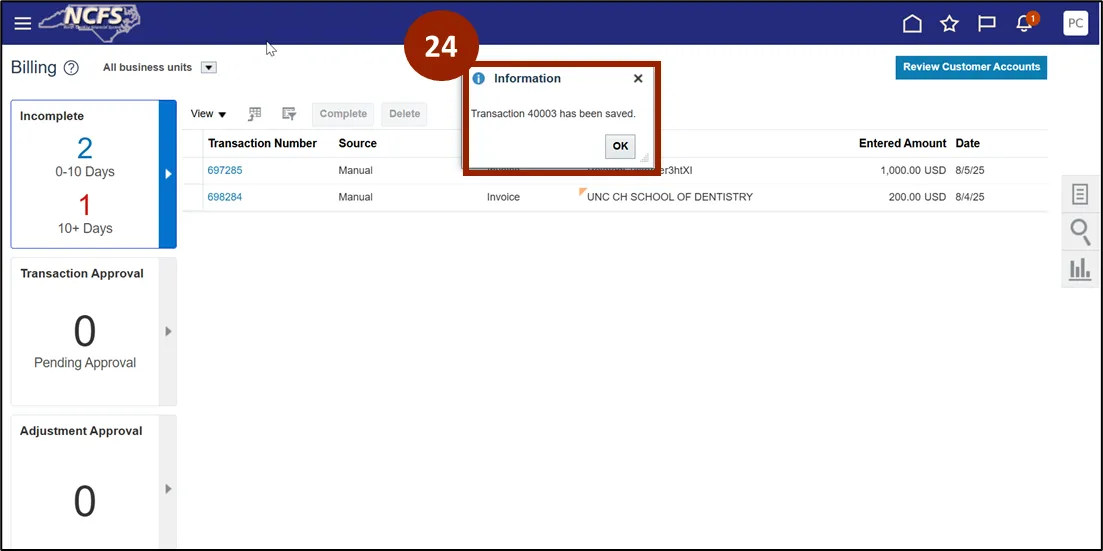
Step 24. You are returned to the Billing overview screen, and a confirmation pop-up box appears to confirm the creation of the transaction.
Create Invoice from Sales Order using AutoInvoice
To create an invoice from a sales order in NCFS, follow these steps. There are 24 steps to complete this process.
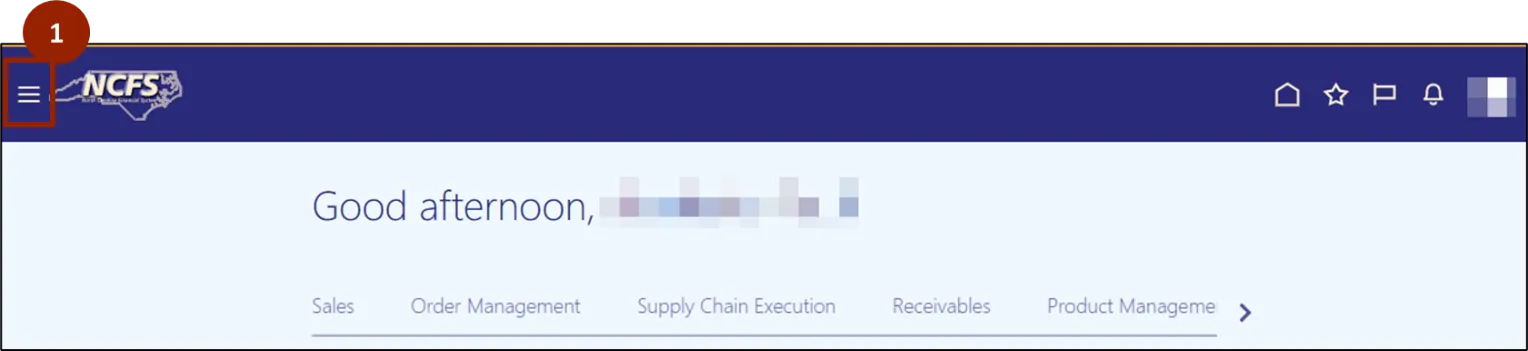
Step 1. From the Home page, click the Navigator menu (located in the upper left corner of the screen).
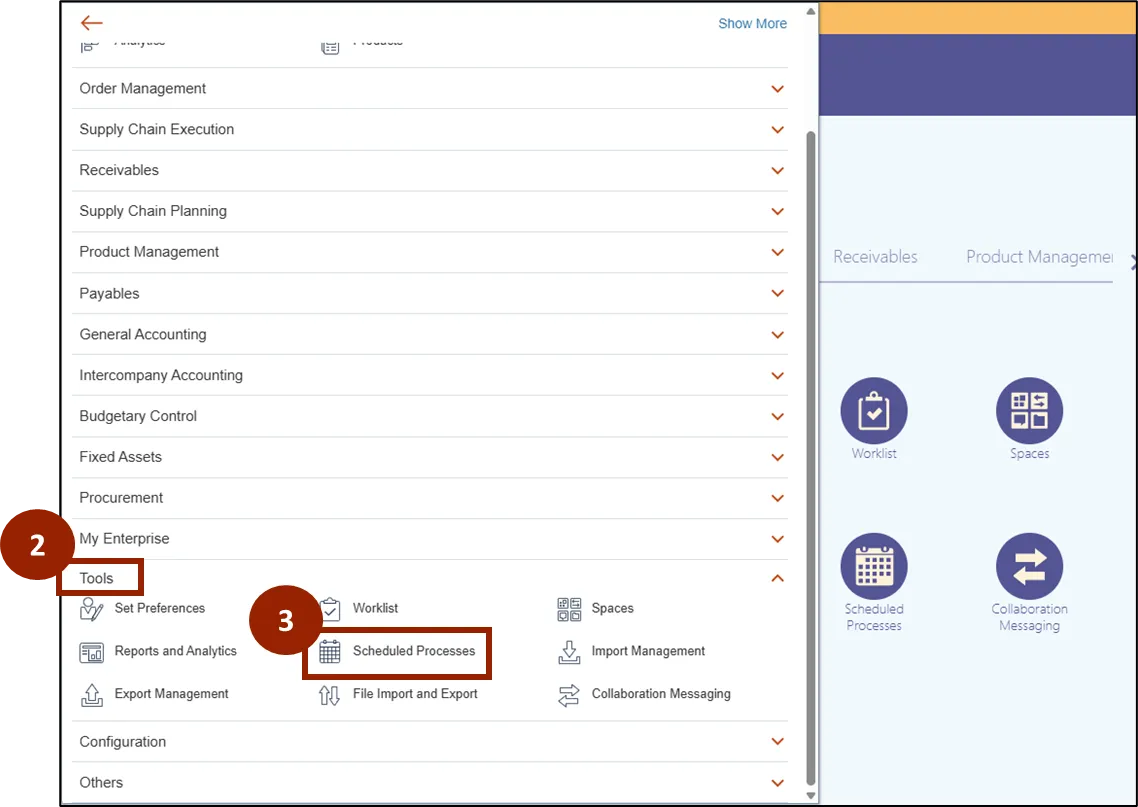
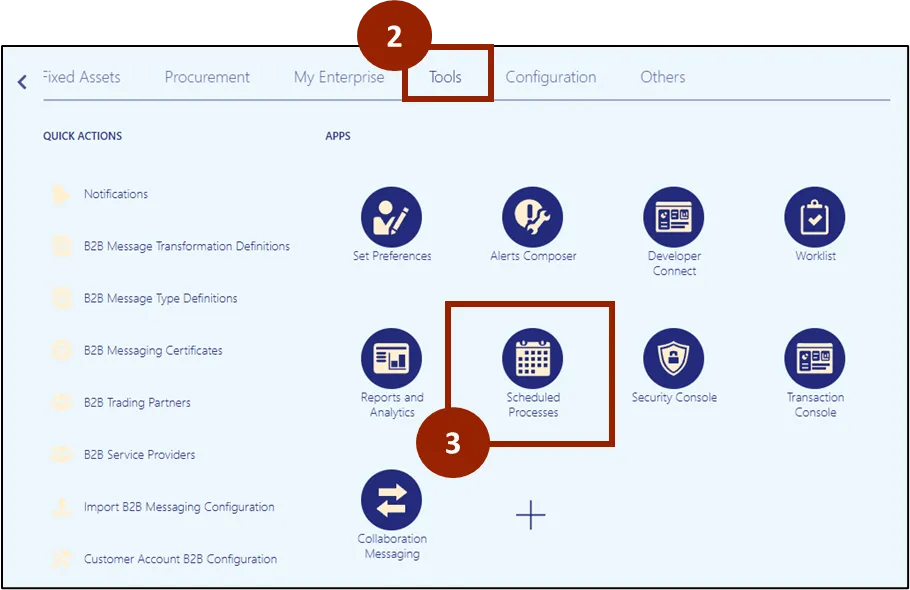
Step 2. Select Tools.
Step 3. Click Scheduled Processes.
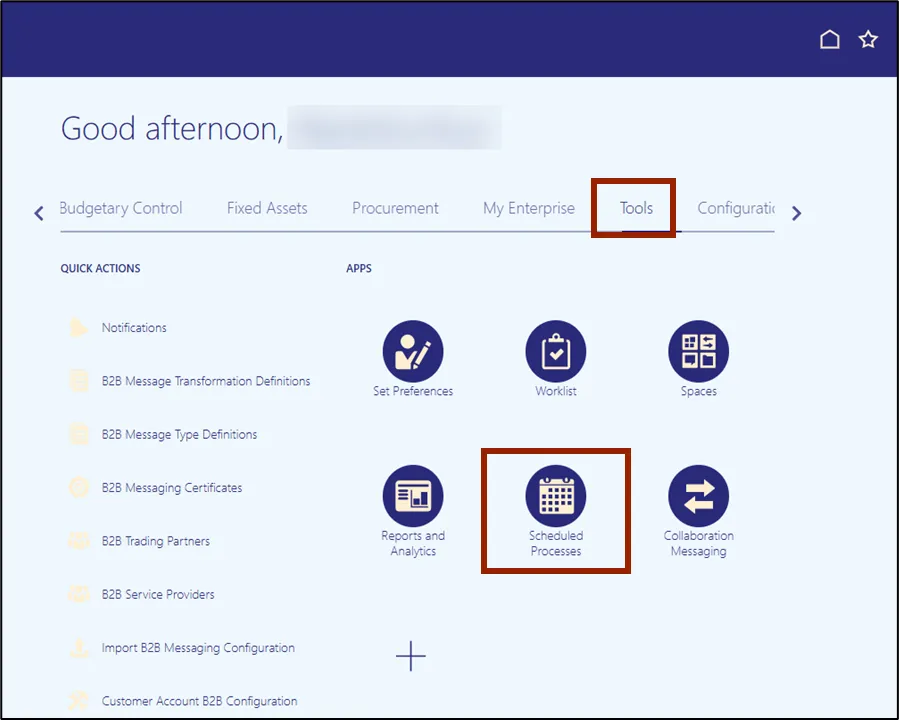
Note: Alternatively, from the Home page, you may select the Tools tab and then click Scheduled Processes.
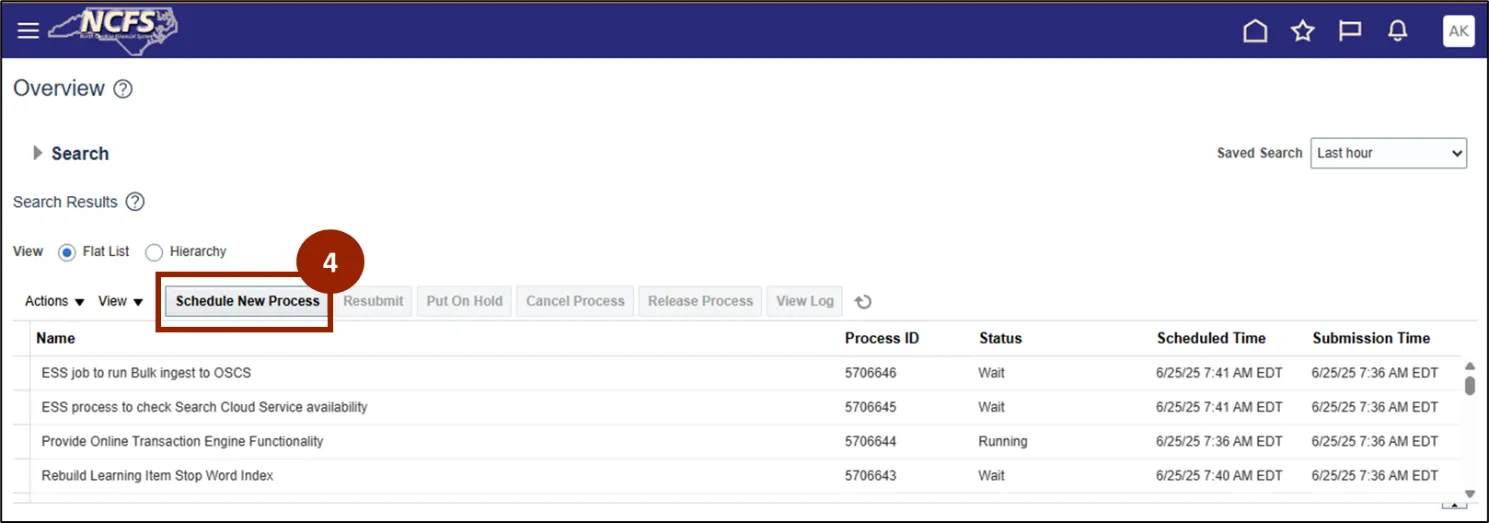
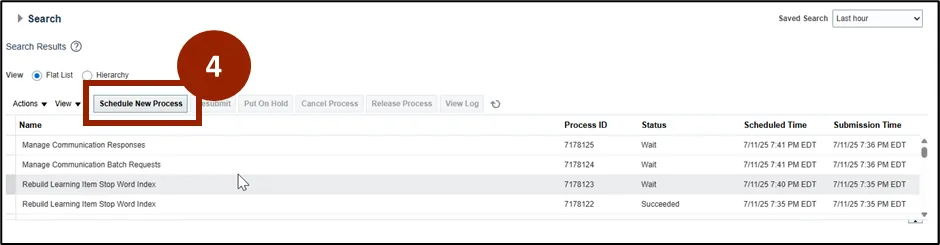
Step 4. On the Scheduled Processes Overview page, select the Schedule New Process button.
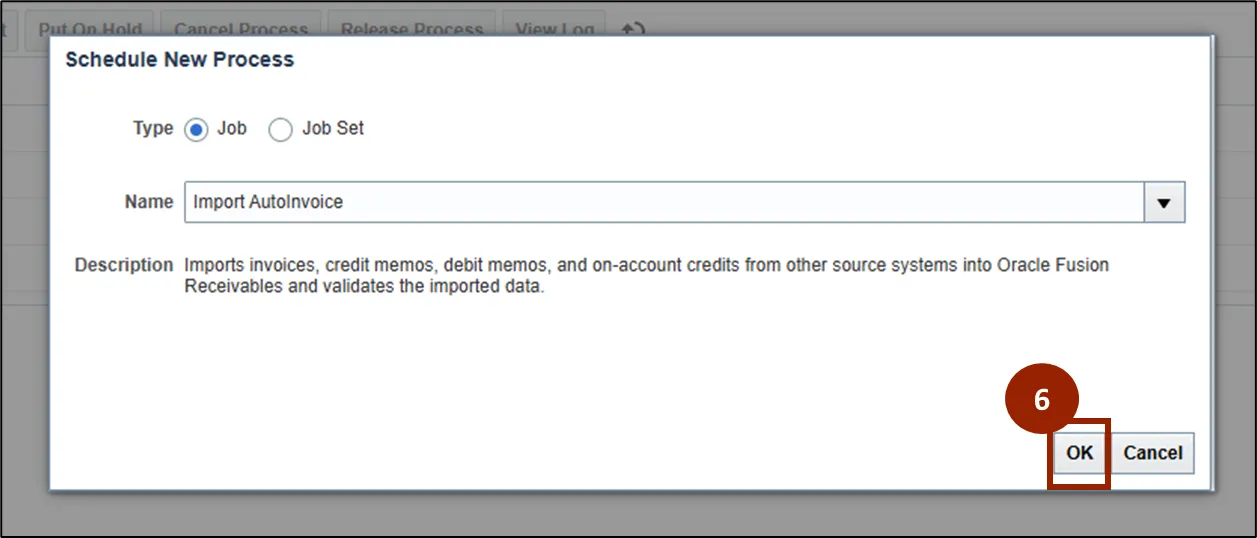
Step 5. In the Name field, enter the keywords Import AutoInvoice to run, then select the appropriate report or process from the search results.
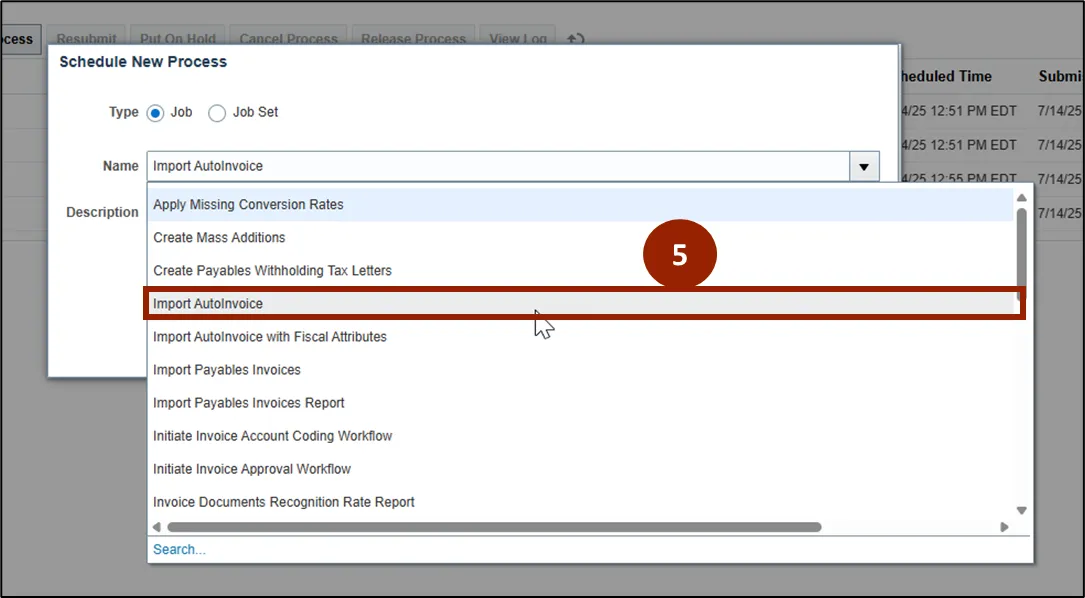
Step 6. Click OK.
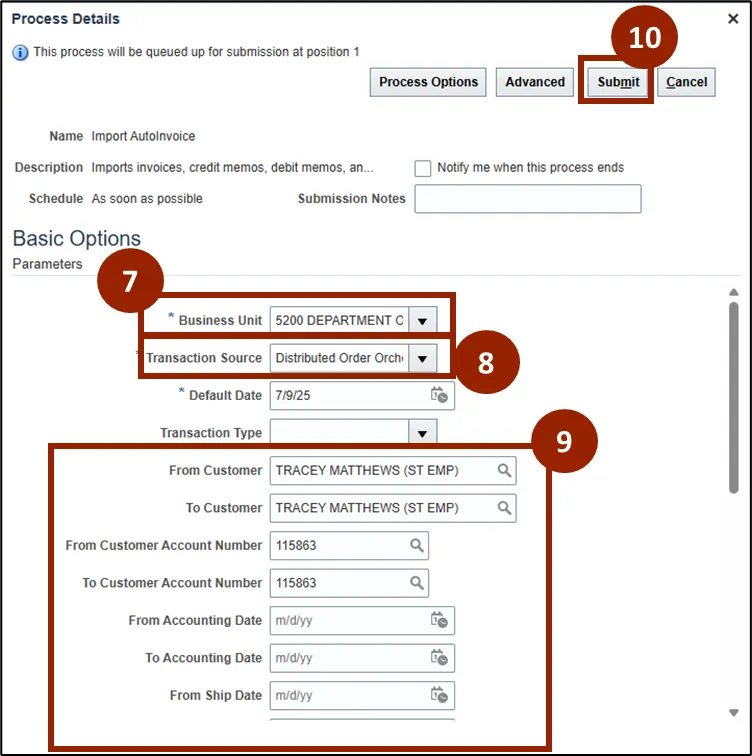
Step 7. Select the appropriate Business Unit from the list.
Step 8. In the Transaction Source field, select Distributed Order Orchestration (Sales Order) to ensure you are importing sales order data.
Step 9. If needed, enter additional details in the following fields to further refine your invoice selection:
- From Customer
- To Customer
- From Customer Account Number
- Sales Order Details
Step 10. Click Submit.
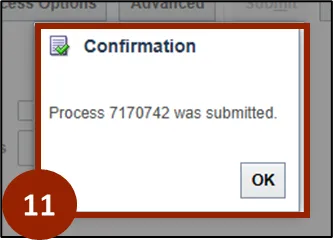
Step 11. A Confirmation will pop up after submission.
Step 12. The process will appear in the Scheduled Processes list; monitor the status - Paused, Wait, Running, Ready, Succeeded, or Error.
Step 13. Click the refresh icon as needed to update the status of the scheduled processes.
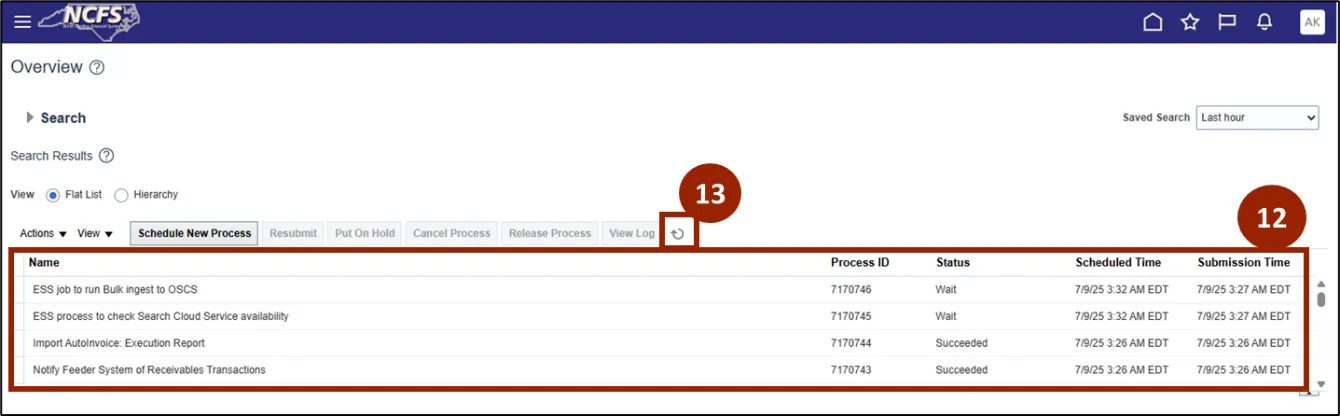
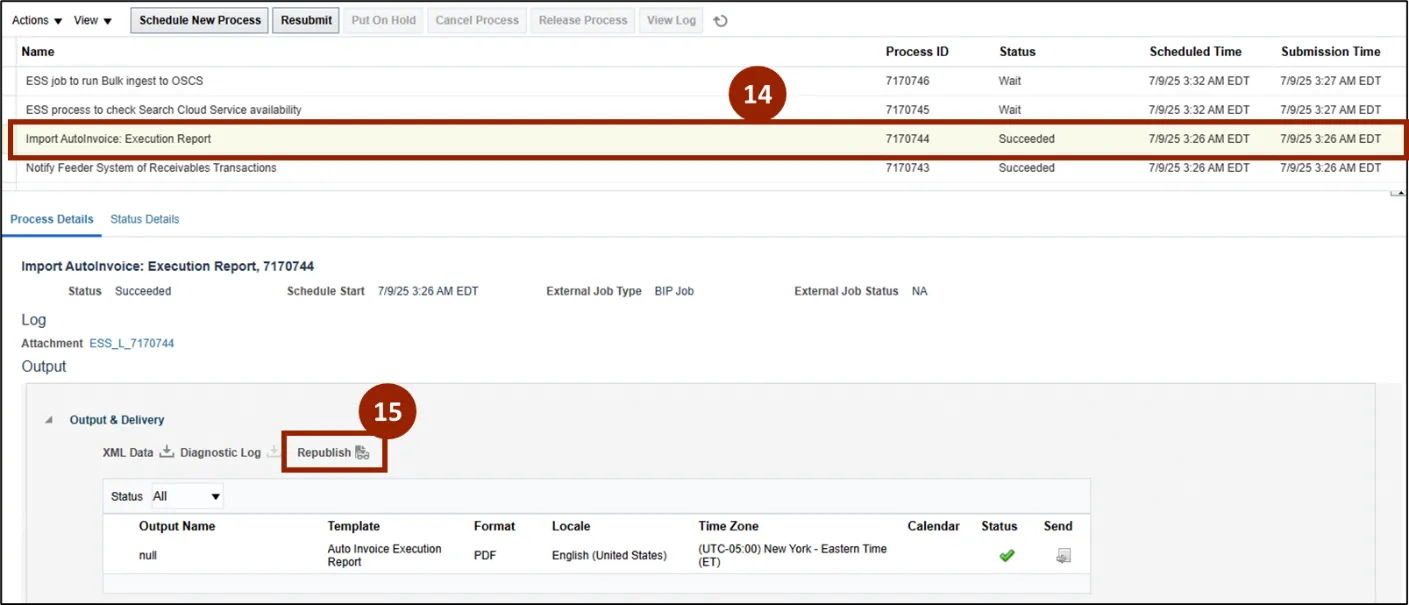
Step 14. Once the process status says Succeeded, select the process row.
Step 15. Click Republish to access the report.
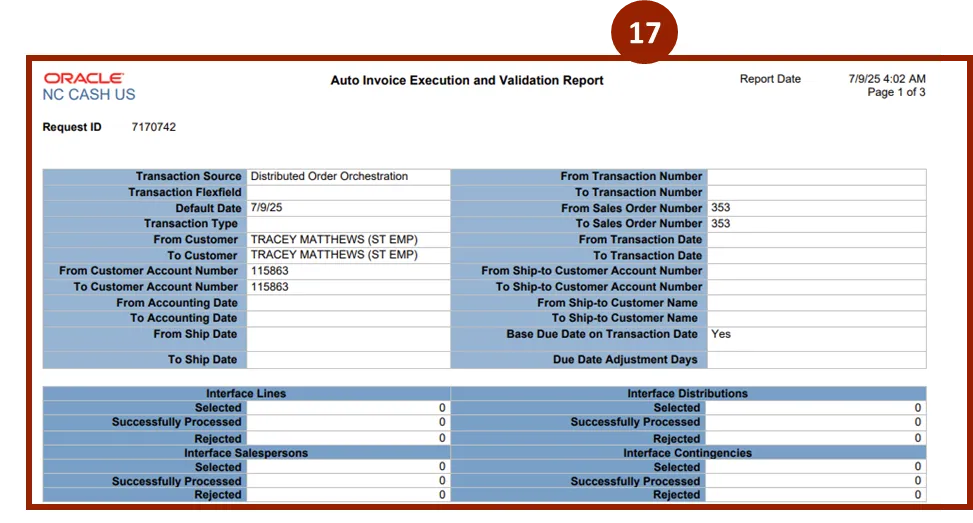
Step 16. Click Export to save the report in your desired format.
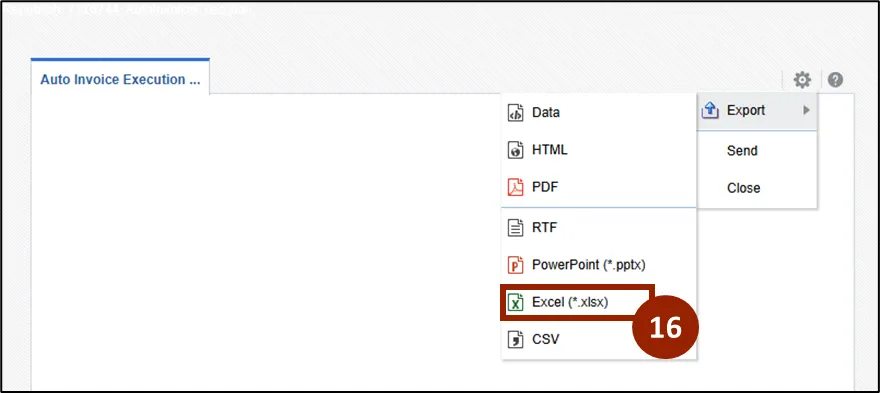
Step 17. The report downloads in the selected format.
Step 18. To check if an invoice has been created from a sales order, navigate to the Home page and select Receivables.

Step 19. Within the Receivables tab, select Billing.

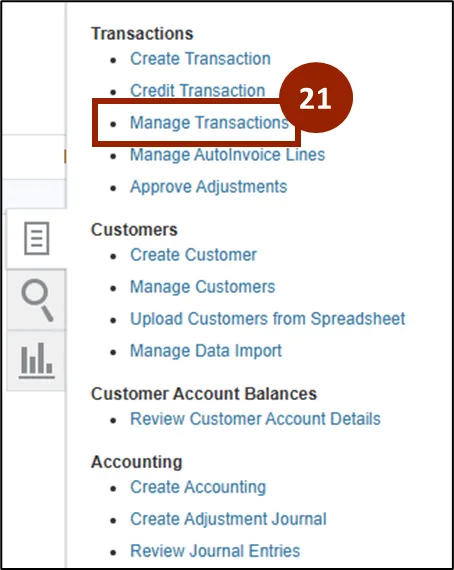
Step 20. Click the Task icon.
Step 21. Select Manage Transactions from the Task Menu.
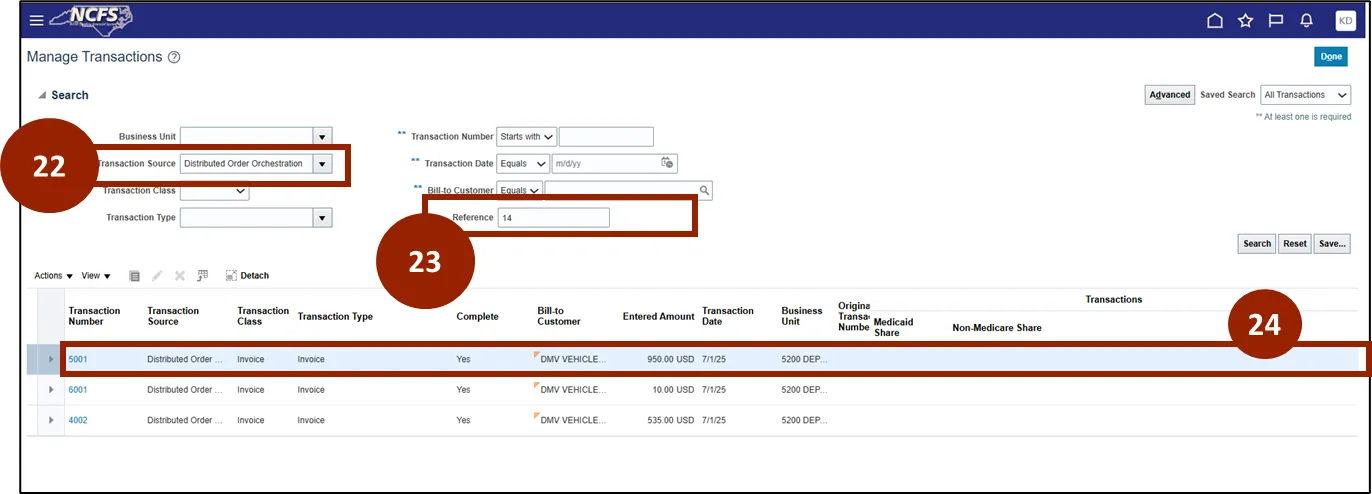
Step 22. In the Transaction Source field, input Distribution Order Orchestration.
Step 23. In the Reference field, input Sales Order number.
Step 24. If the invoice has been created, it will appear as a transaction.
Create a Duplicate Manual Invoice Transaction
Duplicating an invoice in NCFS lets you quickly create a new invoice that carries over the customer and line details of an existing one—saving time and ensuring consistency.
To manually create a duplicate invoice transaction, follow the steps below. There are 9 steps to complete this process.
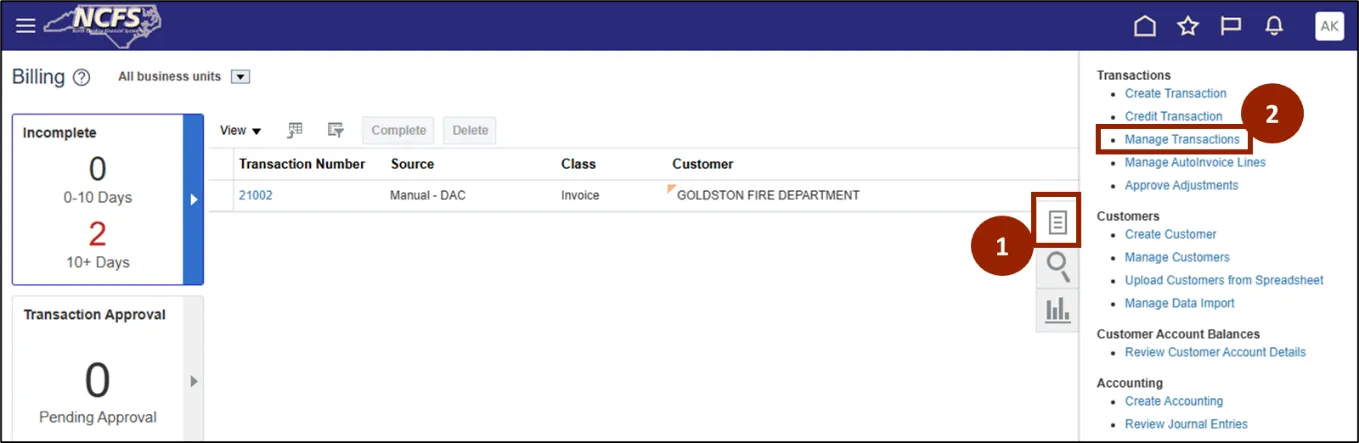
Step 1. From the Billing page, click the Task icon.
Step 2. Select Manage Transactions.
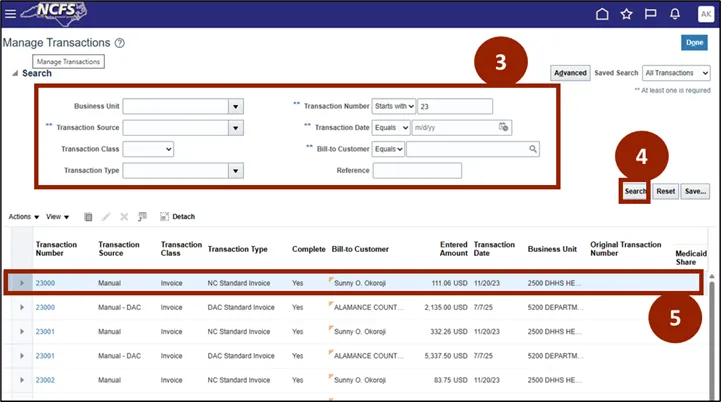
Step 3. Enter the relevant details in the required fields.
Step 4. Click Search.
Step 5. Select the relevant transaction from the search results.
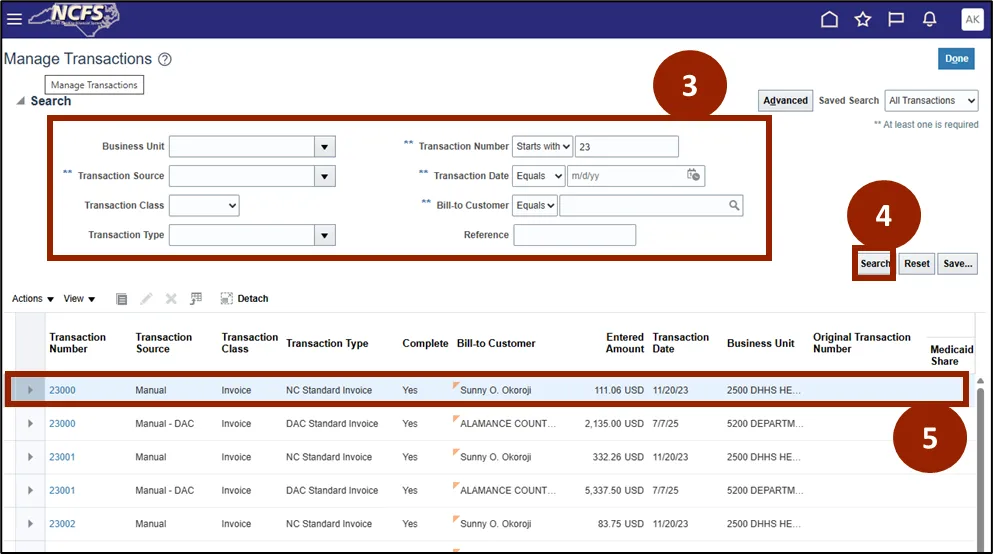
Step 6. Click the Actions dropdown.
Step 7. Select Duplicate.

Step 8. Edit the invoice as needed, then select Complete and Review.
Step 9. When complete, click Save and Close.
Review an Invoice (Option 1)
To review the transaction using the alternative method, please follow these steps. There are 7 steps to complete this process.
Step 1. Begin from the Home page or click the Home icon.
Step 2. While on the Home screen, click the Receivables tab.
Step 3. In the Receivables tab, select Billing.
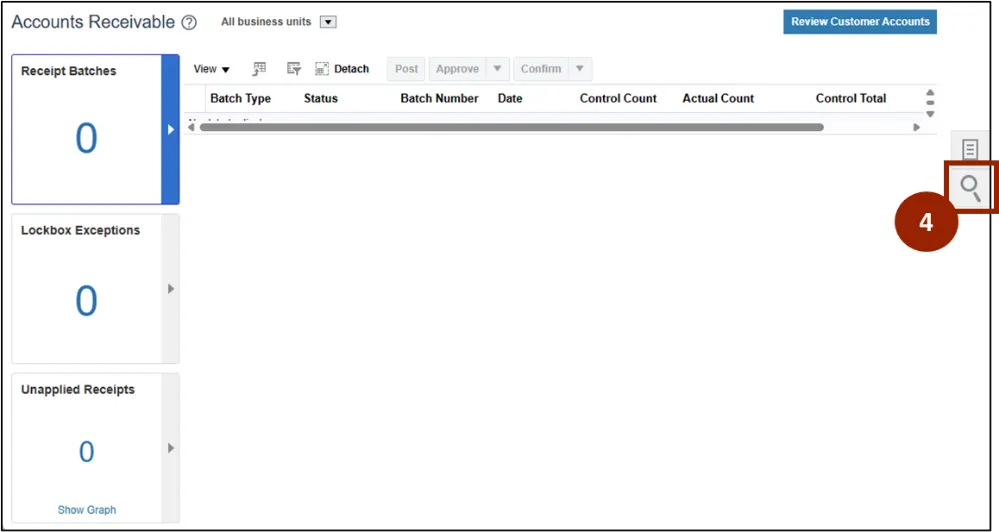
Step 4. On the Billing page, click the Search icon.
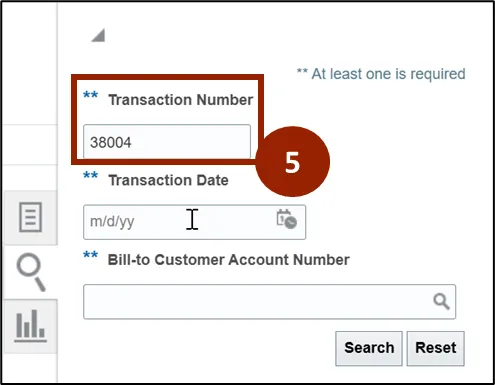
Step 5. Enter the Transaction Number and click Search.
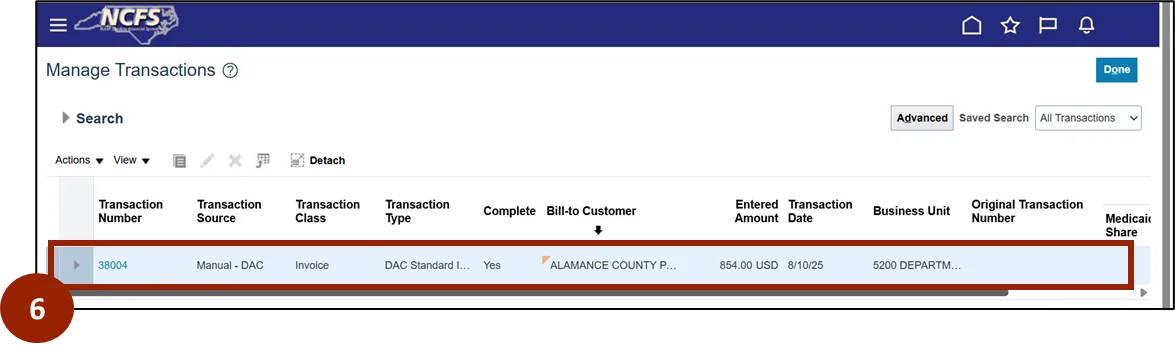
Step 6. Select the transaction from the search results page.
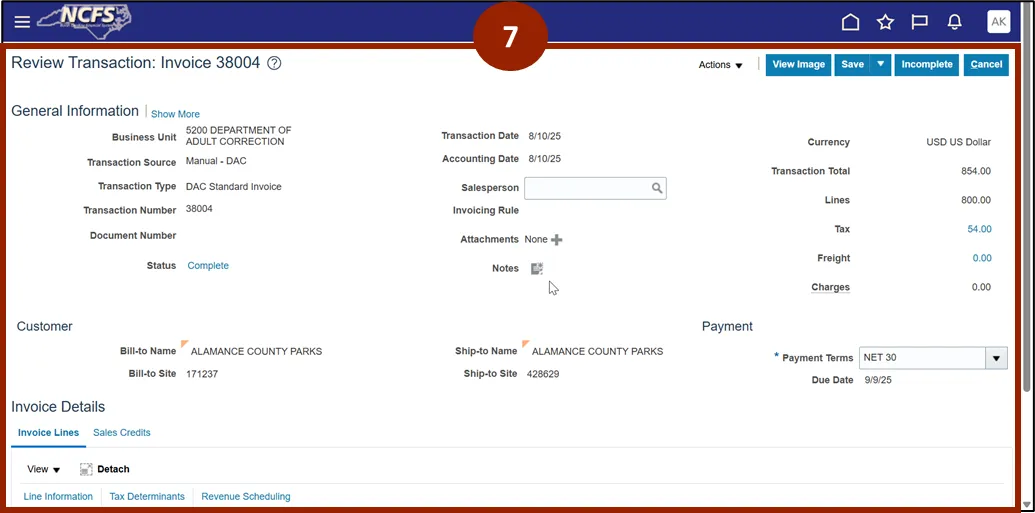
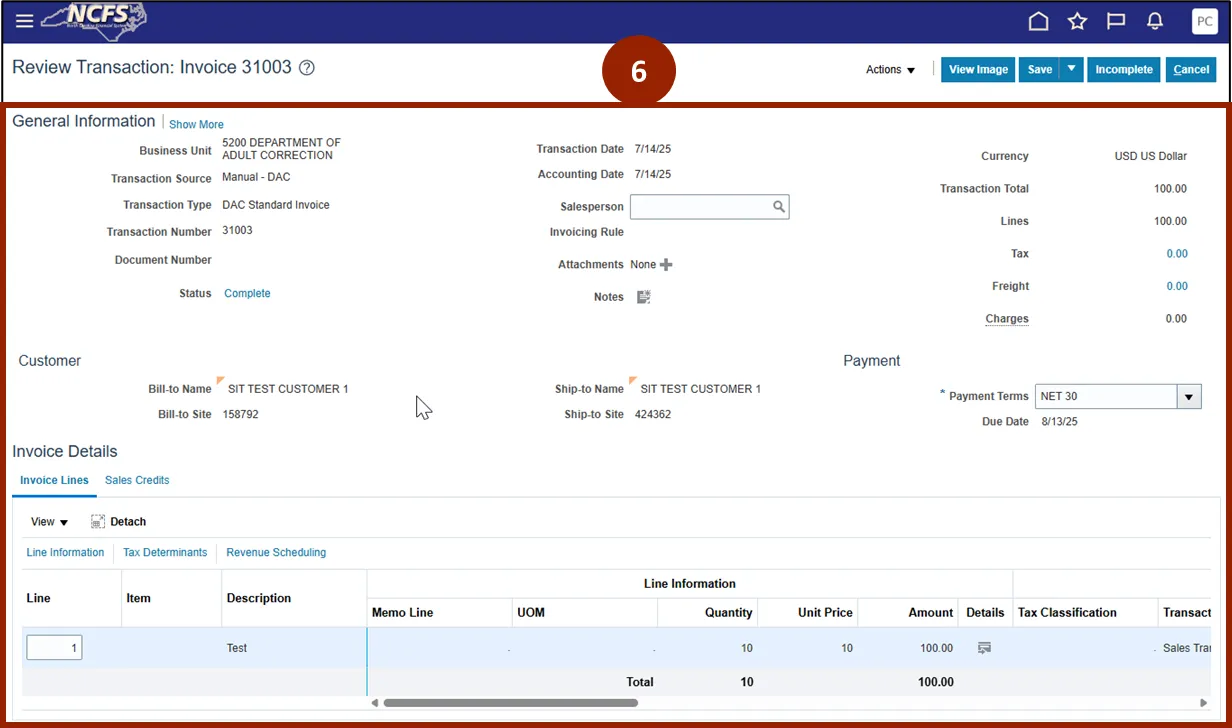
Step 7. The Review Transaction page will open. Review the transaction as needed.
Review an Invoice (Option 2)
To review an invoice transaction, follow the steps below. There are 6 steps to complete this process.
Step 1. On the Billing page, click the Task icon.
Step 2. Select Manage Transactions.

Step 3. Enter the relevant details in the required fields.
Step 4. Click the Search button.
Step 5. Select the relevant transaction from the search results.
Step 6. You can now review the details of the transactions.
Print Invoice
To print an invoice, follow the steps below. There are 15 steps to complete this process.
Step 1. Begin from the Home page or click the Home icon to navigate to the home page.

Step 2. Click the Tools tab.
Step 3. Select Scheduled Processes.
Step 4. Click the Schedule New Process button.
Step 5. Enter Print Receivables Transactions in the Name field.
Step 6. Click OK.

Step 7. Enter the relevant values in the following fields:
- Business Unit
- Transactions to Print
- Order By
- From Transaction Number
- To Transaction Number
- Invoice Template Name
Step 8. Click Submit.

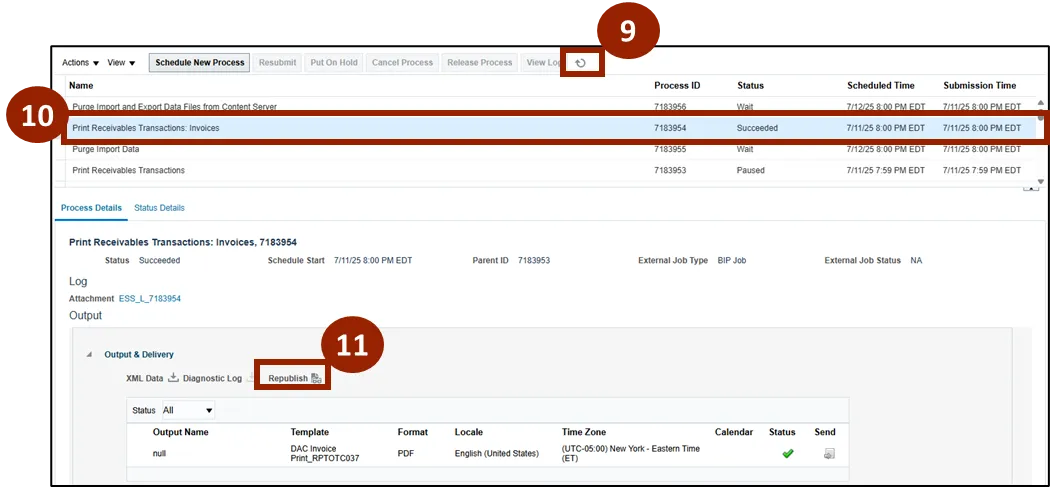
Step 9. Click the Refresh icon until the status of the process changes to Succeeded.
Step 10. Select the row with the process you want to print.
Step 11. Click Republish.
Step 12. Select the Gear icon.
Step 13. Select Export.
Step 14. Select PDF.
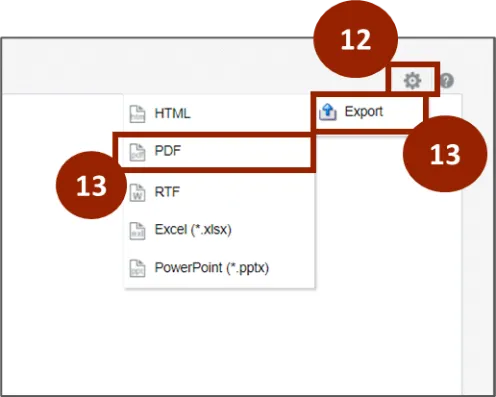
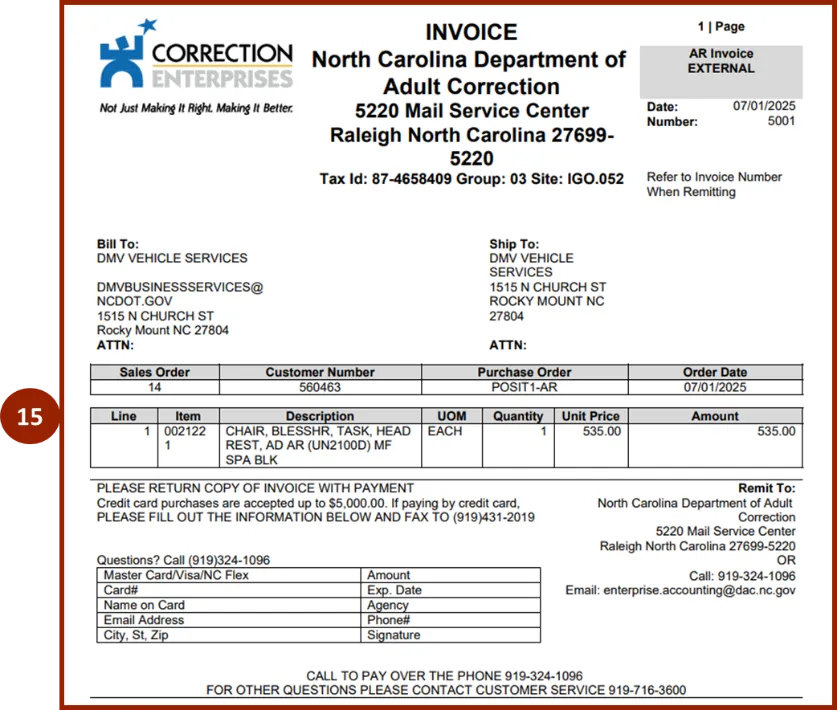
Step 15. The invoice is downloaded and ready to print.
Wrap-Up
NCFS users can create, manage, and print invoices using manual or automated methods to support accurate and timely financial recordkeeping, as outlined above.
Additional Resources
- Instructor Led Training (ILT)
- AR107 : Manage Billing (Coming Soon)