Purpose
The purpose of this Business Process Procedure is to explain how to load charge objects in the Integrated HR-Payroll System.
Trigger
An agency has a need to record and report on time entries related to agency specific charge objects.
Business Process Procedure Overview
In the Integrated HR-Payroll System, an agency may choose to report time related to agency specific charge objects. If there is a need to report work hours for a certain project or projects, unique charge objects for the project can be loaded into the Integrated HR-Payroll System. The charge objects are then available to report time against in transaction CAT2 or ESS. Reports can also be run to total hours reported against specific charge objects using transaction CATS_DA. Charge objects can be created at the position or organizational unit level.
Transaction ZPTA030 is used to load charge objects in the Integrated HR-Payroll System. ZPTA030 accepts a text file and uses the file to populate the Charge Object Assignment Infotype for an Org Unit or Position. ZPTA030 is only used to load new charge objects. Maintenance of pre-existing Charge Object Assignments is performed in transaction PO10 or PO13.
An individual assigned the Charge Object Maintainer role will have the ability to load charge object assignments using transaction ZPTA030.
This BPP will detail:
- Uploading the Charge Object Assignments into the Integrated HR-Payroll System
- Creating the text file for upload in the Integrated HR-Payroll System
The column layout for the upload file is:
- 1 char ID of O = Org Unit or S = Position
- Object ID number
- 10 char Valid From date MM/DD/YYYY
- 10 char Valid To date MM/DD/YYYY
- 12 char Charge Object abbreviation
- 40 char Charge Object description
- 12 char Activity abbreviation
- 40 char Activity description
- 12 char Element abbreviation
- 40 char Element description
- 12 char Sub-element abbreviation
- 40 char Sub-element description
Charge Object Maintainers can upload a file from local PC or from server directory. The file must be saved as a “tab delimited” text file.
This process creates an infotype 9015 record. Check this record using transaction code PP01, enter the infotype 9015 and the personnel number of the individual. Click the Overview button to view the charge object assignment details.
Access Transaction Via Transaction Code: ZPTA030
Procedure
There are 5 steps to complete this process.
SAP Easy Access
Step 1. Update the following required and optional fields:
| Field Name | Description | Values |
|---|---|---|
| Command | White alphanumeric box in upper left corner used to input transaction codes |
Enter value in Command. Example: ZPTA030 |
Step 2. Click Enter.
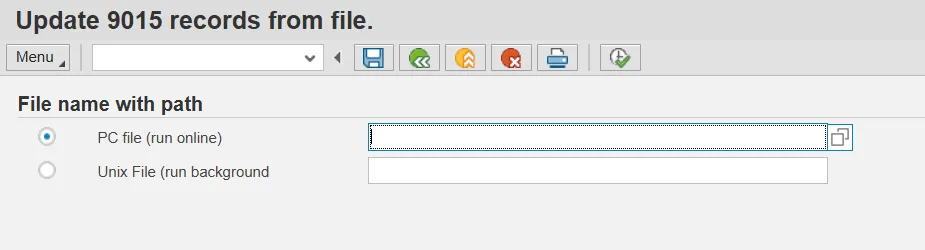
Step 3. Click the PC file (run online) matchcode.
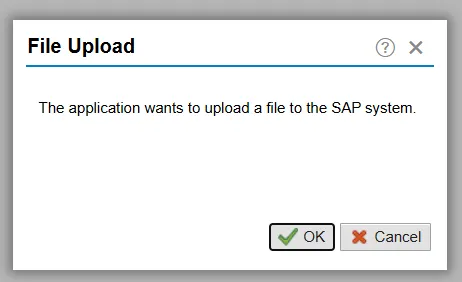
A pop-up will display warning you that that “The Application wants to upload a file to the SAP system”. Click OK.
Information: After clicking OK, the OPEN pop-up window displays. Navigate through the file structure to the location where the desired upload file is stored. In this example, the desired file is stored on the Desktop and titled " Charge Object _OSC_2025".
Step 4. Select Charge Object _OSC_2025 in the list box.
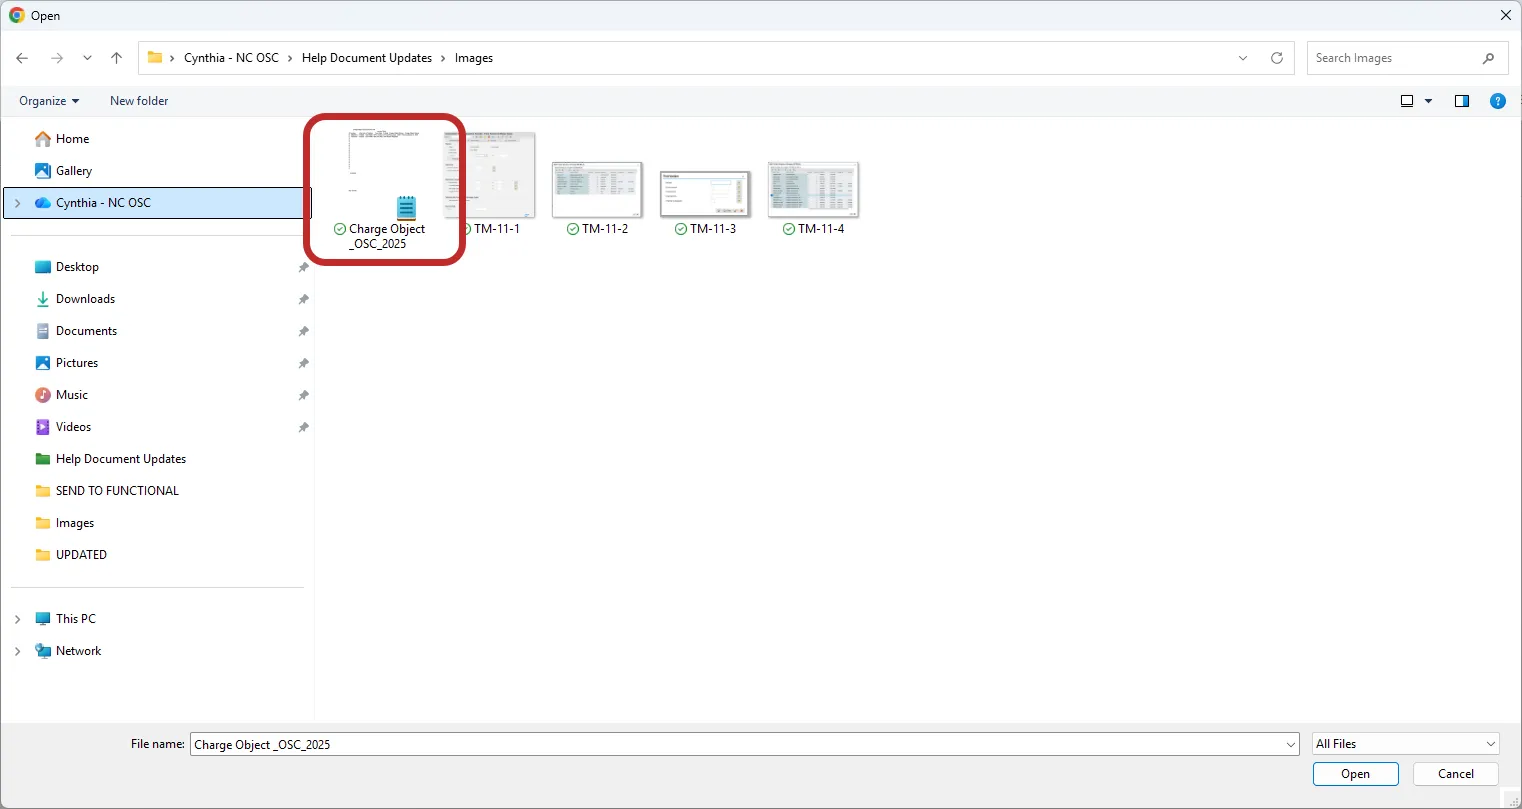
Step 5. Click Open.
Ensure the desired file was selected by double checking the file path and file name displayed.
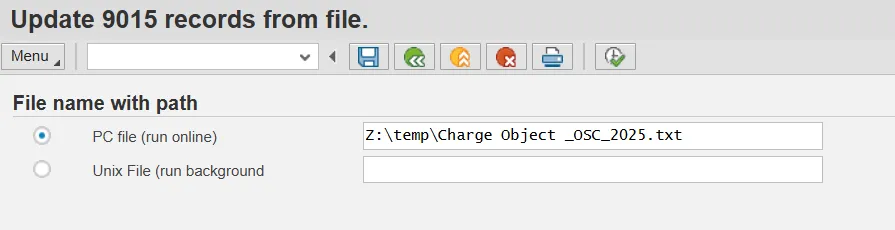
Click Execute (F8).
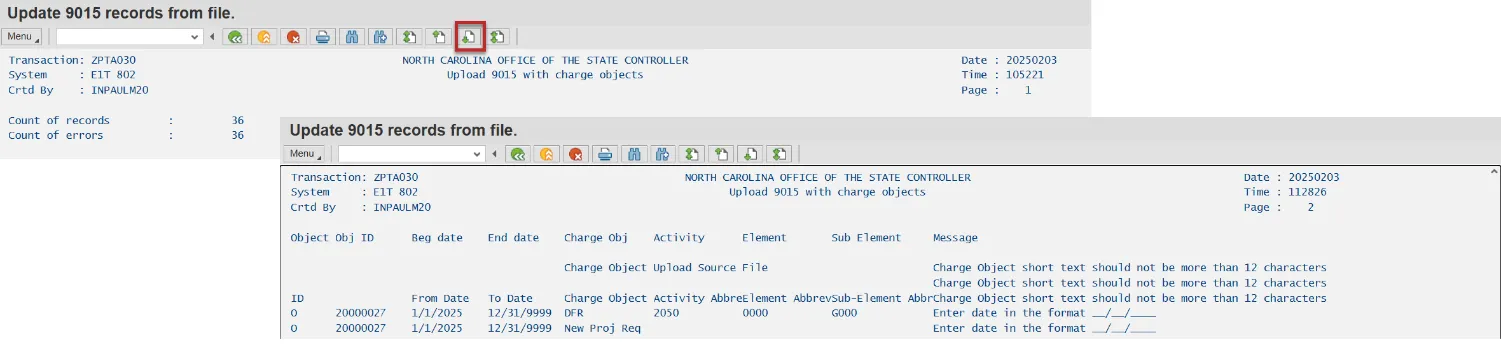
The results screen displays the statistics of the upload. Scroll down on the results screen to view additional information about any identified errors.
Charge Object Assignment Template
An Excel (.xls) template is available on the OSC Training help site that can be used when creating the Charge Object Assignment load file. The .xls template must be in the proper format and then saved as a .txt for the upload in transaction ZPTA030 to be successful.
To Save as a .TXT File, there are 7 steps to complete this process.
Step 1. Select File.
Step 2. Select Save As.
Step 3. Rename your Charge Object file.
Step 4. Select the File Type drop-down menu.
Step 5. Choose Text (Tab delimited)(*.txt).

Step 6. Change the file location if necessary.
Step 7. Select Save.