Purpose
The purpose of this Business Process Procedure is to explain how to manually manage adjustments to an employee’s quota in the Integrated HR-Payroll System.
Trigger
There is a need to manually manage adjustments to an employee's quotas.
Business Process Procedure Overview
The Integrated HR-Payroll System automatically manages an employee's accruals of various quotas, including Sick, Vacation, Community Service and Military leave (if applicable). The Integrated HR-Payroll System also will systematically manage deductions to these quotas. There are only a few special circumstances that require manual adjustments to an employee's quota balances. The Quota Corrections infotype (2013) is used to manage adjustments to an employee's quotas.
The following scenarios require manual quota adjustments via IT2013:
- An employee who designates his or her Community Service Leave for tutoring at the beginning of the calendar year should have their quota 65 balance of 24 hours reduced to zero and be given 36 hours of Community Service Leave - Tutoring in quota 66.
- An employee who is a member of the military reserve and joins the State after 10/1 accrual date of Military Leave (Training) may need his or her quota created with an IT2013 record if the reservist status is not known at the time of hire.
- An employee requesting and being approved for Advanced Vacation or Advanced Sick Leave - The advanced leave process is detailed in the BPP instructions: PA61 - Advanced Leave.
- Returning unused Received Shared Leave to the donor should be done with a quota correction record.
- A valid discrepancy has been found in an employee's quota - Upon management approval, the quota should be adjusted as necessary.
All subtypes of IT2013 are relevant for quota adjustments.
In this BPP you will learn to:
- Select the effective date of the quota adjustment
- Provide the number of hours to be added or removed
- Choose from two selections for an increase or decrease adjustment to an employee quota
- Adjust a quota balance
Access Transaction
Via Transaction Code: PA61
Procedure
There are 17 steps in this process.
Step 1. Update the Command field using transaction code PA61.
Step 2. Click the Enter button.
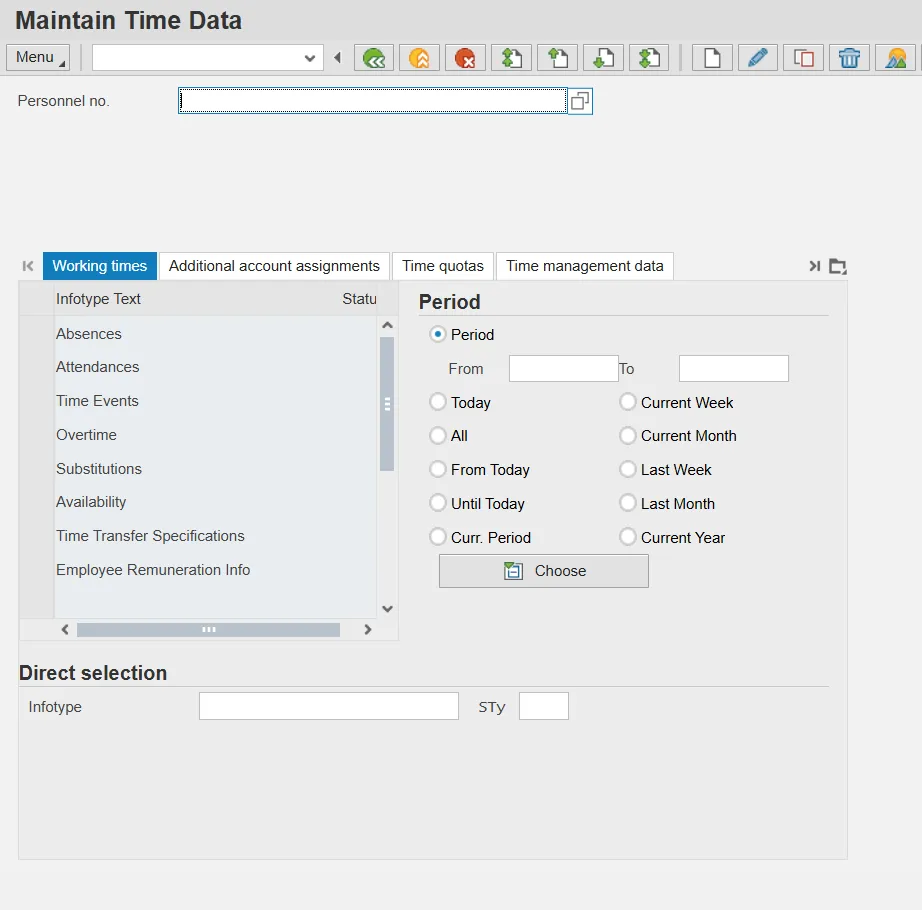
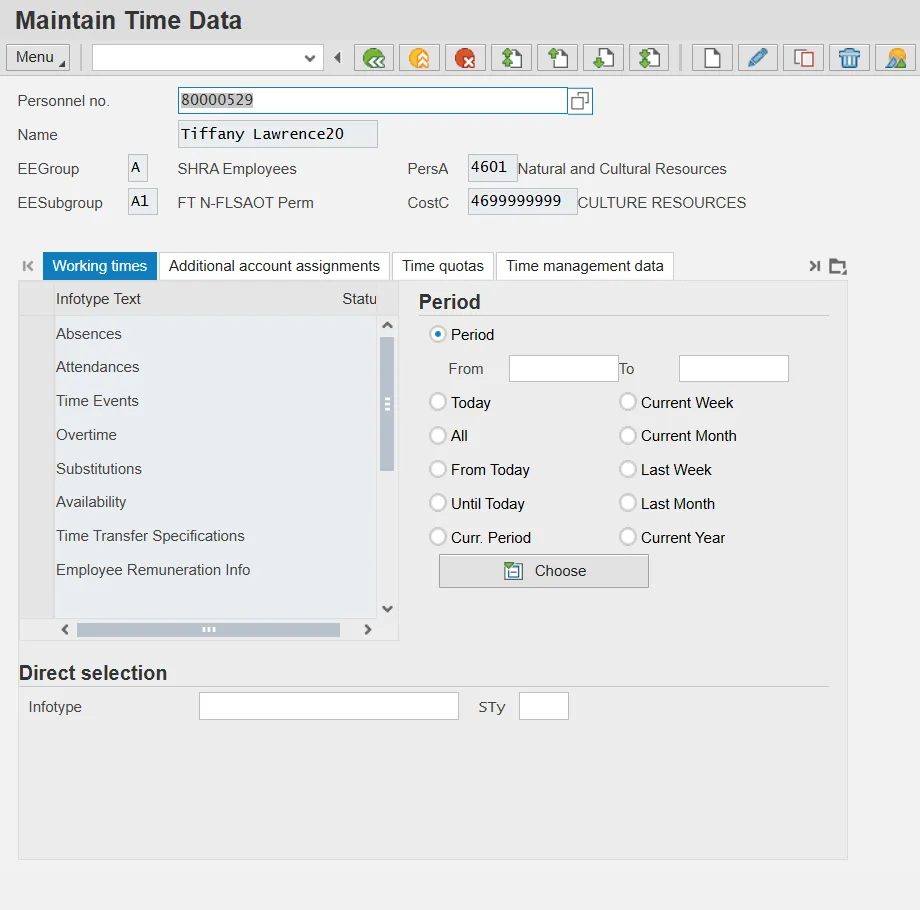
Step 3. Update the Personnel no. field.
Step 4. Click Enter.
Note: Be sure to check that the correct personnel number was entered after clicking Enter.
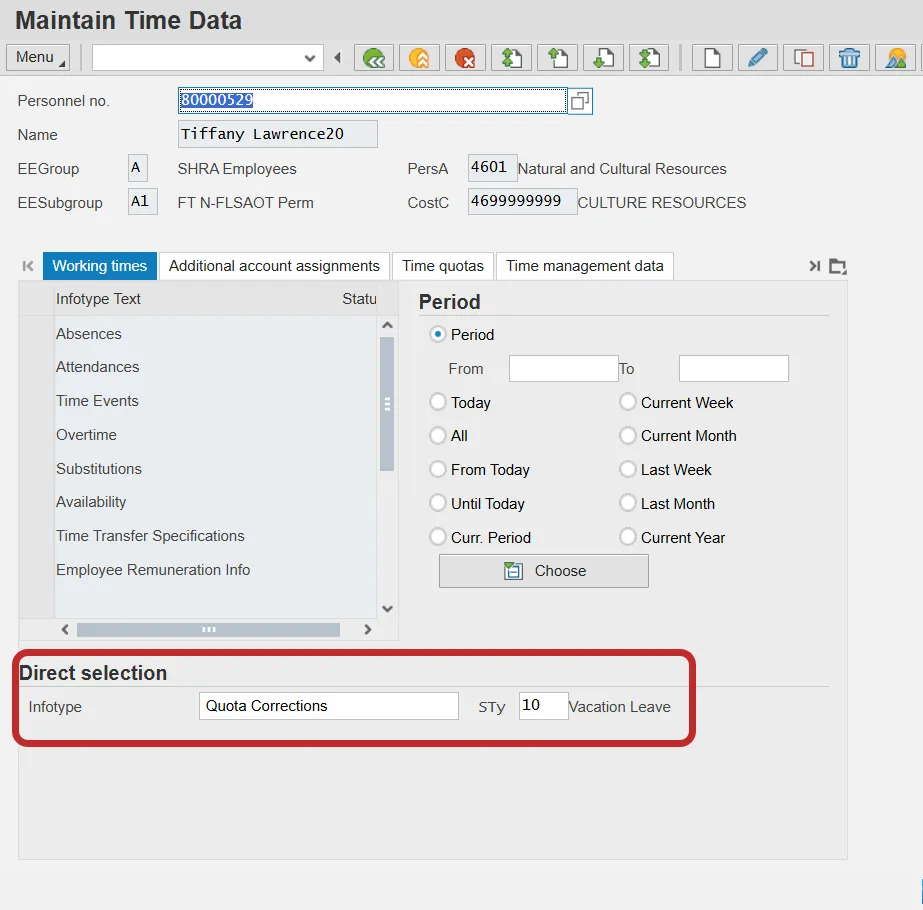
Step 5. Update the Infotype field (Example: 2013).
Step 6. Click Enter.
Only one IT2013 record should be created for each subtype for the same From date. Multiple records can cause Time Evaluation to error out for the employee.
Step 7. Update the Subtype field (Example: 10)
Enter the subtype corresponding to the quota for adjustment. Select the STy field matchcode to view a list of available quotas. In the example provided, the employee's Vacation quota (subtype 10) is selected to manage the employee's additional vacation entitlement.
Step 8. Click the Create button.
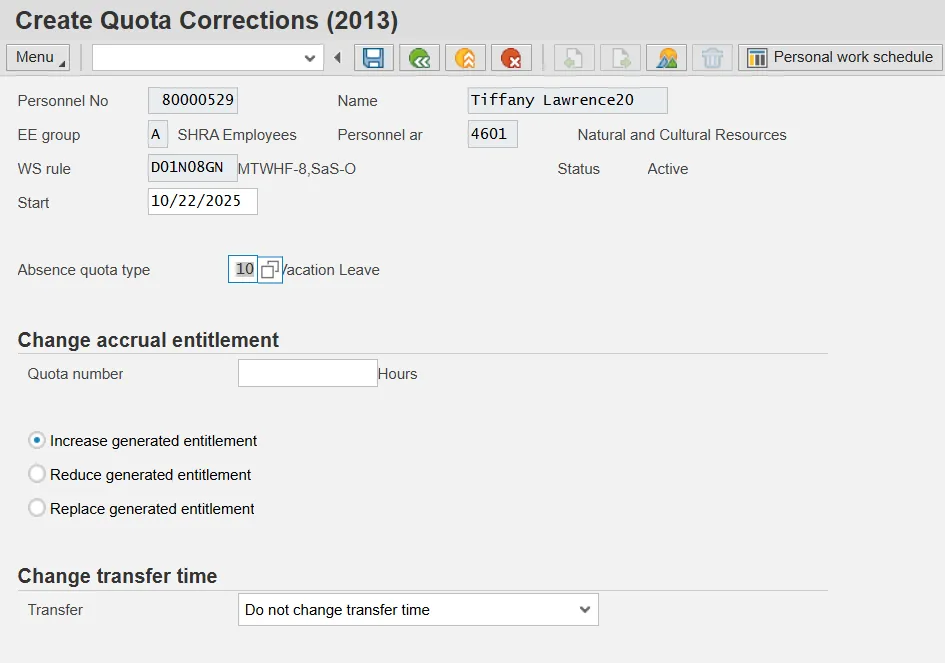
Step 9. Update the Quota Number field (Example 10)
Step 10. Click Enter.
Step 11. Select one of the first two radio button options:
| Increase generated entitlement | Indicates that hours should be added to quota (default option) | This option adds the hours specified to the employee's existing quota or creates the quota with the specified hours if the employee does not have a current balance for the selected quota. |
|---|---|---|
| Decrease generated entitlement | Indicates that hours should be subtracted from quota | This option subtracts the hours specified from the employee's existing quota. |
| Replace generated entitlement | DO NOT SELECT THIS OPTION! | DO NOT USE THIS OPTION! This option was intended to replace the employee's quota accrual generated in Time Evaluation on the From Date. The Integrated HR-Payroll System staff advise against trying to use this option. |
Step 12. Transfer time ‘Transfer’ field system defaults to “Do not change transfer time.” Do not change the selection.

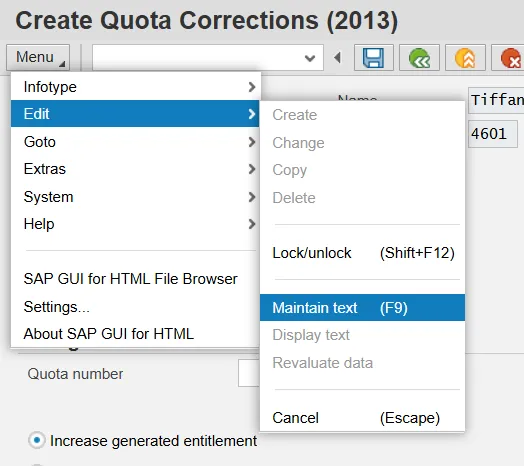
Step 13. On the toolbar at the top of the screen, click Menu > Edit > Maintain text.
Step 14. Type an appropriate message for the record.
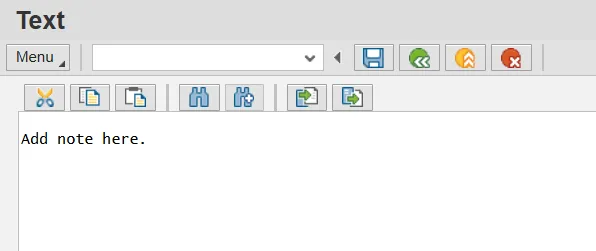
Step 15. Click the Save (Ctrl+S) button to save the text to the record.
The Maintain Text icon will display on the infotype.

Step 16. Click the Save (Ctrl+S) button to save the Quota Correction record.
The Quota Correction record will be processed during the nightly Time Evaluation process. The adjusted quota should then be reflected in the employee's quota balances the following day. To verify the adjustment processed correctly, access Quota Overview (transaction PT50) and view the employee's quota balances as detailed in PT50 transaction. For more detailed instructions for transaction PT50, refer to the BPP instructions: PT50 - Quota Overview.
Step 17. Click the Back (F3) button.
The system task is complete.