Purpose
The purpose of this business process procedure is to explain how to create, submit, and monitor security change requests in the Integrated HR-Payroll System.
Trigger
There is a need to create, submit, and monitor Security Change Requests.
Business Process Procedure Overview
Security Change Requests are created by Agency Administrators and Data Owners and submitted by Data Owners to the BEST Shared Services Security Team for processing.
Creating a Security Request
There are 6 steps to complete this process.
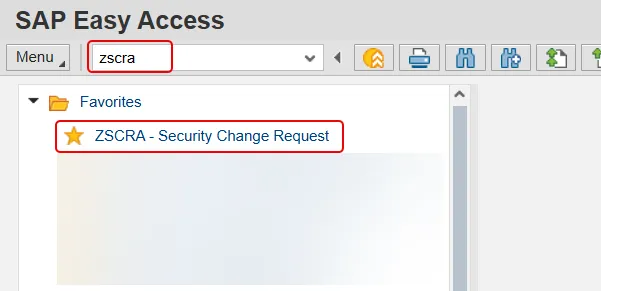
Step 1. From the SAP Easy Access Screen, type ZSCR or ZSCRA in the Command Field and press Enter. Or, double click the transaction from your Favorites list if you’ve previously saved it there.
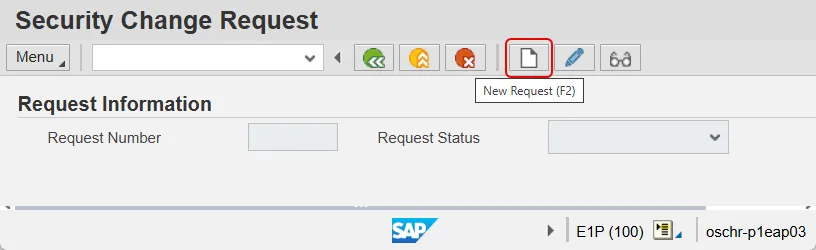
Step 2. The Security Change Request screen will be displayed. Click the New Request button.
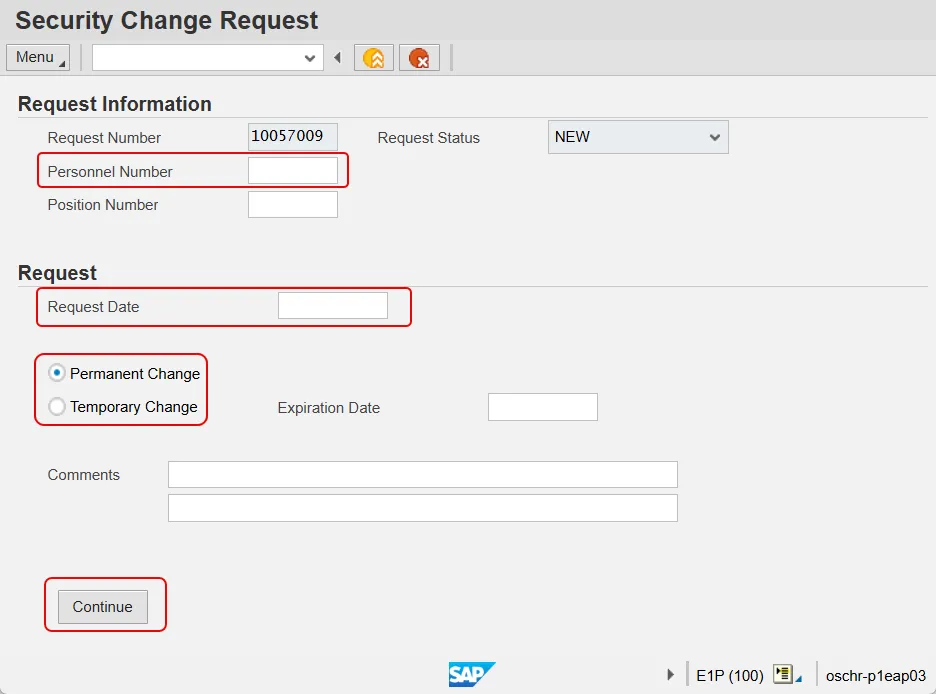
Step 3. The system assigned Request Number will be displayed at the top of the page with the Request in NEW status. Complete the following fields:
- Personnel Number
- Request Date
- Indicate whether the request is for a Permanent Change or a Temporary Change.
- Note: Temporary Changes require an expiration date.
Once the data has been entered, click the Continue button.
Note: You may wish to record the system generated Request Number in case a future revision needs to be made.
Step 4. On the next screen, fill out the data fields in the Role Information section, including:
- Personnel Area
- Security Org Unit # (The top Org Unit for which the employee will be granted security.)
- Role (choose whether to add or remove)
- Requested Role (Use the drop-down menu to pick)
After choosing the Requested Role, press the Insert Row button. Repeat this step for each role to be added or removed.
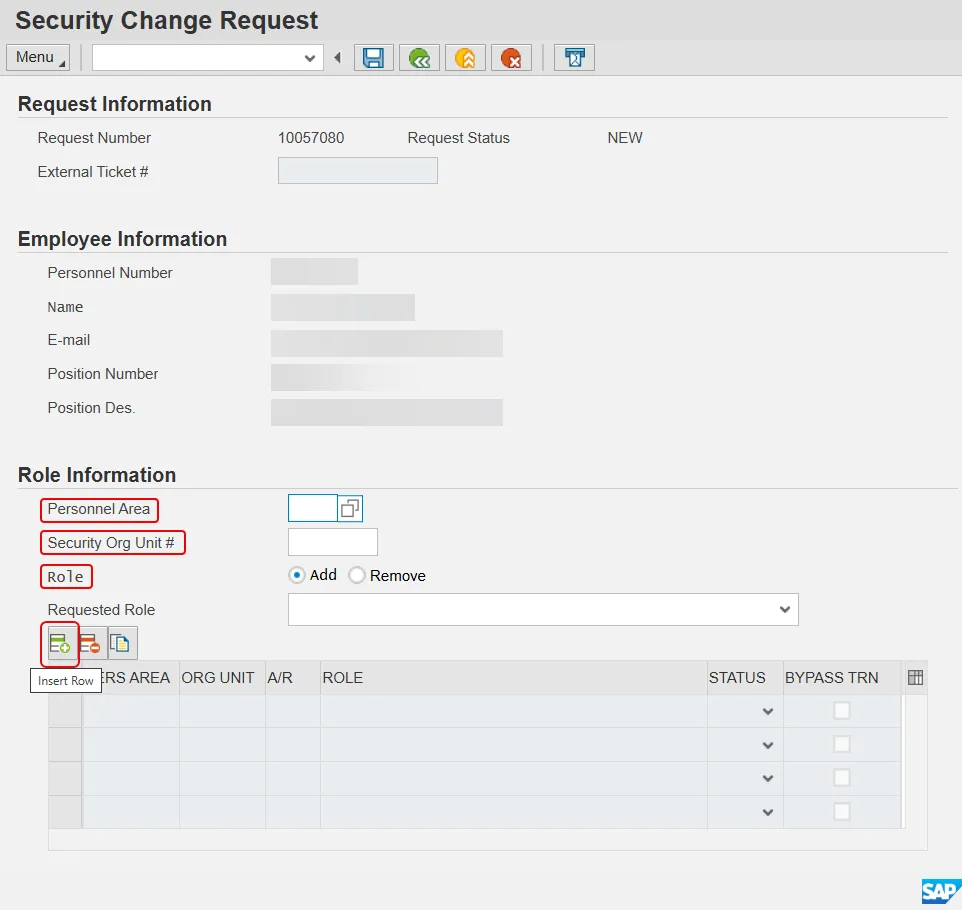
Pro tip: It is a good idea to record the Request Number in case you need to edit the request or check its status at a later time.
Note: To delete a role from the request, click the button to the left of the row and select Delete Row.
Note: Depending on the Role you are adding, you may receive a status message. The various error messages are detailed below.
Training Not Complete

This error message indicates that the employee has not yet taken training class(es) required for a role.
Click the Yes button to add the Security role in Pending (P) Status.
Once the employee has completed the required Training the role will be added.
SOD Conflict Error
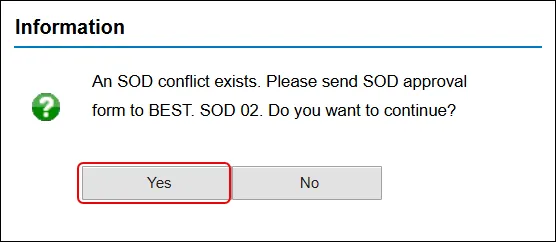
This error message indicates that a conflict exists between two security roles, and that a Segregation of Duties (SOD) Risk Acceptance Form must be signed and submitted by the Head of Agency before the role can be granted.
Click the Yes button to add the Security role in Pending (P) Status.
Once the SOD Risk Acceptance Form is signed, submitted, and received by BEST Shared Services, the role(s) will be granted.
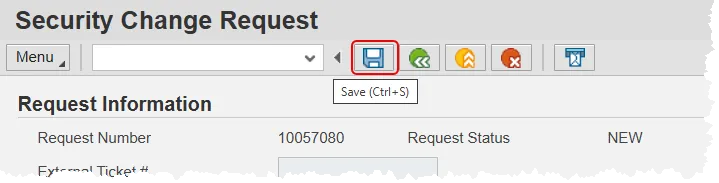
Step 5. Once all the desired Security Roles have been entered, save the request with the save button.
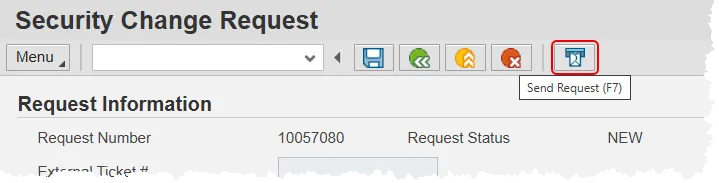
Step 6. Forward the request appropriately. This step is different depending on which transaction that you have started with –
- If you used transaction ZSCRA, click the Send Request button to send the request to BEST Shared Services for processing.
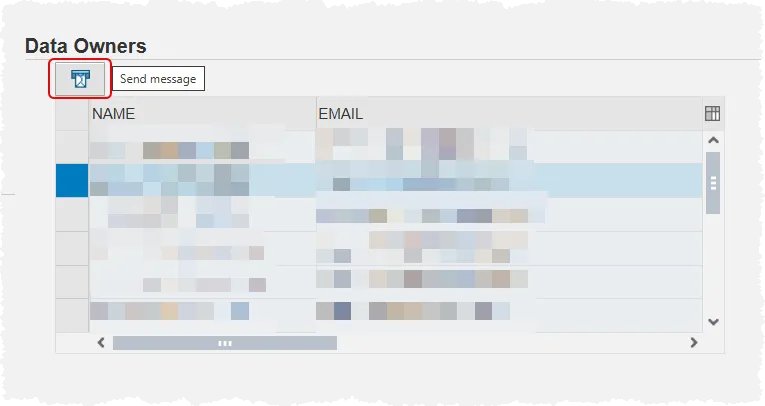
- If you used transaction ZSCR, you will send a message to one of your agency’s data owners to submit the request on your behalf. Locate the Data Owners section on the right side of your screen and then select one of the listed employees by clicking the box to the left of their name. Click the Send Message button above the list to notify them of your request.
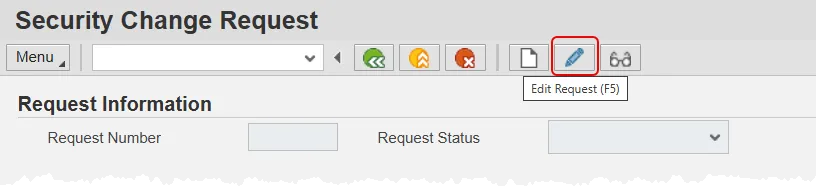
Editing a Security Request
A security role request can be edited if it has not yet been submitted. Use the Edit Request button, input the Request Number and press Enter on your keyboard. Then, pick up at step 3 above.
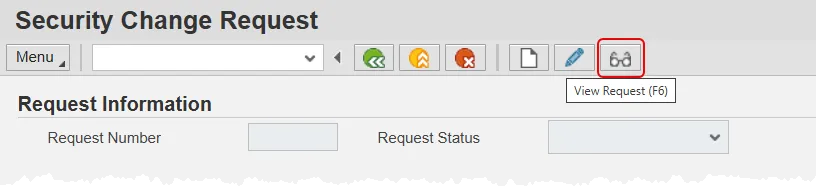
Viewing the Status of a Request
You can view the status of a security role request at any time, by using the View Request button. Click the button, enter the Request Number and press Enter on your keyboard. The status of the request will be displayed.
System Error Messages
| Condition | Type | Logic | Message |
|---|---|---|---|
| Training Class PA210, PA310 and PA313 Required* | E | If the HR Master Data Maintainer role is chosen, and the PERNR has not taken the required classes, an error is displayed. | Required HR Master Data Maintainer classes PA210, PA300 and PA310 have not been taken yet. |
| Training Class TM300 is Required | E | If Time Administrator role is chosen, and the PERNR has not taken the required classes, error is displayed. | Required Time Administrator class TM300 has not been taken yet. |
| Training Class OM210 is required | E | If OM Position Requestor role is chosen, and the PERNR has not taken the required classes, error is displayed. | Required OM Position Requestor class OM210 has not been taken. |
| SOD Conflict 1 | E | HR Master Data Maintainer with Payroll Administrator | If SOD form has not been received display error. |
| SOD Conflict 2 | E | HR Master Data Approver with HR Master Data Maintainer | If SOD form has not been received display error. |
| SOD Conflict 3 | E | HR Master Data Approver with Position Funding Approver | If SOD form has not been received display error. |
| SOD Conflict 4 | E | HR Master Data Maintainer with Position Funding Approver | If SOD form has not been received display error. |