Purpose
The purpose of this Business Process Procedure is to explain how to create a list of attendance/absence types from the drop-down list within time entry in the My Timesheet Application.
Create a list of Att./Absence Types
The Select Assignment drop-down list within Fiori can be personalized to show only a set of regularly used att./absence types. All att./absence types can also be imported.
There are 14 steps to complete this process.
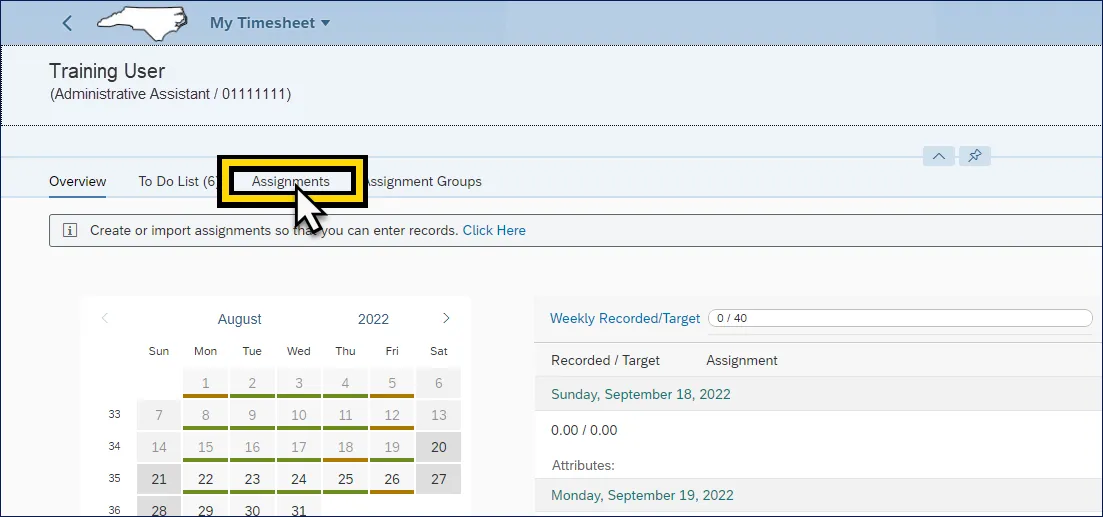
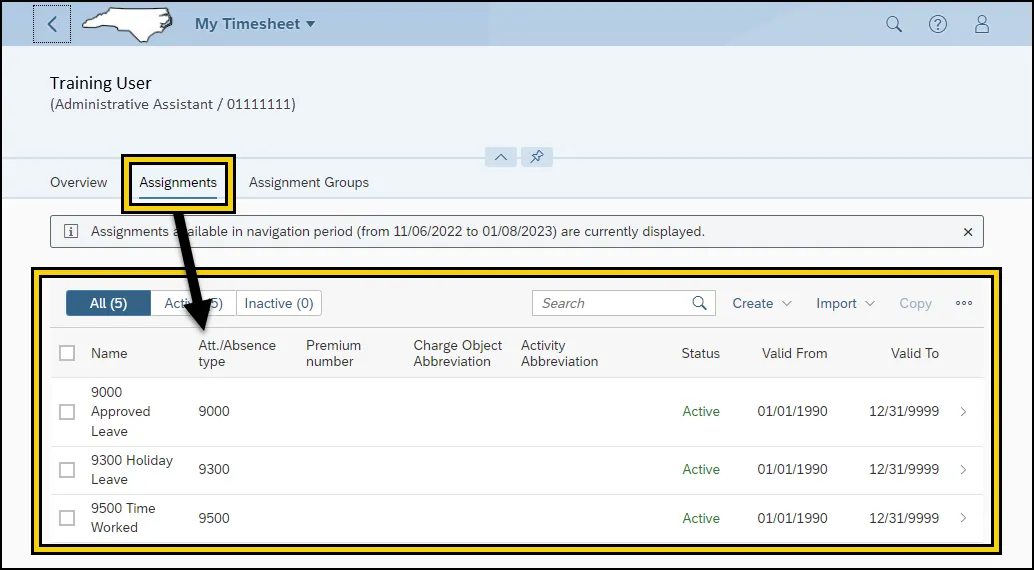
Step 1. After navigating to the My Timesheet Application, click the Assignments action tab.
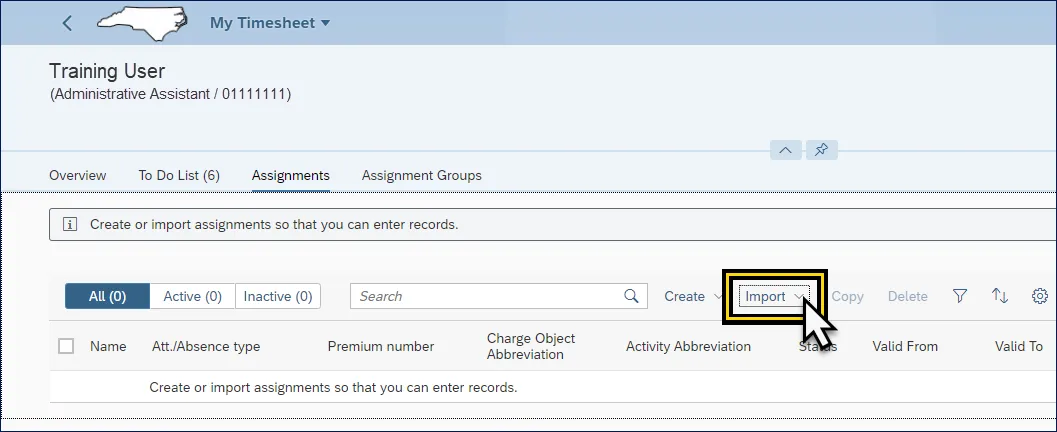
Step 2. Click the drop-down arrow next to Import from the edit tab options (Create, Import, Copy, Delete).
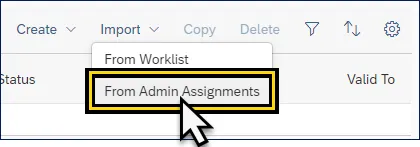
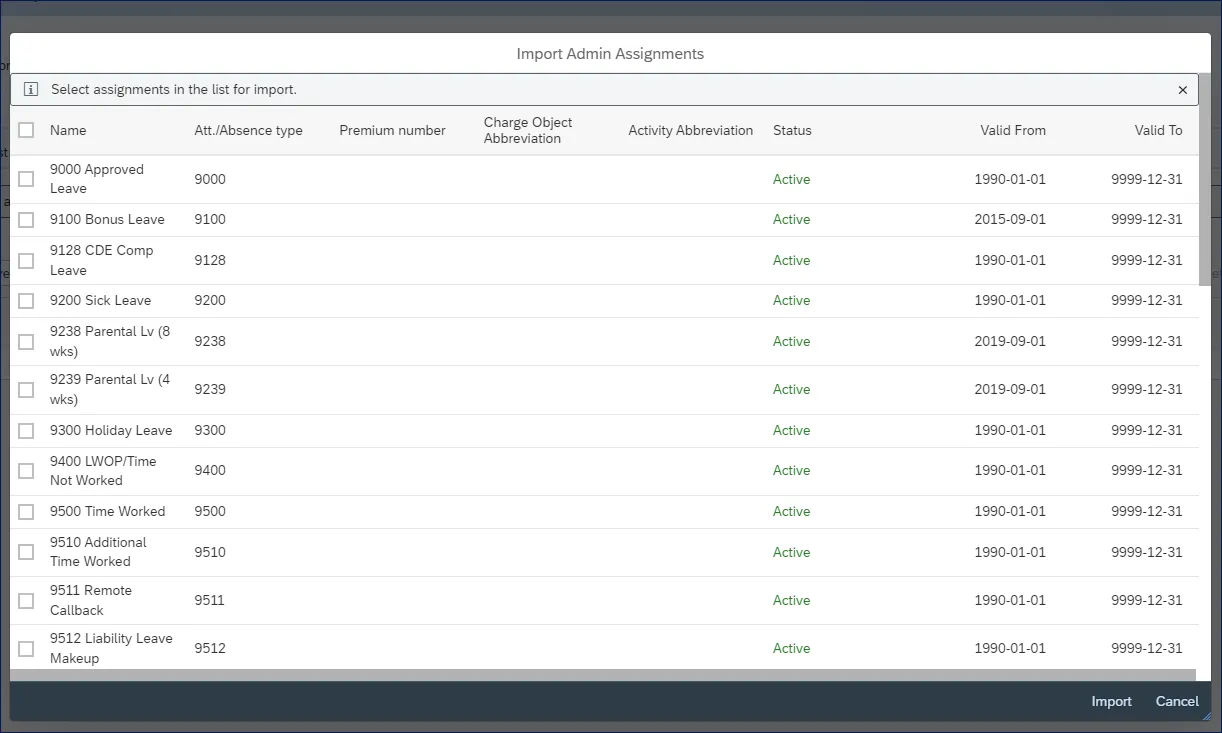
Step 3. From the Import drop-down menu, select From Admin Assignments. This will generate the Import Admin Assignments list.
Step 4. All available attendance and absence types are listed and can be selected for import. The list follows numerical order and starts from 9000. The scroll bar on the right side of the Import Admin Assignment menu can be used to locate additional types from the list.
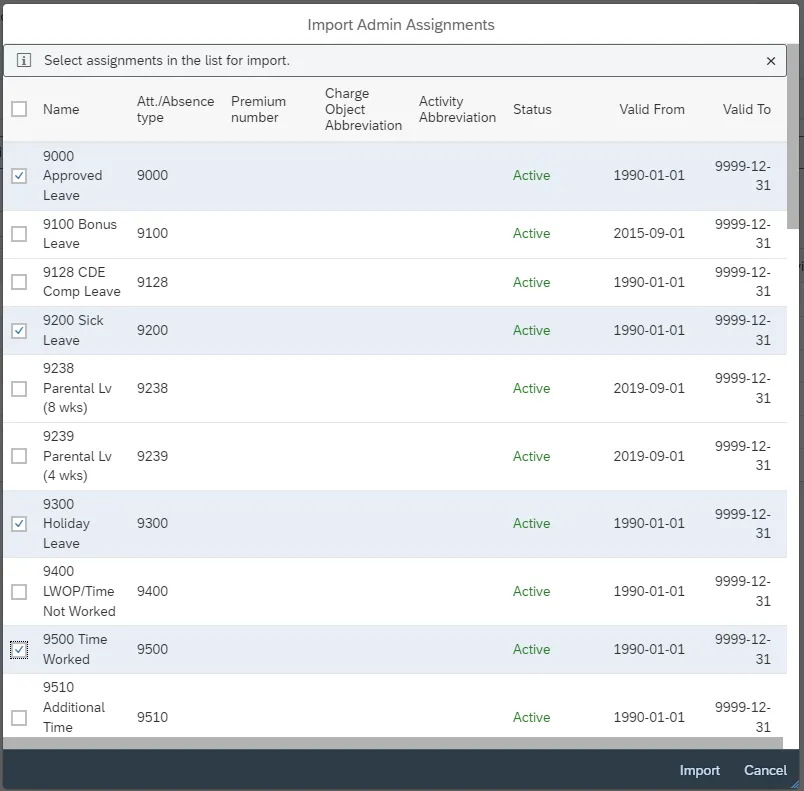
Step 5. Click the selection box to the left of the Att./Absence type Name column of all desired Att./Absence types needed.
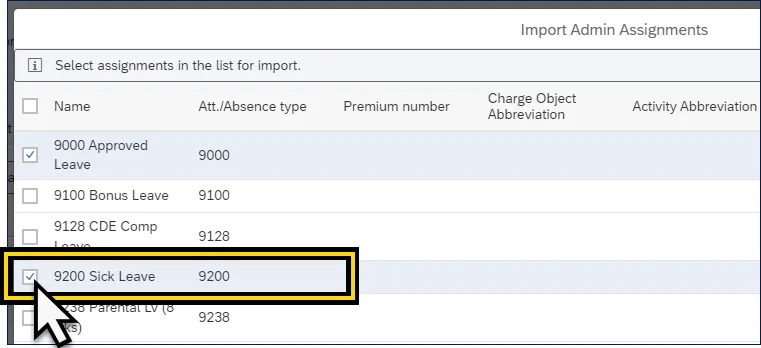
For the example shown, the Att./Absence types selected are:
- 9000 Approved Leave
- 9200 Sick Leave
- 9300 Holiday Leave
- 9500 Time Worked
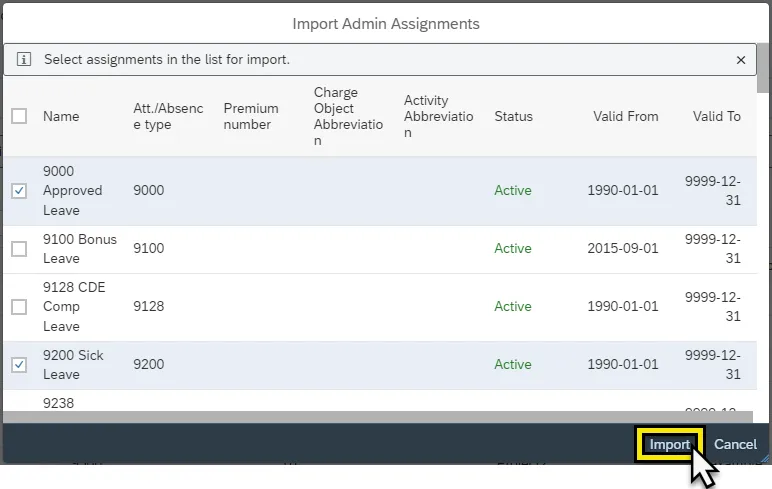
Step 6. Click Import from the bottom right corner of the Import Admin Assignments menu.
Step 7. The selected Att./Absence Types will display as Assignments. This successfully imports the Att./Absence Types for view and selection within the Select Assignment Field on the Overview Action Tab.
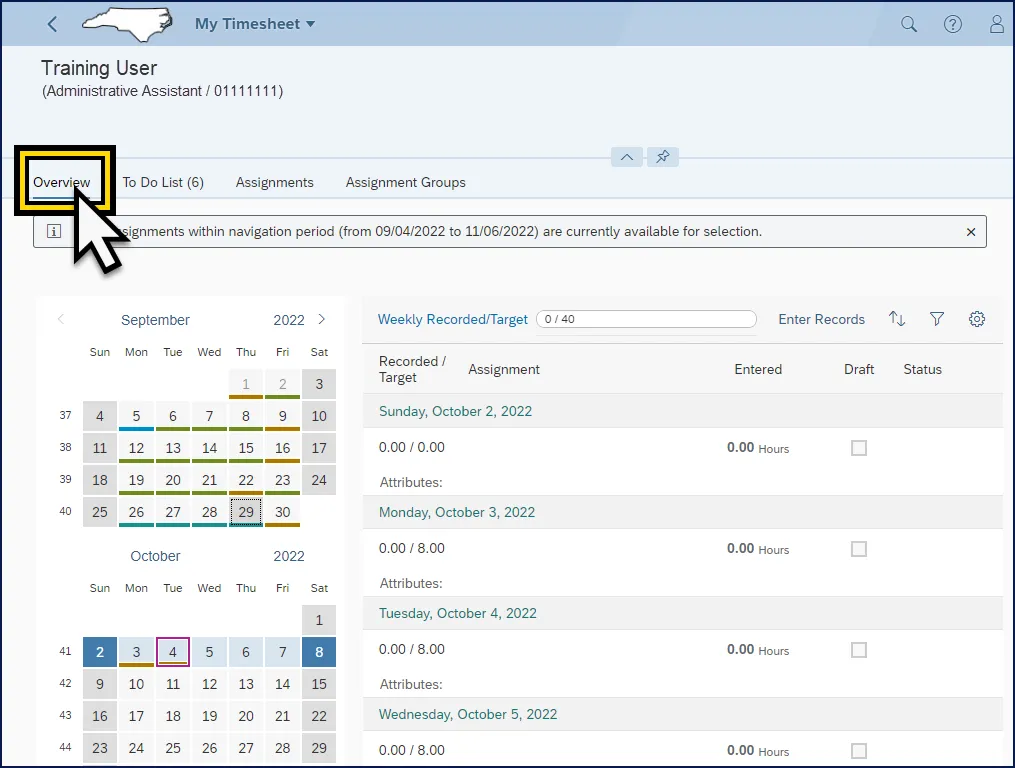
Step 8. Click the Overview action tab.
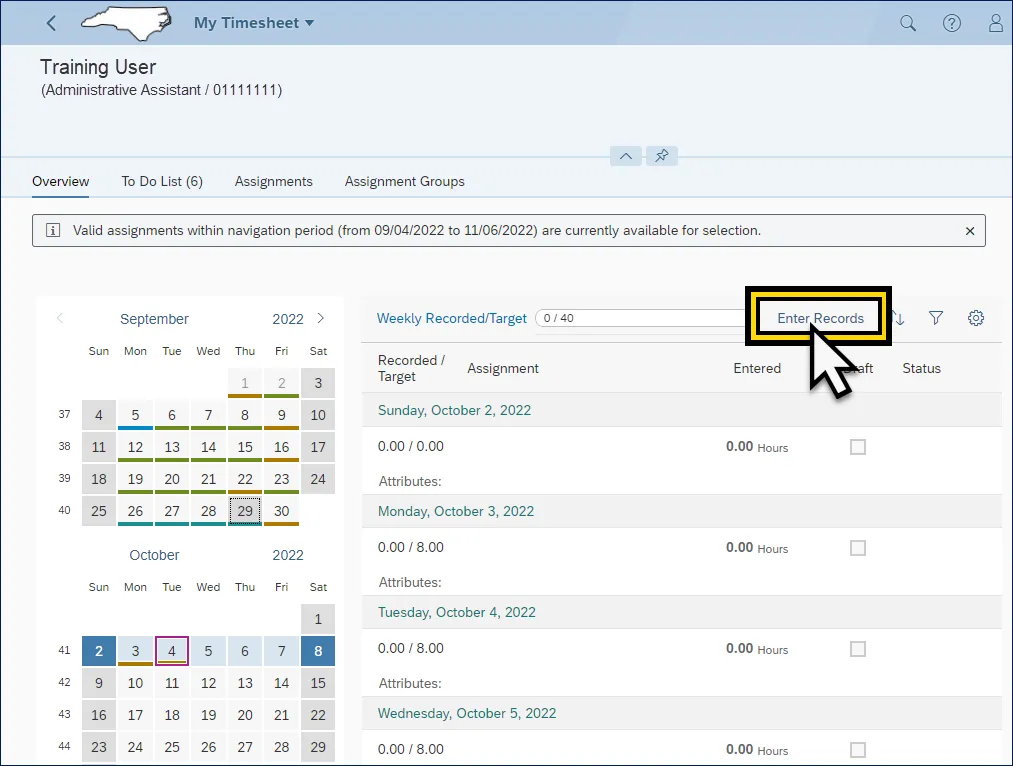
Step 9. Click Enter Records above the time entry overview.
Step 10. This changes from default view mode to edit mode.
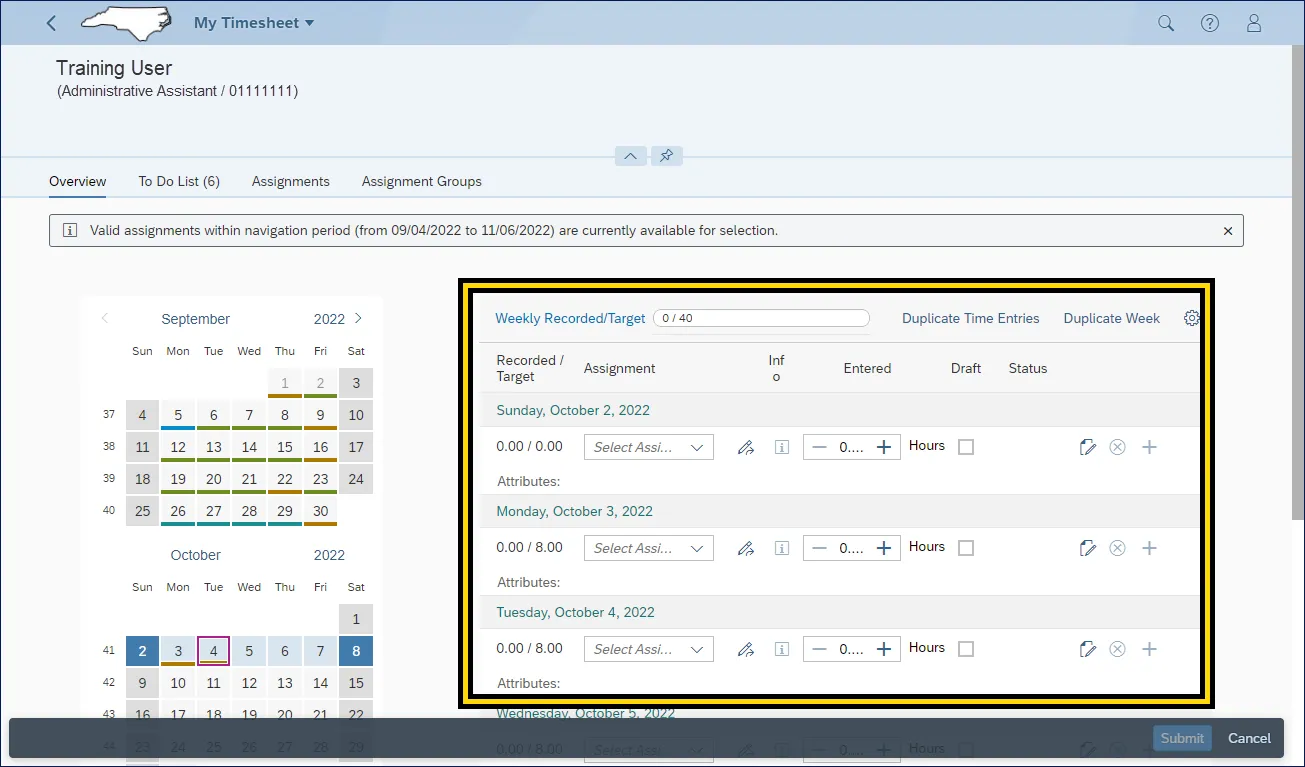
Step 11. To enter time, navigate to the applicable day. Click the Select Assignment field dropdown menu to select the Att./Absence type used for that day.
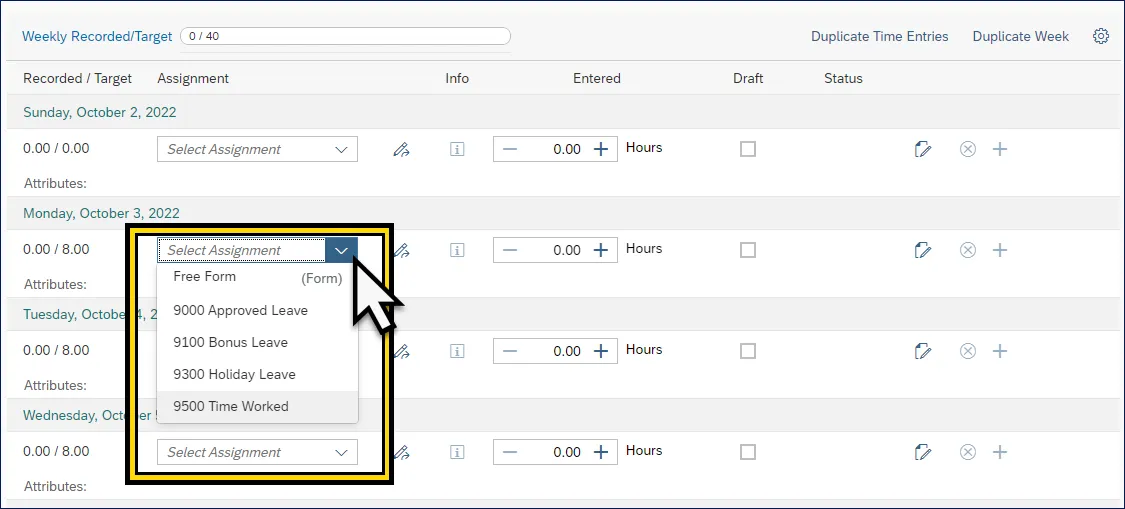
Note: The Select Assignment dropdown menu list can contain any combination of available assignments, or Attendance/Absences types from the Import Admin Assignment list.
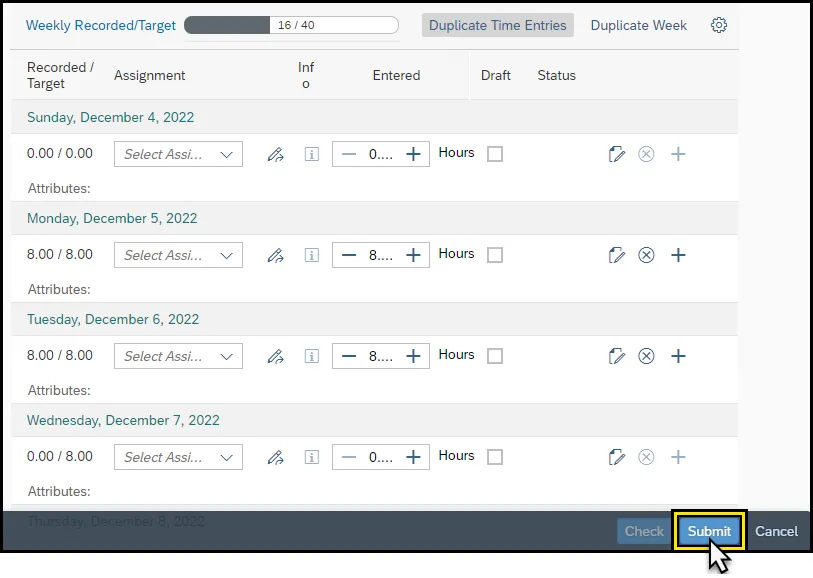
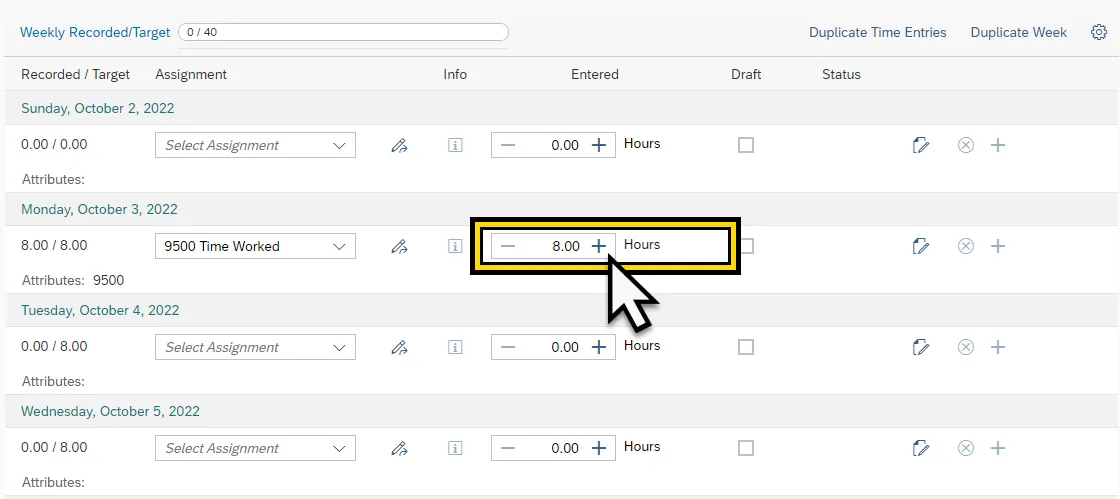
Step 12. Enter the number of hours for each applicable day.
Step 13. Click Check to ensure all time entries were entered correctly. If all entries are entered correctly a message will appear stating “No errors were found”.
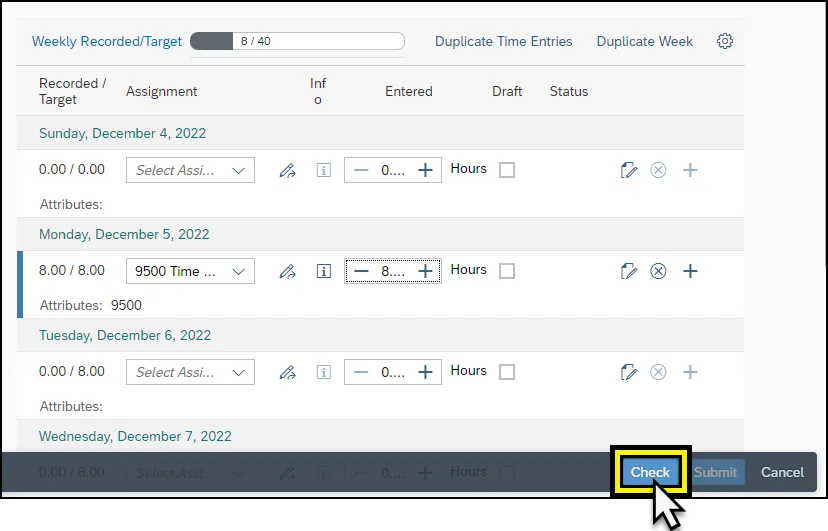
Step 14. Click Submit once all applicable time entry has been completed.