View My Timesheet Tutorial Video
Purpose
The purpose of this Business Process Procedure is to explain how to enter time using the Fiori “My Timesheet” application.
Steps for Accessing My Timesheet
There are basically 3 ways to enter time in Fiori using the My Timesheet application. There are 46 steps to complete this process.
- By selecting Free Form in the Select Assignment field
- By using the Admin Import feature to upload a list of Assignments that will be an option in the Select Assignment field
- By creating an Assignment Group, or template.
Step 1. We are logged in as “Wilma.” This employee has no shift premiums or Charge Objects.
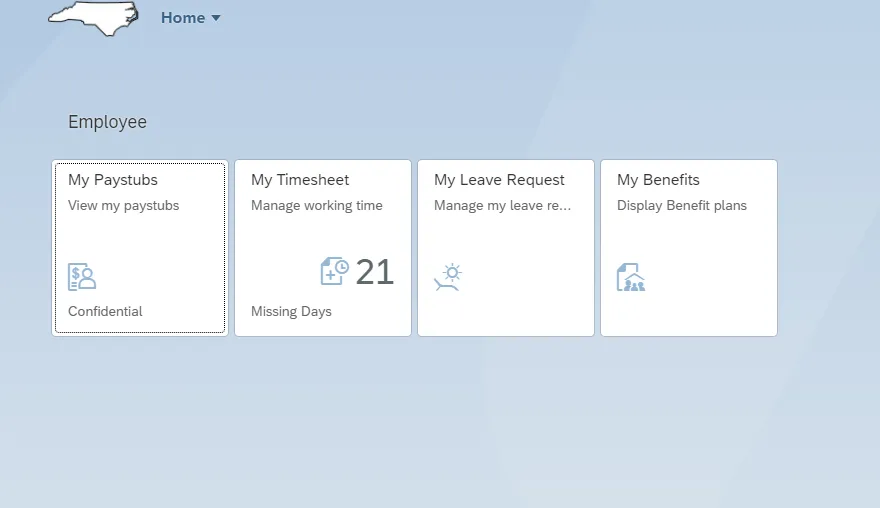
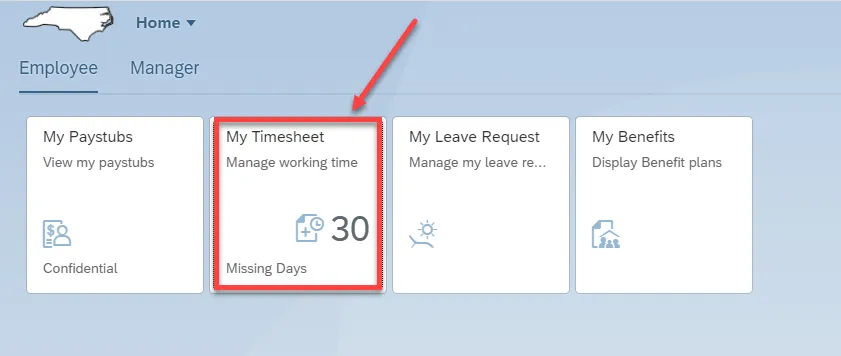
Step 2. Click on My Timesheet.

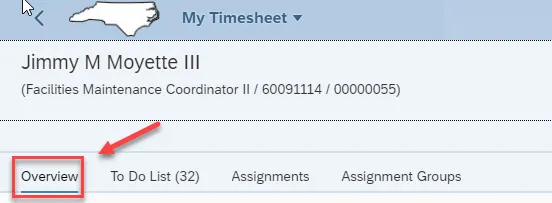
Step 3. All Time entry is completed within Overview. Click on Assignment.
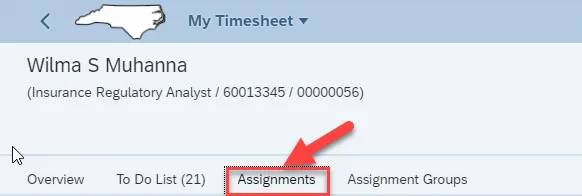
Step 4. Assignments are like templates and easy to set up. Employees like Wilma with no Shift Premiums or Charge Objects can use the admin upload Tool.

Step 5. Click on Import then click on Admin Assignment.

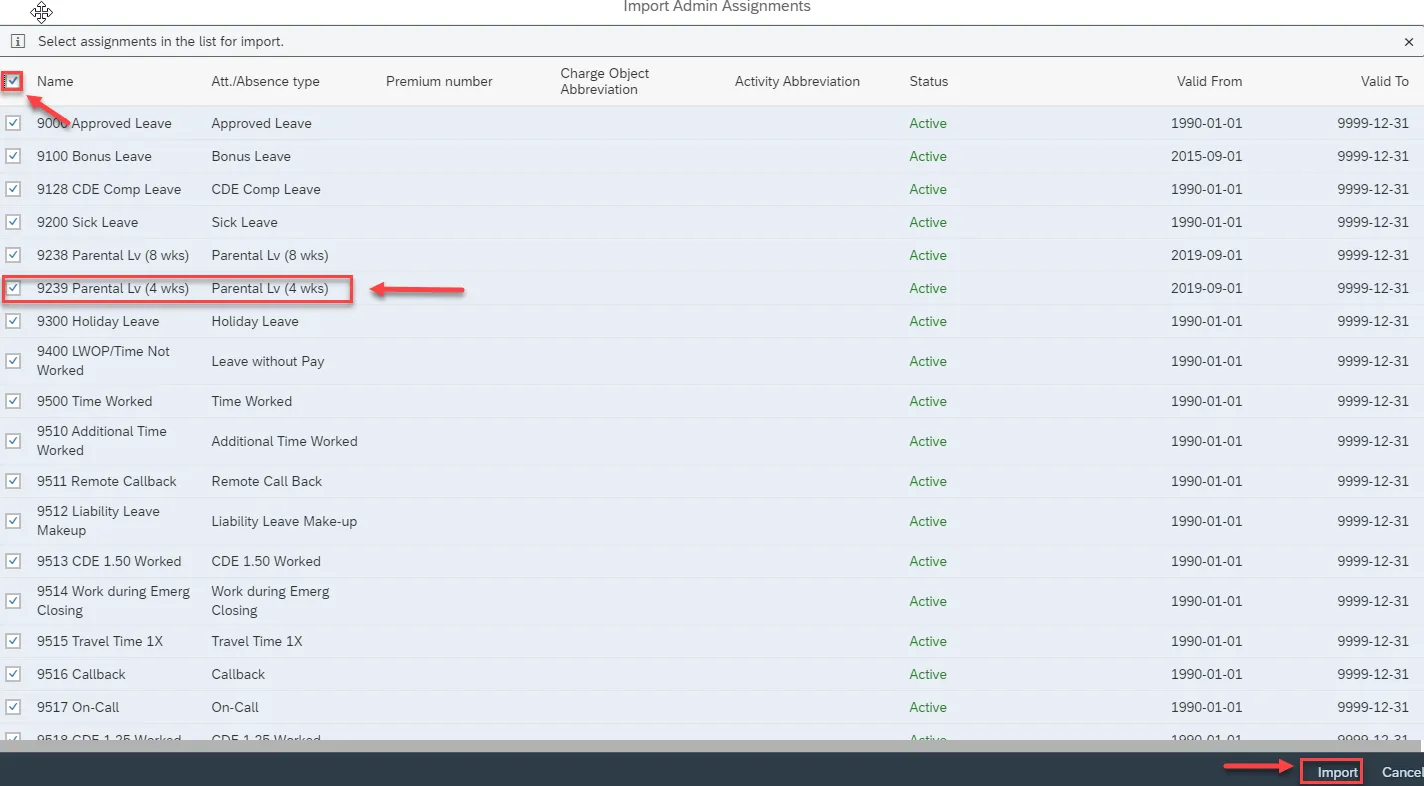
Step 6. At Name, click the check box to select All Attendance/Absence (Att./Abs) types or select them individually. We will select All, but de-select 9239 Parental Lv (4 Weeks). Then click on Import.
Step 7. The Attendance/Absence (Att./Abs) types selected from Admin import are now available as an assignment selection. Click Overview to go to the Overview tab.
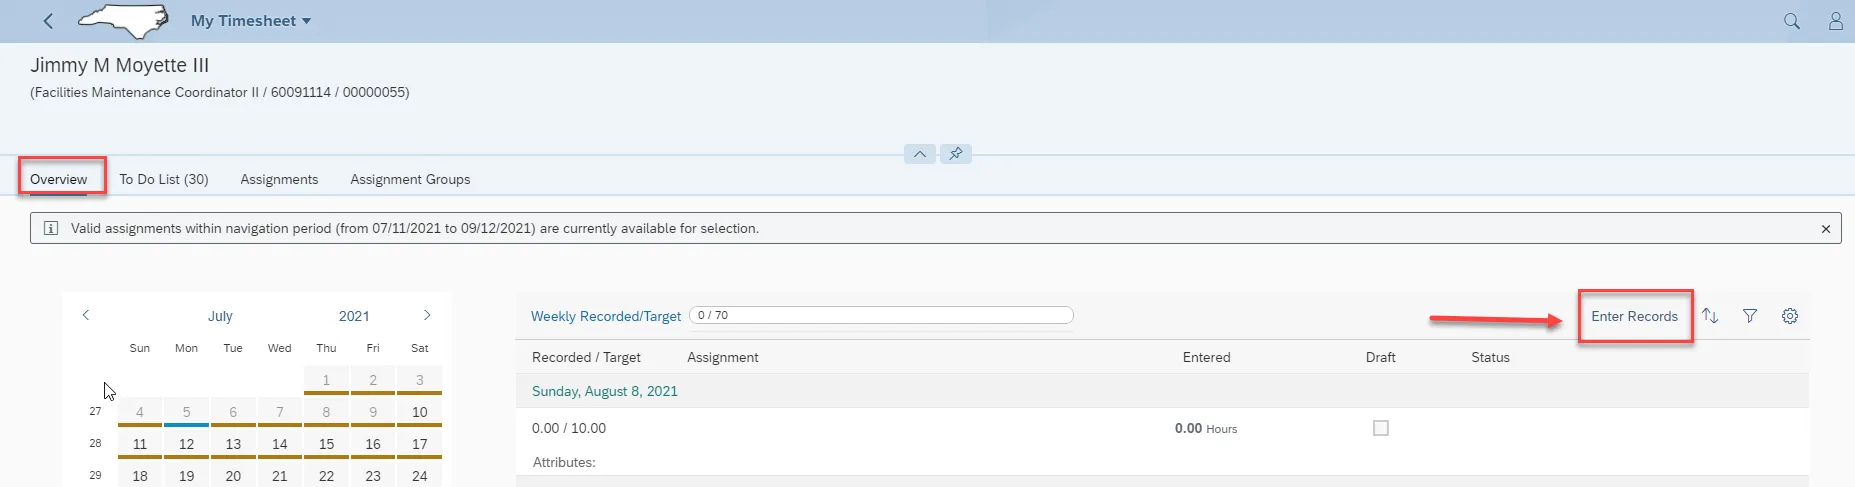
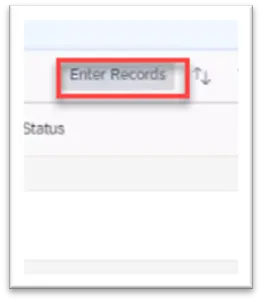
Step 8. The list is imported, and we are ready to enter time. Click Enter Records.
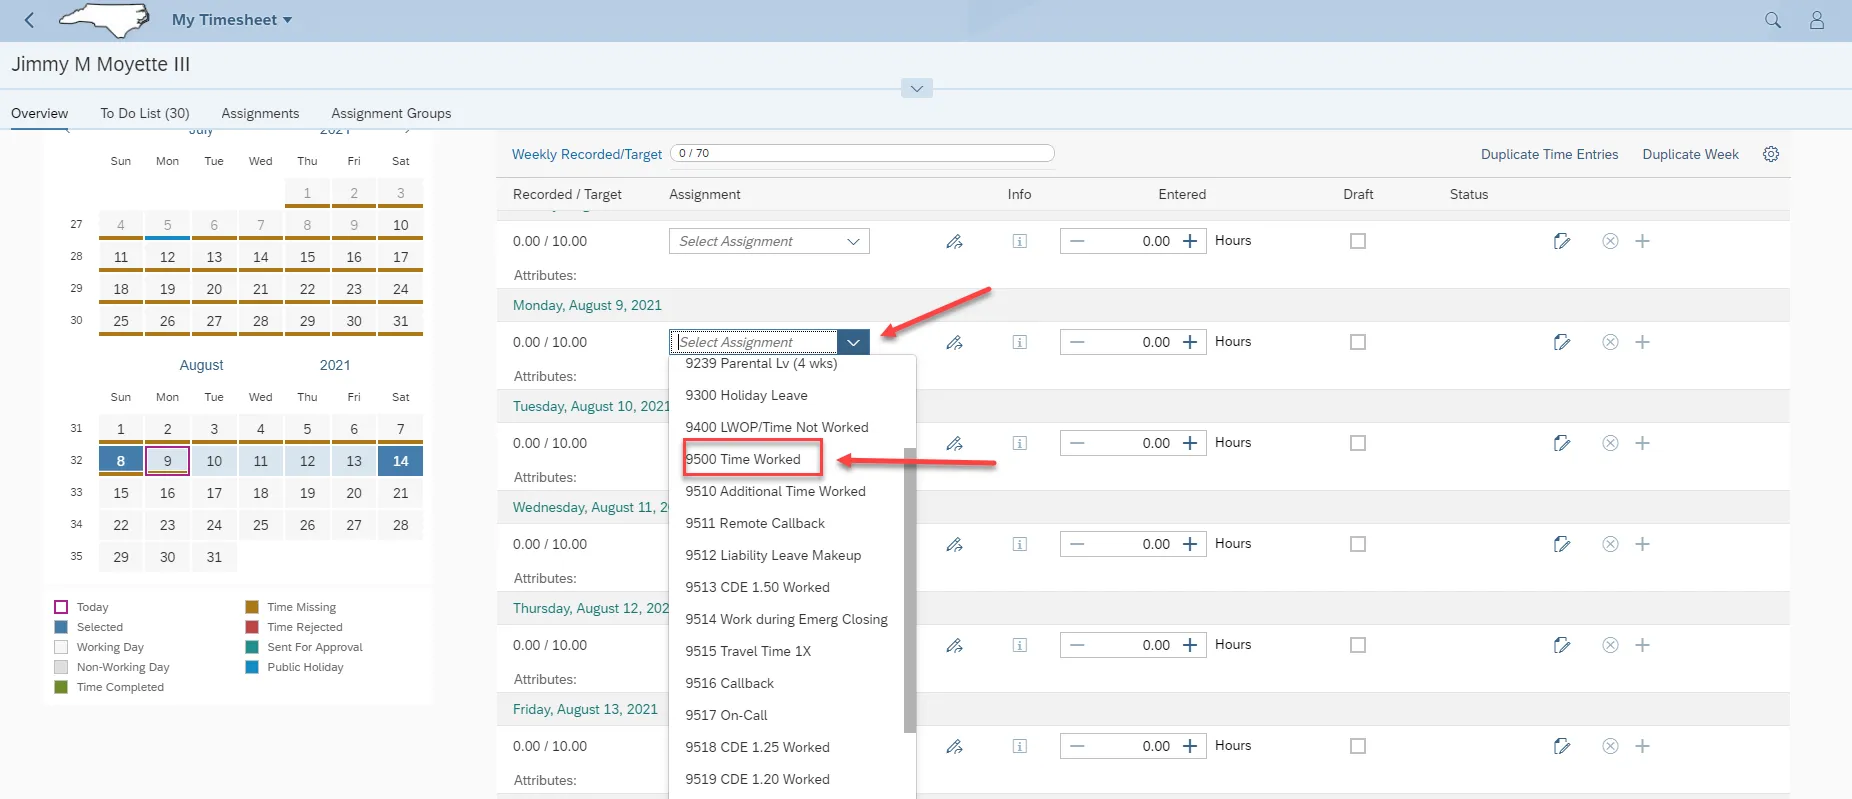
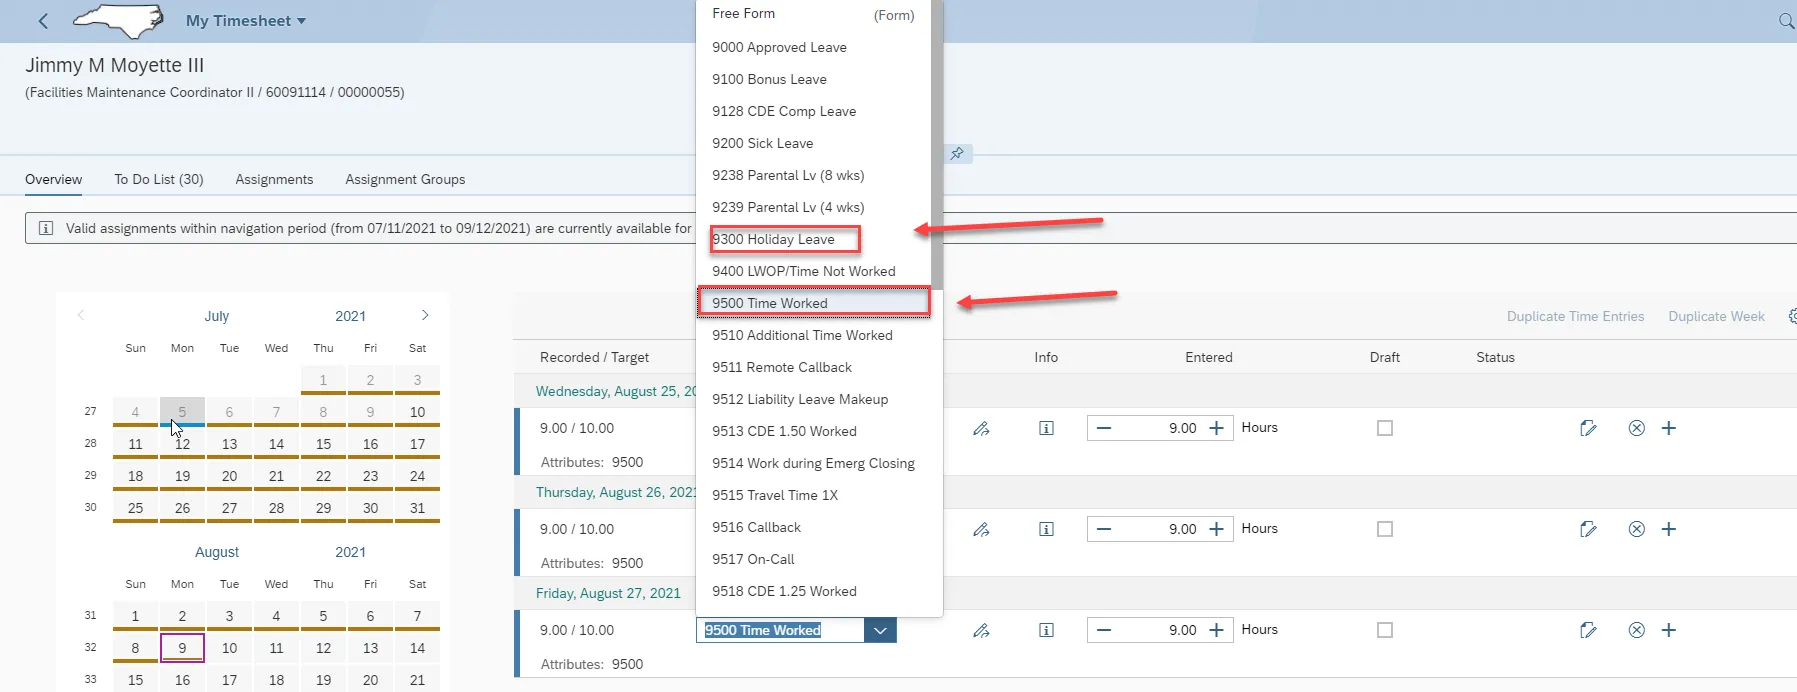
Step 9. Click the drop-down in the Select Assignment field to select an Attendance/Absence type. Select 9500 Time Worked.
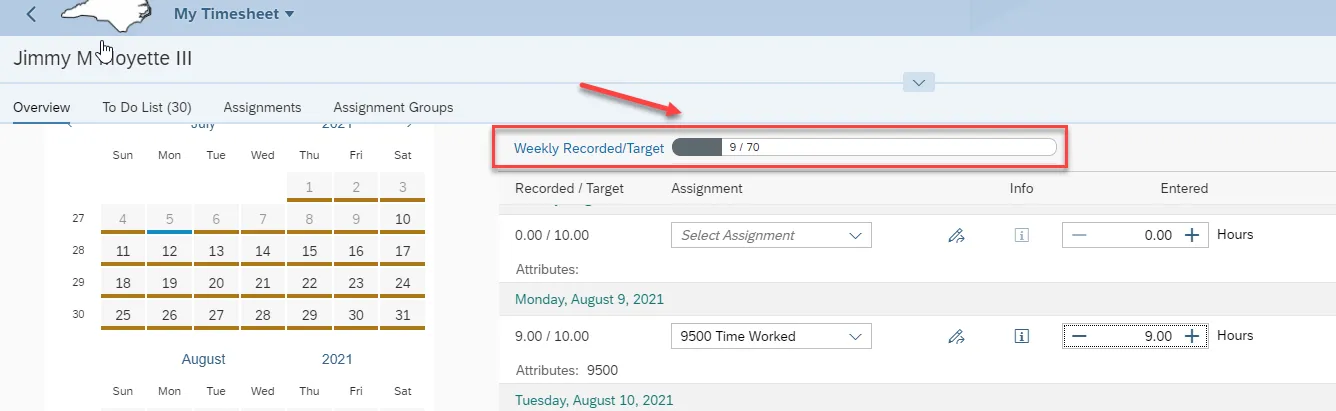
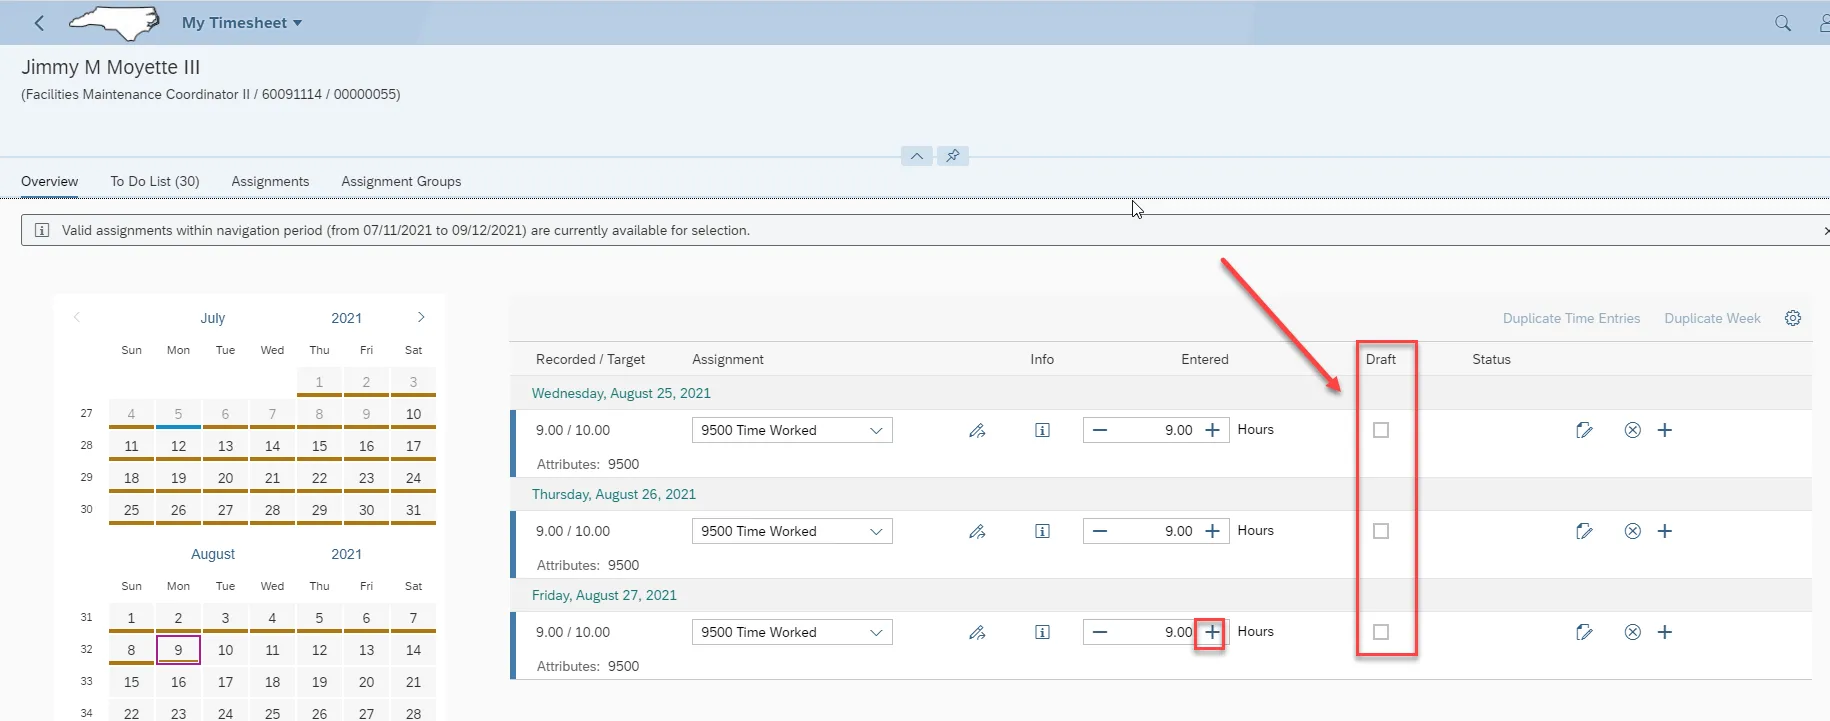
Step 10. Enter time worked by manually entering the hours or clicking either the “+” or “-" buttons.
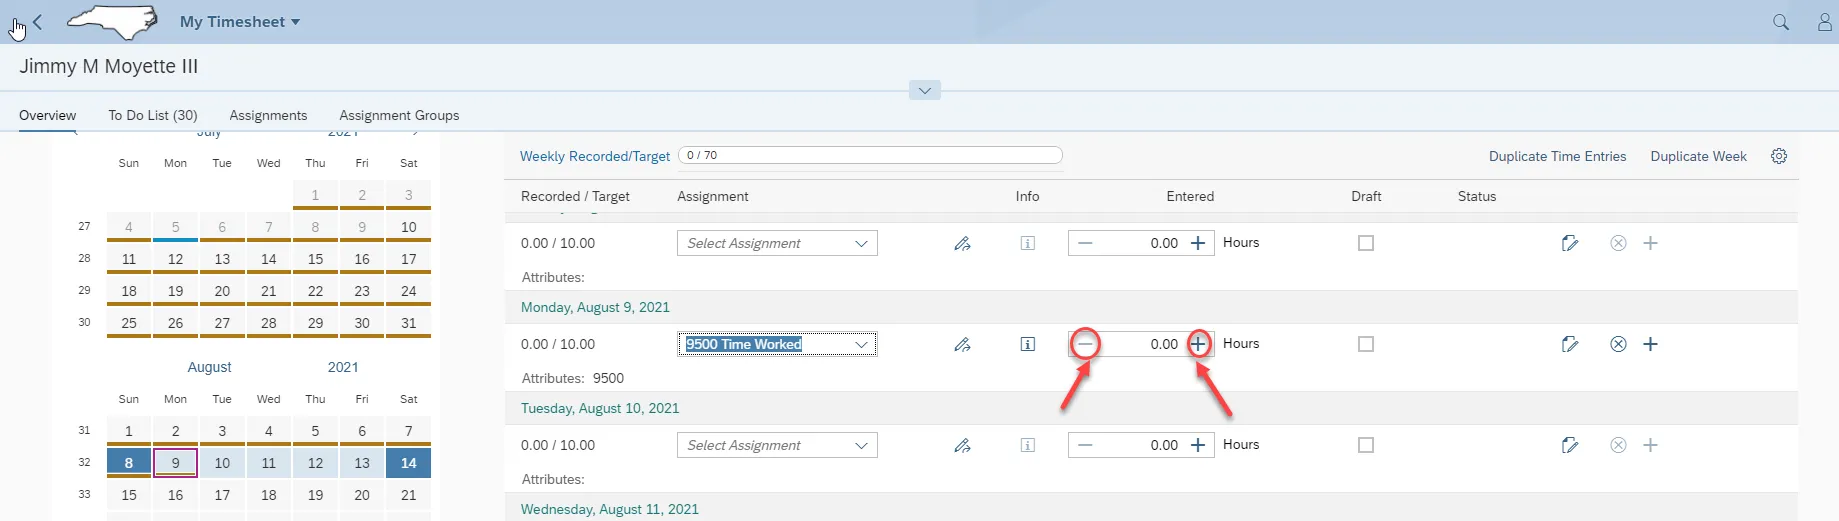
Step 11. Enter time worked by manually entering the hours or clicking the “+” or “-“ buttons. Notice the weekly Recorded/Target bar is dynamic as you add or subtract the hours.
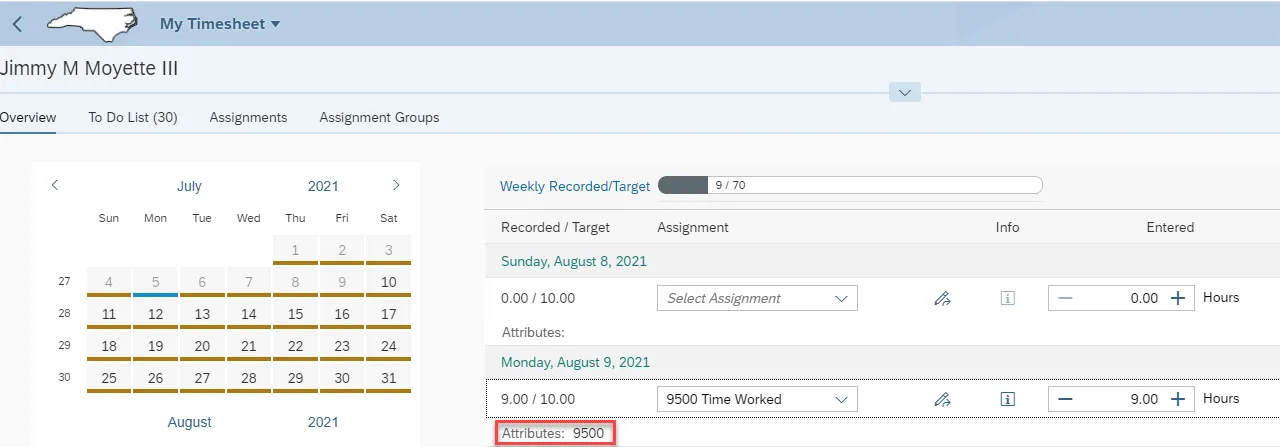
Step 12. Notice the attributes. This is helpful to the manager who will see these when approving time.
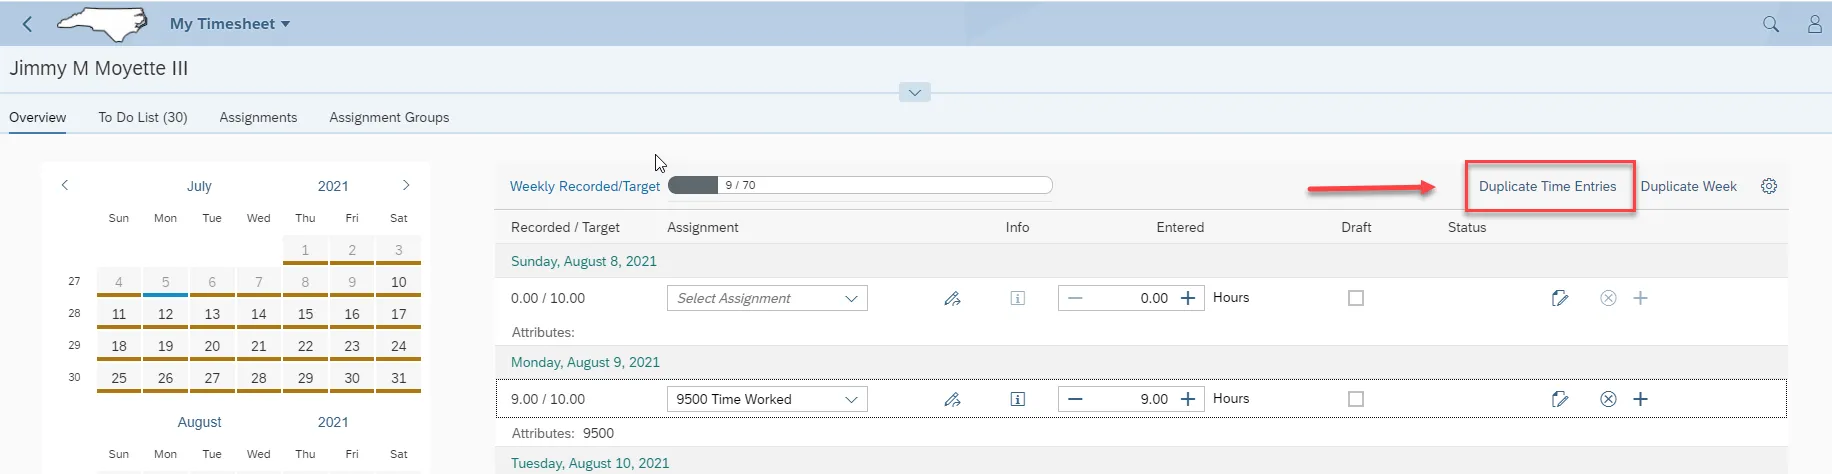
Step 13. Click Duplicate Time Entries to quickly enter time.
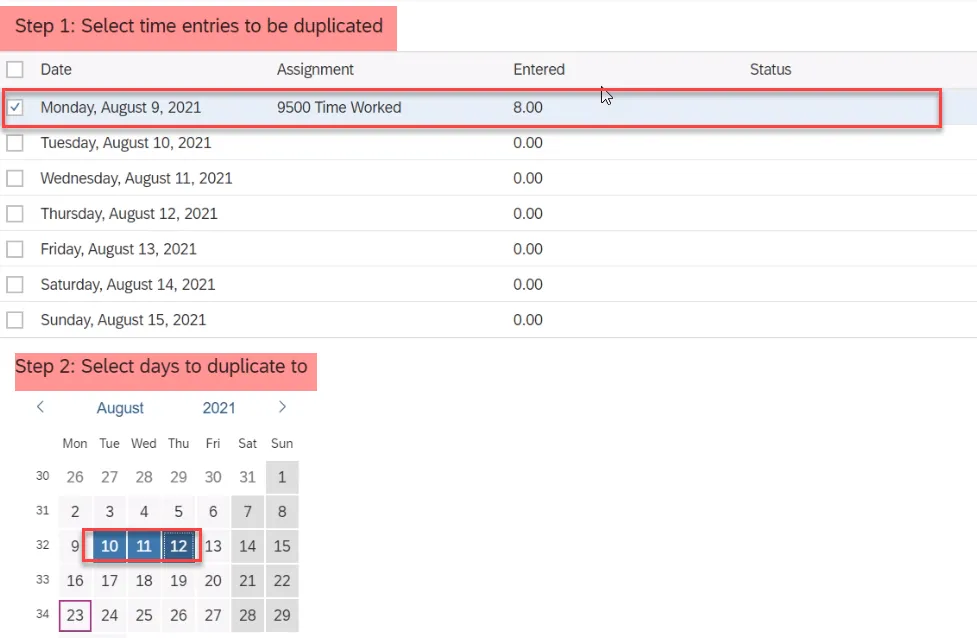
Step 14. This feature can be used when the objective is to record target hours for the week. This is a 2-step process. In Step 1 you will need to select the time entries to be duplicated. In Step 2 you will select the dates from the calendar to duplicate the selected time from Step 1 to.
Step 1: Click Monday, August 9, 2021 as the entry to be duplicated.
Step 2: Then select from the calendar the 10th, 11th, 12th and 13th. The dates from the calendar will be highlighted. Select the Duplicate selection.
Step 15. When a change is needed to an entry, as long as the entry has not been approved, the change to the entry can be made by selecting the Select Assignment field and selecting an assignment, or Attendance/Absence Type, from the selection option list.
Step 16. Click “+” to add additional hours using a different Att./Abs. type for the same day. When a timesheet is submitted & approved, no more changes can be made If there is a checkmark in Draft Status that means they have not been submitted.
Step 17. Click Submit.

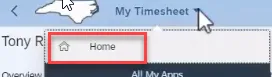
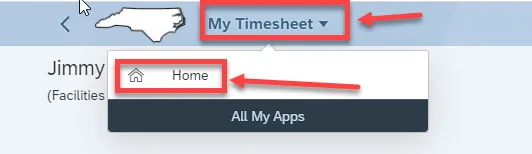
Step 18. Click My Timesheet to return to the previous screen. Then click Home.
That is a quick overview for entering time for an employee who does not use shift premiums or Charge Object.
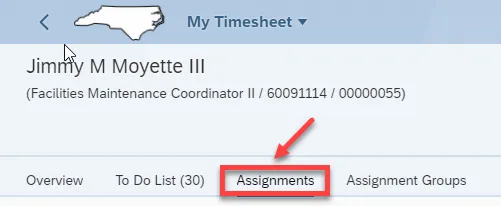
Step 19. Now we are logged in as “Jimmy.” Jimmy is an employee who uses Shift Premiums and Charge objects. Click My Timesheet.
Step 20. Remember, Assignments are like templates and helpful to set up. Click Assignments.
Step 21. Click Create.
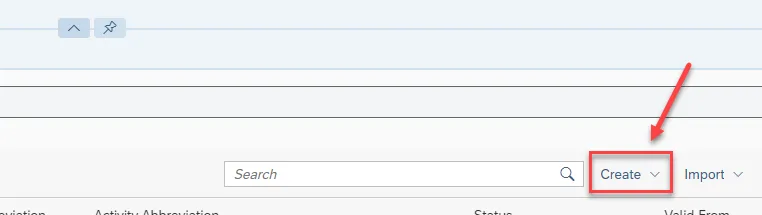
Step 22. Click Assignment.

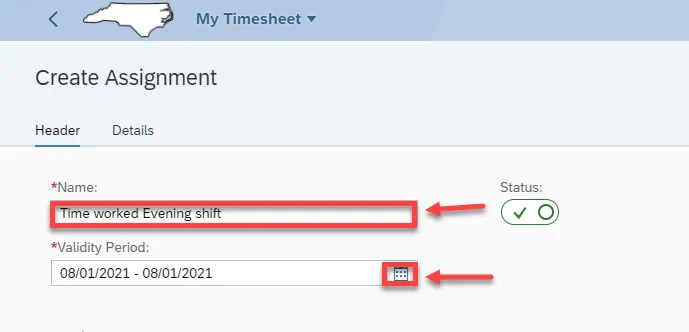
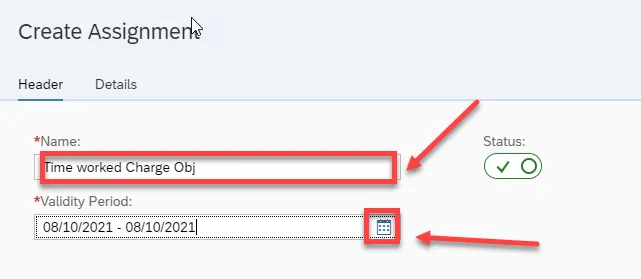
Step 23. Give each assignment we create a descriptive name. Then click on the Object Picker to select a date range for the validity period.
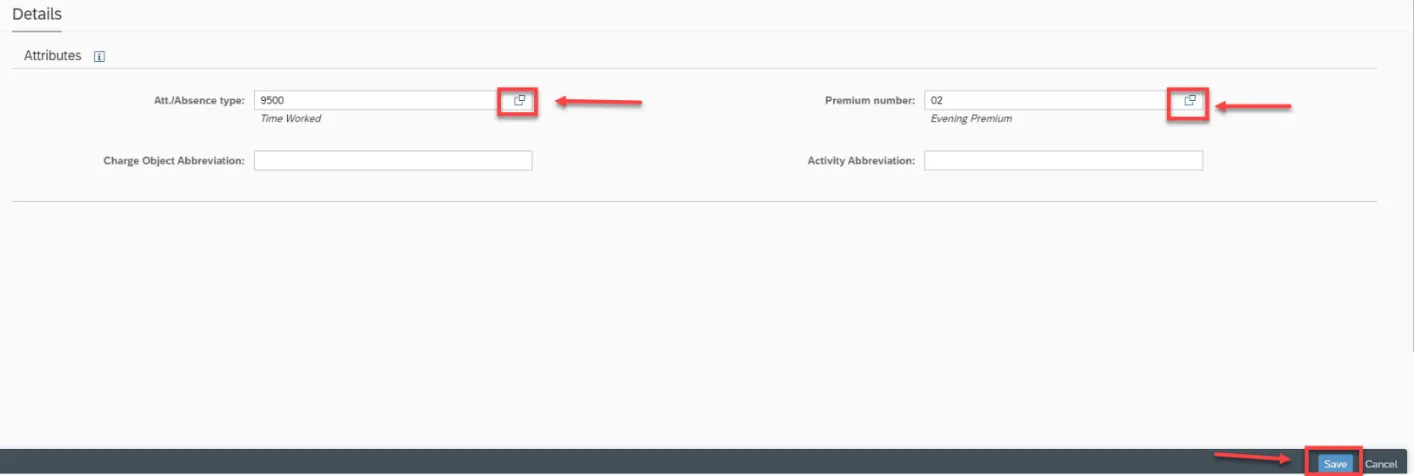
Step 24. Click the Matchcode at the Att./Absence type and select 9500. Then at Premium number, click the match code and select 02, then click Save.
Step 25. Click to create second assignment.

Step 26. This assignment will be for Charge Objects. Click the Object Picker to select a date range for the validity period.
Step 27. Click the matchcode at Att./Absence type and select 9500 and at the Charge Object Abbreviation. We will enter a description in the Charge Object Abbreviation field and the Activity Abbreviation field. Click Save.

Step 28. Create one more assignment. Click Create then click Assignment.

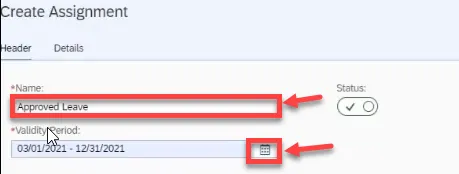
Step 29. This assignment will be named Approved Leave. Then select the date range for the Validity Period.
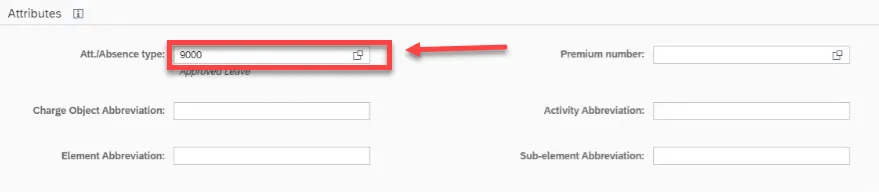
Step 30. Click the matchcode at Att./Absence type and select 9000 for Approved Leave, and then click Save.
Step 31. There are now three different assignment we can assign to a group. To create an Assignment Group, click Create and click Assignment Group.

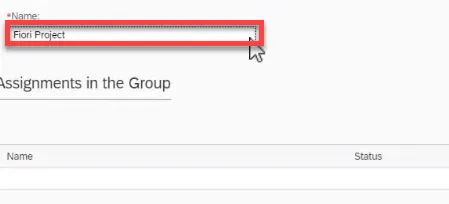
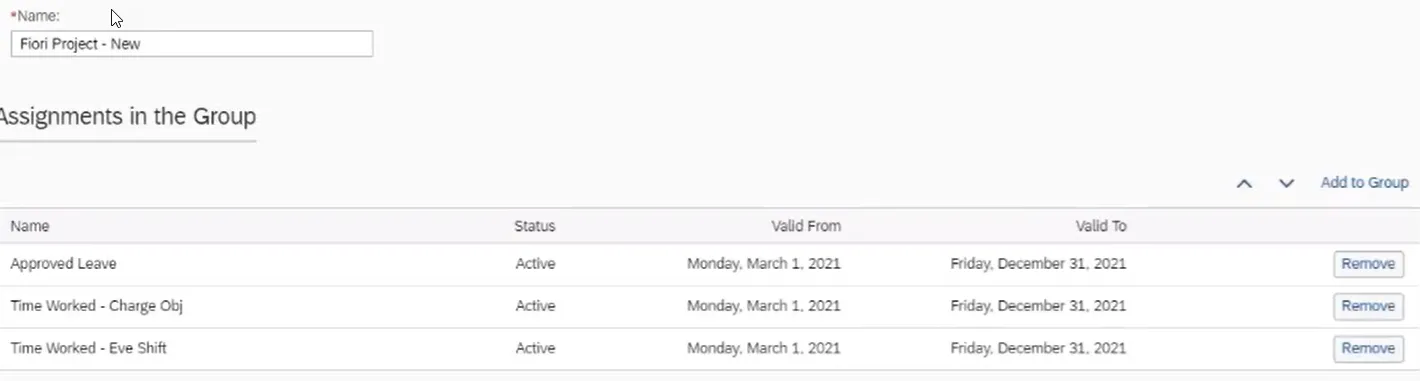
Step 32. Add a Name to the assignment in the Name field. To add all three assignments, click Add to the Group.

Step 33. Click each assignment to select for the new group. Then click Select.

Step 34. So now there is one Assignment Group with these three assignments. Click Save.
Step 35. Click Overview and we will look at the new template we have created.
Step 36. From overview, click Enter Records.

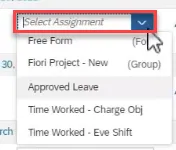
Step 37. Now when you enter records, you can select Att./Absence types independently (Approved Leave, Time Worked-Charge Obj, Time Worked- Eve Shift) or as a Group (Fiori Project-New).
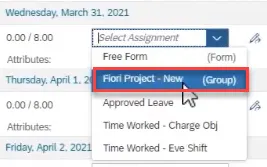
Step 38. For this day, we will select the new Assignment Group.
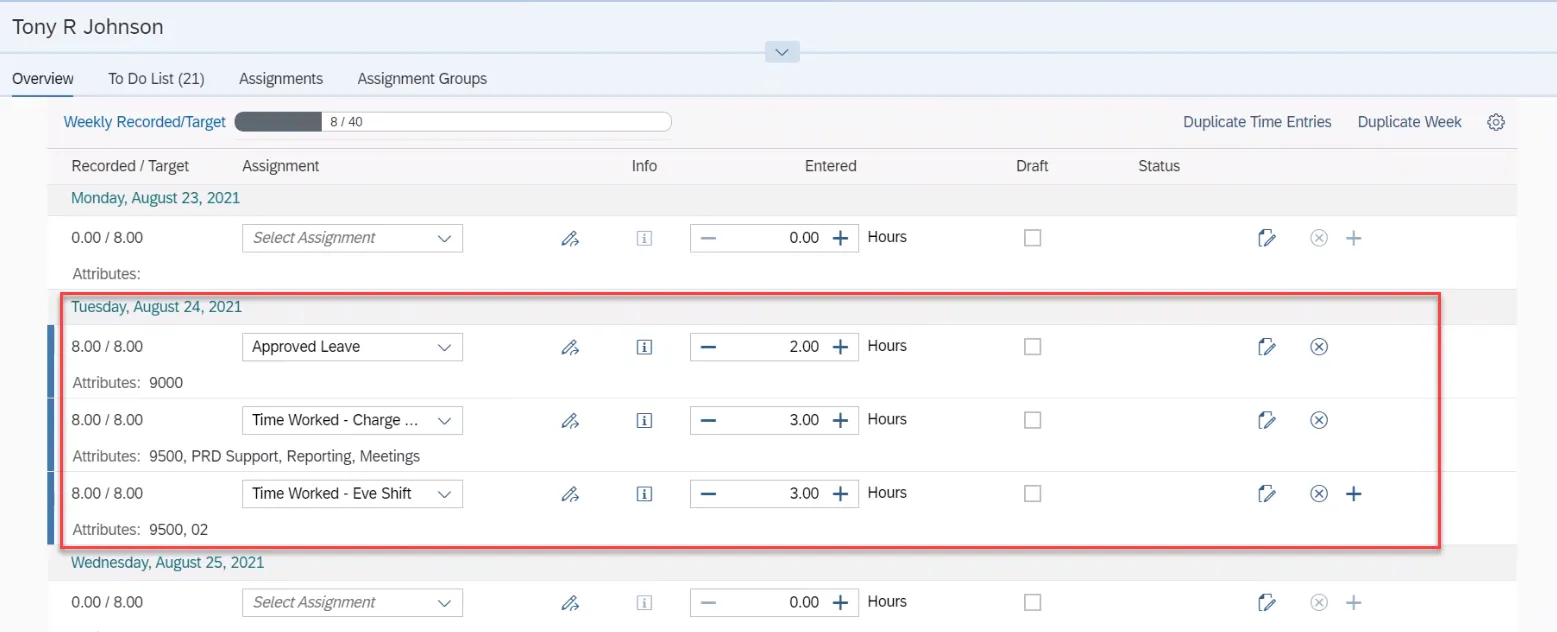
Step 39. When the new assignment group (Fiori Project-New) is selected, the three assignments are listed on a single day. Now you are able to add the appropriate hours for the Att./Abs. types. The use of an assignment group allows an employee to divide their time against shift premium and Charge Objects as needed.
Step 40. Click Submit.
Step 41. Now let’s demonstrate how to enter an Att./Abs. type independently of an assignment or group. Click Enter Records.
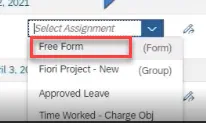
Step 42. We will add one Free Form entry. Click Free Form.
Step 43. Enter the number of hours under Entry Field section. Then click matchcode to select an Att./Absence. Click OK.
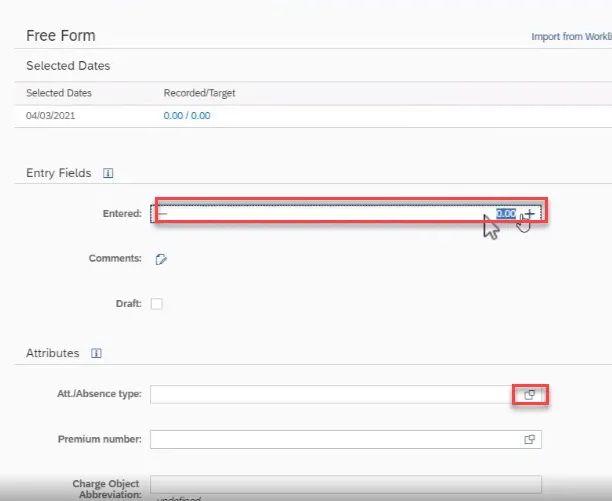
Step 44. When the free form entry is selected, notice the Attributes. This information is helpful to your manager when approving leave.

Step 45. Click Submit.
Step 46. Click My Timesheet to go to the previous screen and click Home.