Purpose
The purpose of this job aid is to explain the OM Workflow Monitoring Report and what information it provides.
The OM Workflow Process Monitoring Report provides a quick glance at who initiated a PCR and its status. It also shows the approval track of the PCR. Information can be pulled by using the PCR number or the user/date range.
The transaction code for this report is ZOMWFMON.
There are 6 steps to complete this process.
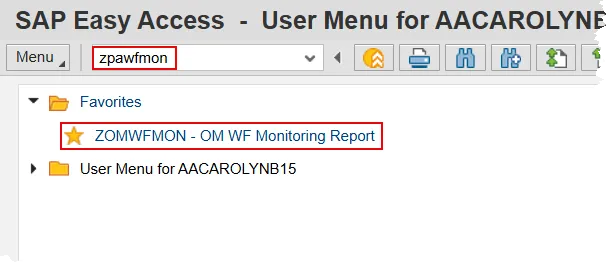
Step 1. Type ZOMWFMON in the Command field on the SAP Easy Access screen or double click it from your favorites folder if you’ve previously saved the transaction there.
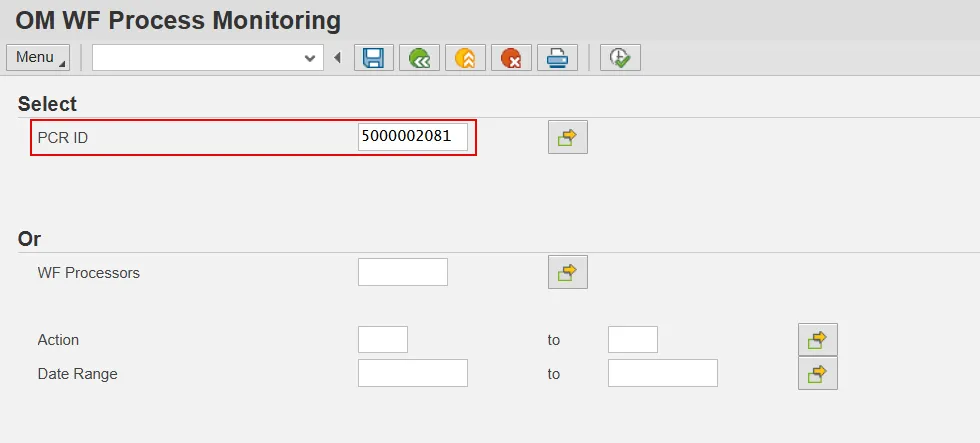
Step 2. Enter a PCR ID number in the PCR ID field. This document will use a PCR that was processed in a training environment.
Step 3. You can review more than one work item at a time by clicking the Multiple selection button. When the pop-up appears, input the PCR numbers you wish to review in the Single Value cells. When they are all entered, click the Copy button on the bottom of the pop-up.
When the pop-up closes, you can see that multiple selections have been made by observing that the box in the multiple selection button has turned green (not pictured).

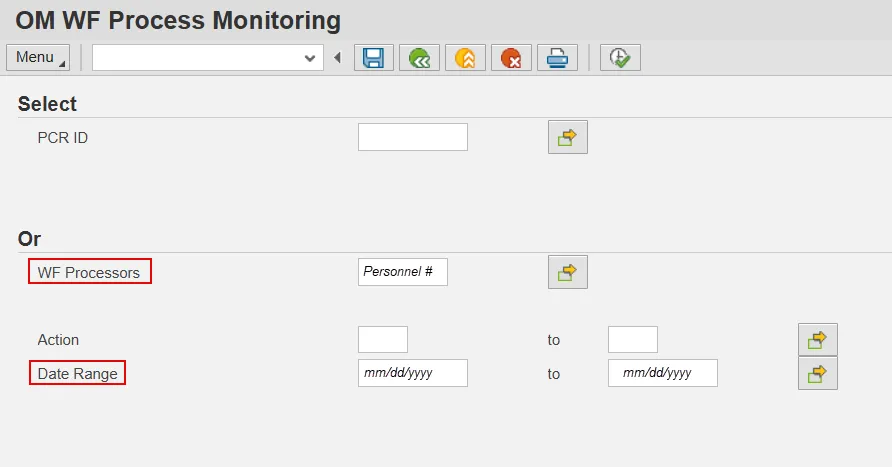
Step 4. Alternatively, you can search by WF processor(s). If you choose to use this field, you must also include a Date Range. You can pre-filter the results by one or more Action(s) you wish to find. Running the report by using a combination of these fields will return details for items submitted by the personnel number(s) within the selected date range.
Step 5. Once you’ve entered the search parameters, click the Execute button to view the details for the work items(s). The report will return the details of PCRs’ progression through the various levels of approval.
The fields presented will include, but are not limited to, the PCR ID#, Create Date, WF status and details about each approval level (date in, date out and number of days spent at that level).

Step 6. You can save the input data as a Variant, and you can change the Layout of the report. Review the GN-03 and the GN-01 help documents for more information on these processes.
Notes:
- The WR Processor field is the user’s Personnel ID. All eight digits must be entered including the leading zeros.
- The approver level will be blank if it is not applicable.