Purpose
The purpose of this Business Process Procedure is to explain how to create and/or update the position type data for a position designated as critical in the Integrated HR-Payroll System.
Business Process Procedure Overview
There are five separate designations for critical position types:
- Emergency - Positions which are required to work during adverse weather or conditions of a serious nature that prohibit some employees from reporting to work.
- Essential - Positions which are exempt from an Executive Order prohibiting the filling of positions.
- Field/Home-Based - Positions which are required to work outside the agency or university worksite based on the service they provide or the nature of work. The work of field/home-based positions is mostly performed by traveling to various locations, within a region or working from home.
- Key - Positions designated by an agency that includes responsibility for performing mission critical work necessary for the organization to achieve its business goals. A vacancy in a key position of over one week would have a negative impact on the delivery of services because of the criticality of the work.
- Mandatory On-Site - Positions occupied by employees in permanent, probationary, or time-limited appointments that are required to report to a designated worksite (particularly when all other positions are restricted from coming into the workplace), other than their personal residence, and only for those specific dates and times that such onsite reporting is required during a public health emergency. These positions include, but are not limited to, positions that directly impact public health and patient care; public safety; operation of critical infrastructure and facilities; operation and safety of sensitive research labs and ongoing care for research animals, and the custody or care of persons or property for whom the state has a duty to continue to serve.
Note: A position can be designated with more than one type. If no types are applicable, select None.
Procedure
There are 12 steps to complete this process.
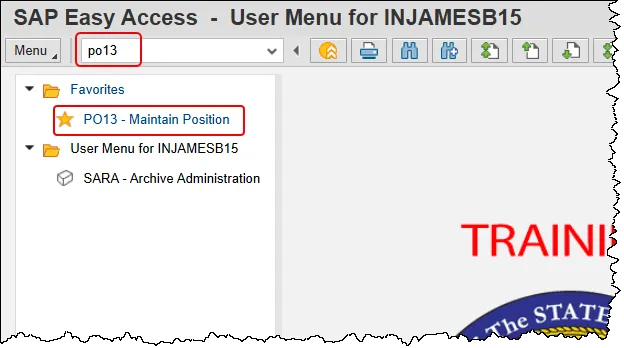
Step 1. Enter the PO13 transaction code in the command field and press the enter button. Or double click it from your Favorites folder if you’ve previously saved it there.
Step 2. Enter a position number value in the Position field, then click the Enter button. The position’s working title will appear. This example uses position number 60000915.
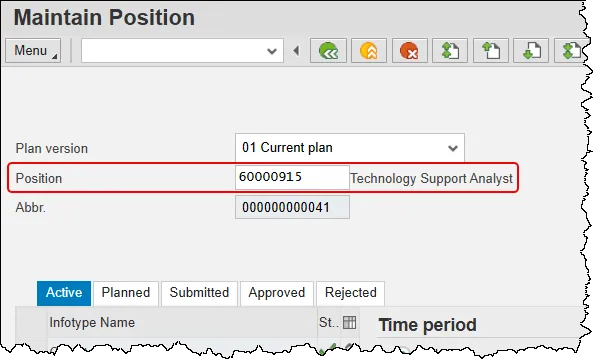
Note: To look up the position number, place the cursor in the Position field and click on the matchcode search button to the right of the field for search options.
Step 3. On the Active tab, scroll down the infotype listing to find the infotype called ‘Position Types’. It will be very close to the bottom.
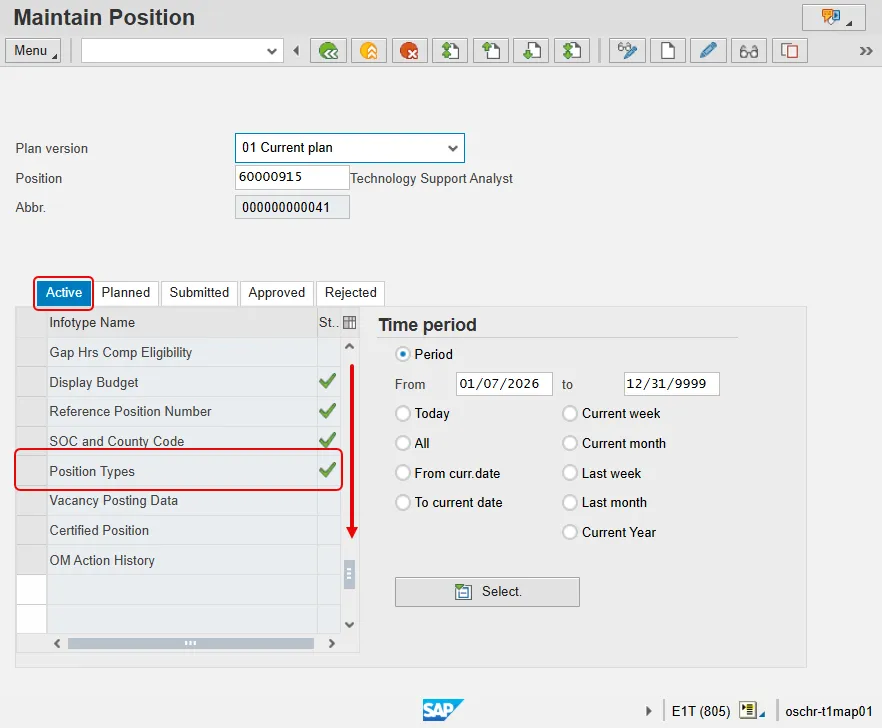
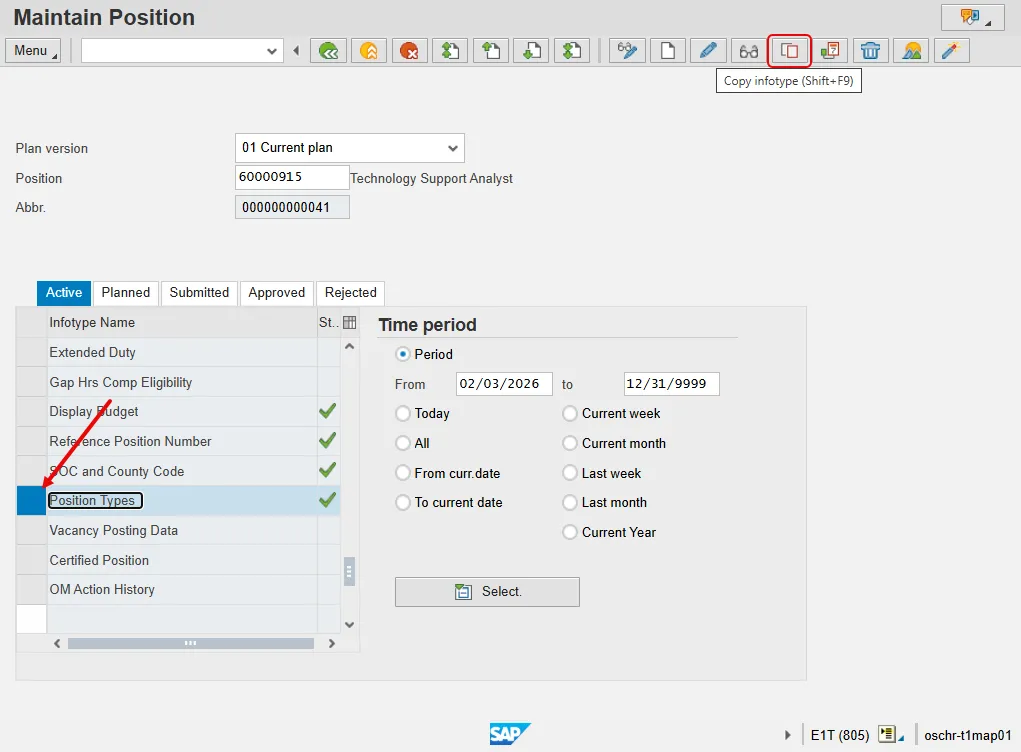
Step 4. Select the box to the left of ‘Position Types to select the infotype, then click the Copy button.
In the screenshot below, there is already an IT9023 Position Types record on the selected position – indicated in the screenshot by the green check to the right of the infotype selected.
Note: The user has the option to create, copy, or change an Infotype 9023 – Position Types record.
- Use Create if there are no records for this infotype to date.
- Use Copy if there are already existing records; Copy keeps a historical record of all changes that have been made when a new effective date is used.
- Use Change to modify the existing record and not create a historical record. Only use Change if making minor error corrections to an existing record without changing its effective date.
In this example, we will Copy the previous record and use a new date to create a new, current-dated position type record. In this process, we will be asked to delimit the previous record, which puts an end date on the prior record that exists.
Note: If there were no existing Position Types record and there is a need to create a new record, the steps are very similar except the system will not ask to delimit a prior record.
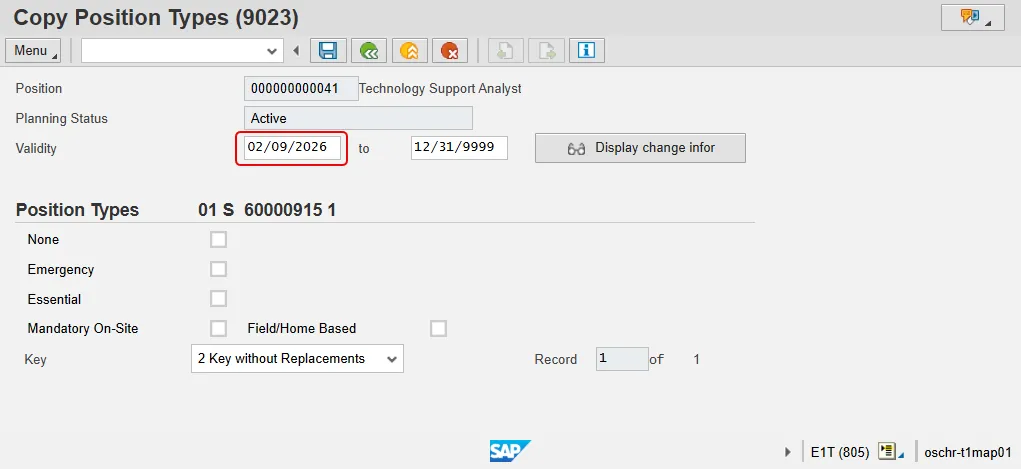
Step 5. Clear out the prior date in the Validity start date field and enter a new effective date.
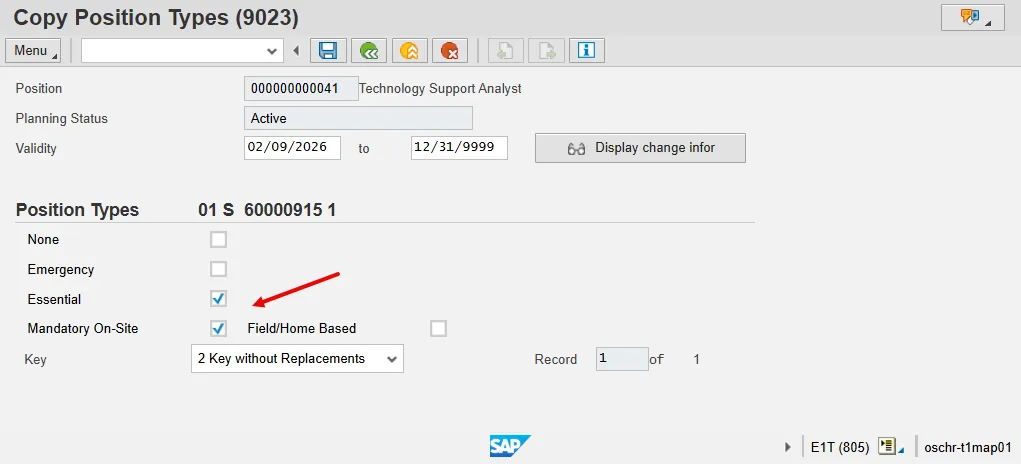
Step 6. Select the appropriate position type(s) that will be effective on the position. More than one position type can be active if necessary, or ‘None’ can be selected if there are no types applicable (or if removing position types that existed before but should no longer display).
Note: When making a change to this infotype’s information, all relevant subtypes must be selected again. For example, if a position was previously Essential and will now be Essential and Mandatory On-Site, when copying the record, the user will choose the effective date and then select both the Essential and Mandatory On-Site designations.
The five separate designations for critical position types are defined at the top of this document.
Step 7. Click the Enter key to validate the data.
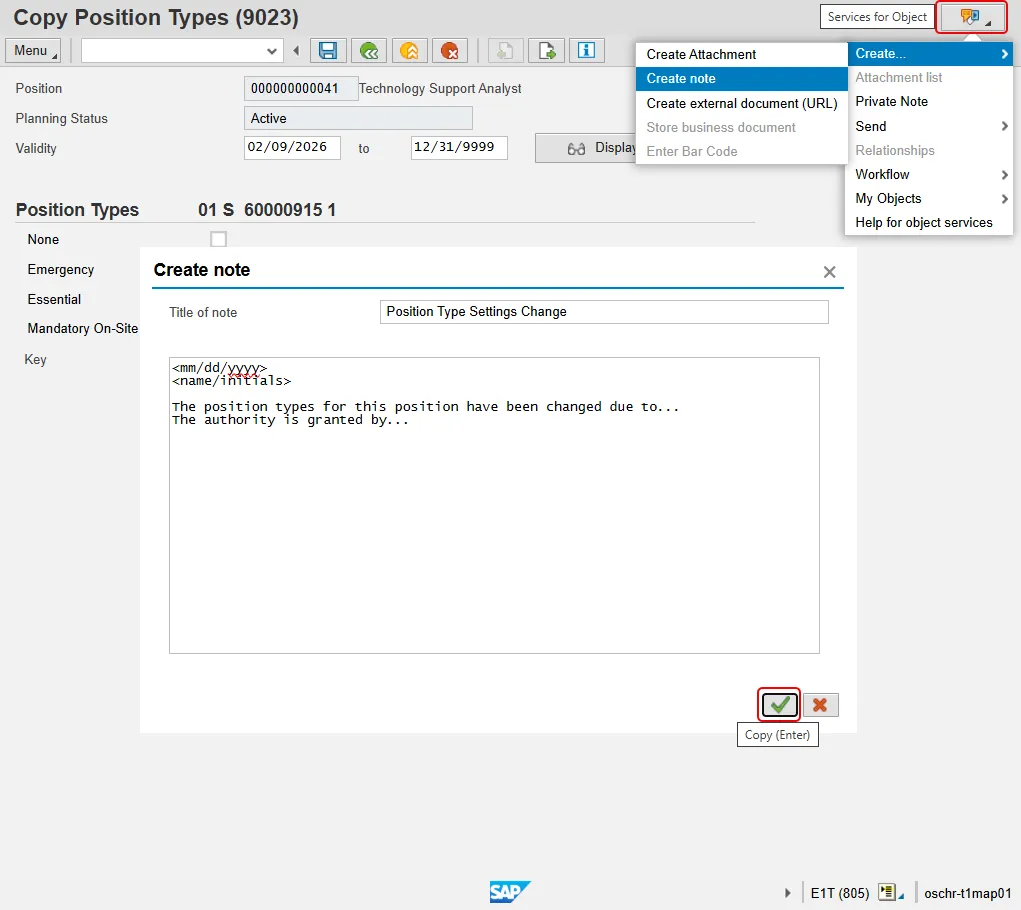
Step 8. Optional Step: Though not required, BEST Shared Services recommends creating a note when making changes to a position’s Position Types settings. Click the Services for Objects button, hover over Create and then click Create note.
Enter a title in the Title of note field and then craft a note explaining the reason for the change along with any information that may be helpful to a reader in the future. All notes should start with the date that they are being created and your name or initials. Once completed, press the Copy button to save the note.
The screen shot below is an example and is not intended to be a template.
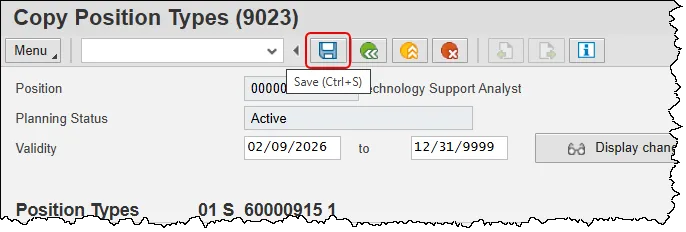
Step 9. Click the Save button.
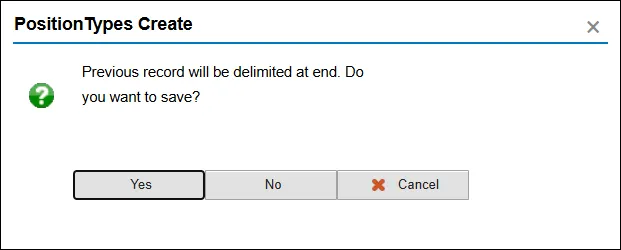
Step 10. If copying an existing Position Types record, a confirmation box will pop-up asking the user to confirm that the system should delimit the prior record the day before this new record is created; click Yes to have the system delimit the prior record:
Step 11. Click the Back button to return to PO13 – Maintain Position screen.
Step 12. Click the Back button again to return to the SAP Easy Access screen.
This system task is complete.