Purpose
The purpose of this job aid is to provide an overview of the ZCVR transaction which allows the HR Master Data Maintainer to display and maintain an employee’s ESS time parameter (CVR).
To Display an Employee's ESS Time Parameter
There are 3 steps to complete this process.
Step 1. Access transaction ZCVR (ZCVR – CVR – ESS Time parameter).
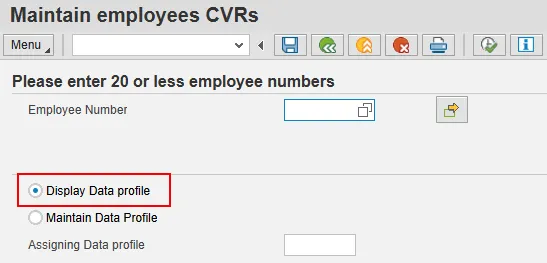
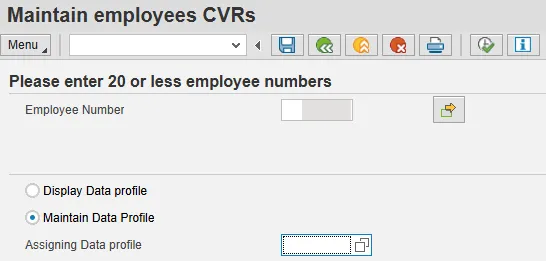
Step 2. Enter the employee personnel number in the Employee Number field.
Note: If you are working with more than one employee, use the multiple selection button to enter up to 20 personnel numbers at a time.
Step 3. Choose Display Data Profile.
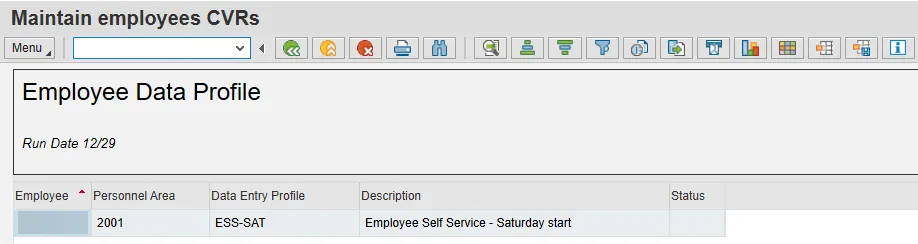
- The employee’s current Data Profile will display in the Data Entry Profile column with nothing in the Status column:
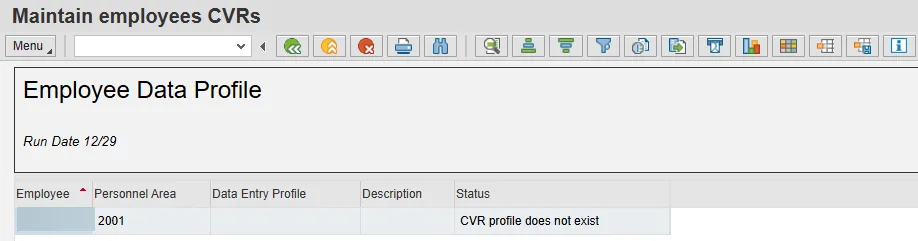
- However, when an employee’s current data profile is the default profile of Sun-Sat, no Data Entry Profile will display in the Data Entry Profile column, but the Status column will show CVR profile does not exist:
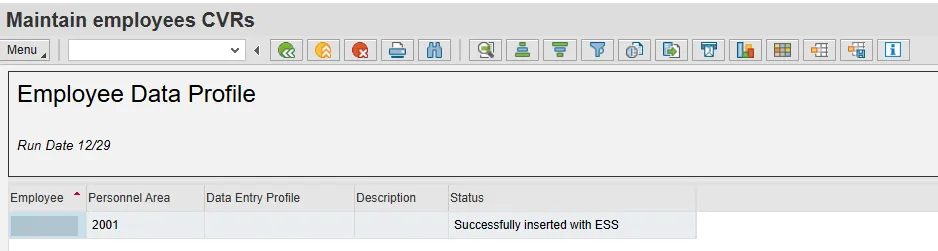
- Then, if and when the default CVR profile is updated through the Maintain Data Profile process described below, the results will display nothing in the Data Profile Entry column but the status column will show Successfully inserted with (the updated Data Entry Profile):
To Maintain an Employee's ESS Time Parameter
There are 7 steps to complete this process.
Step 1. Access transaction ZCVR (ZCVR – CVR – ESS Time parameter).
Step 2. Enter the employee personnel number in the Employee Number field.
Note: If you are working with more than one employee, use the multiple selection button to enter up to 20 personnel numbers at a time.
Step 3. Choose Maintain Data Profile.
Step 4. Click in the Assigning Data profile field and then click on the matchcode display the Data Entry Profile list.
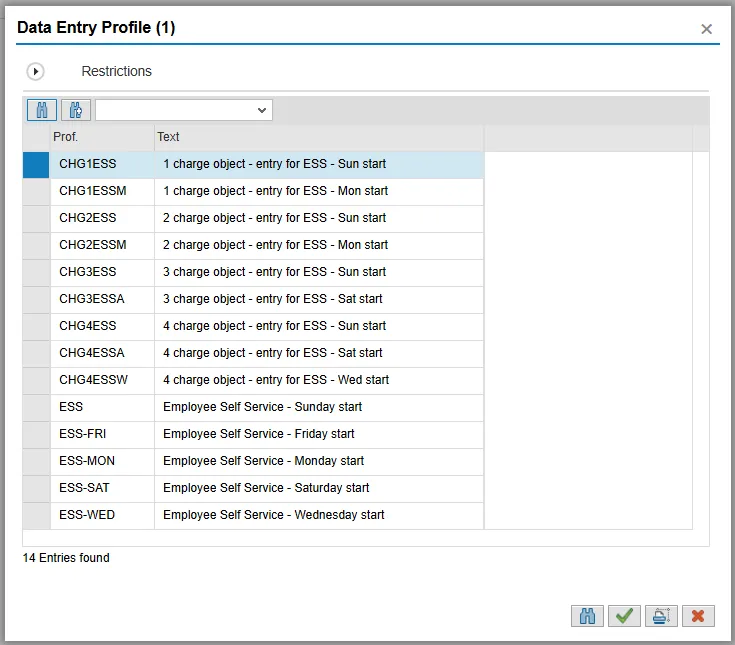
Step 5. Select the appropriate Data Entry Profile and then select the Copy icon (green check).
Step 6. Select the Execute button.
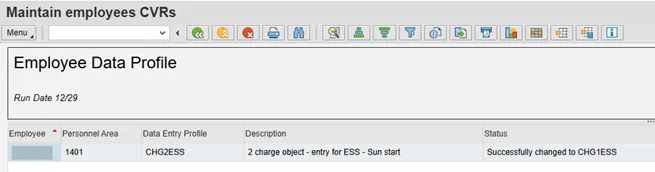
Step 7. Select Yes to confirm you want to update the Data profile. The Employee Data Profile screen will display. Whichever profile was selected will show under the Status column once it is successfully added (inserted) via this transaction or changed.
- Example of added (inserted) Data Profile results.
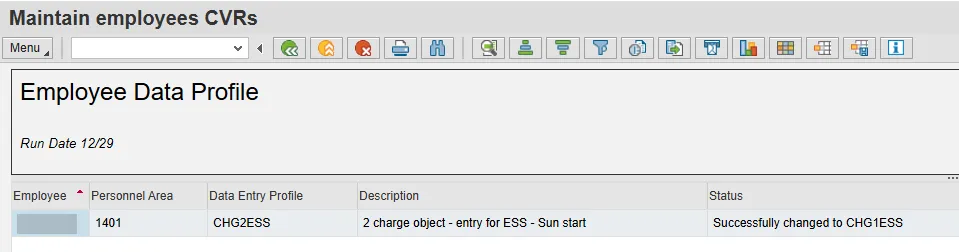
- Example of changed Data Profile results – in example, from CHG2ESS to CHG1ESS:
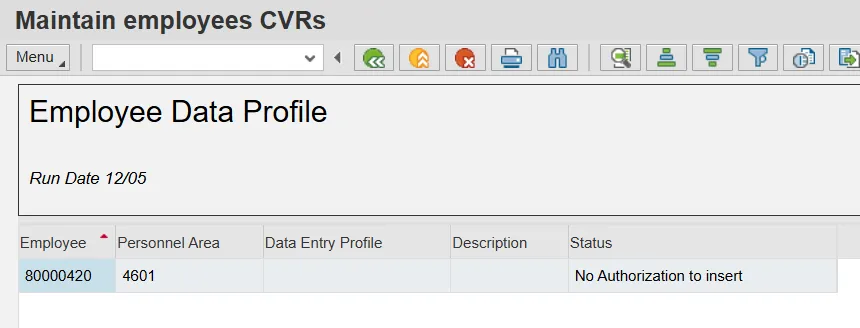
Note: If you see No Authorization to insert in the Status column, check the personnel number to ensure the correct number was typed in the Employee Number field. If the personnel number is correct, ensure the employee is still with your agency and/or that you have the appropriate security role.
Note: There is an option to export this information to an excel spreadsheet.